If you’re new to AWS Portal we recommend starting here. If you’re new to Deadline we recommend starting here.
Usage-Based Licensing Setup
This section details how to setup Deadline and the AWS Portal to use your Usage-Based Licensing account. You will need to enter your Cloud License Server URL and Activation Code into the Deadline Monitor, and you will need to tell AWS Portal which directory to upload certificates from.
These steps only need to be done the first time you setup UBL.
Configuring Deadline
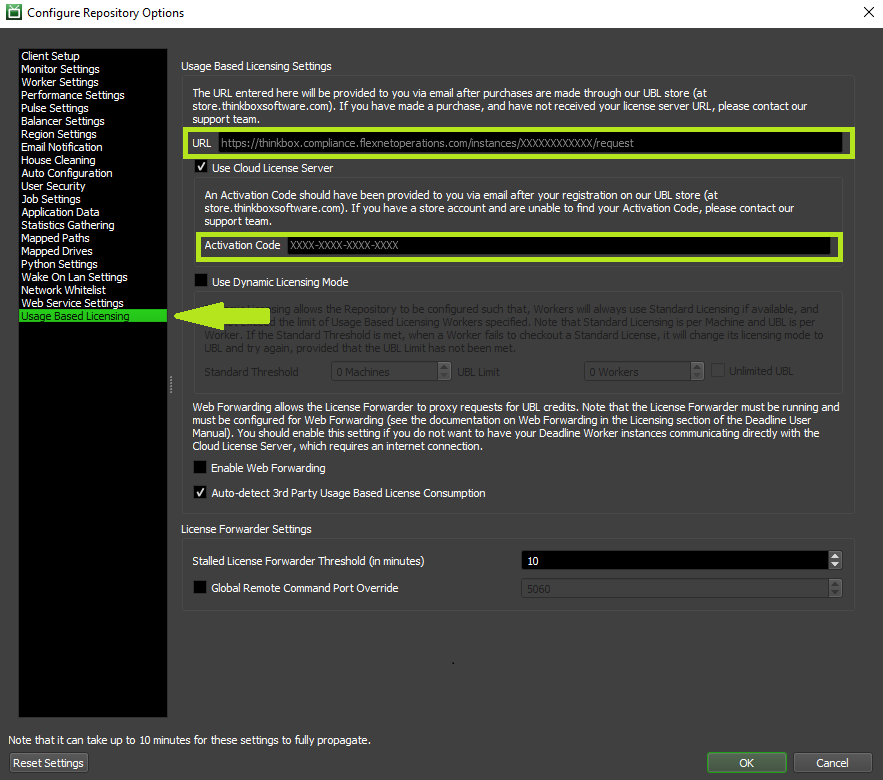
Before you can start using Usage-Based Licensing, you must enter the Cloud License Server URL and Activation Code in the Repository Options.
This can be done from the Deadline Monitor while in Super User Mode (ensure Tools -> Super User Mode is checked). Then select Tools -> Configure Repository Options from the menu, and select Usage-Based Licensing from the list on the left.
Configure AWS Portal
Open the AWS Portal Panel in the Deadline Monitor by clicking View -> New Panel -> AWS Portal. The first time you open the AWS Portal panel.
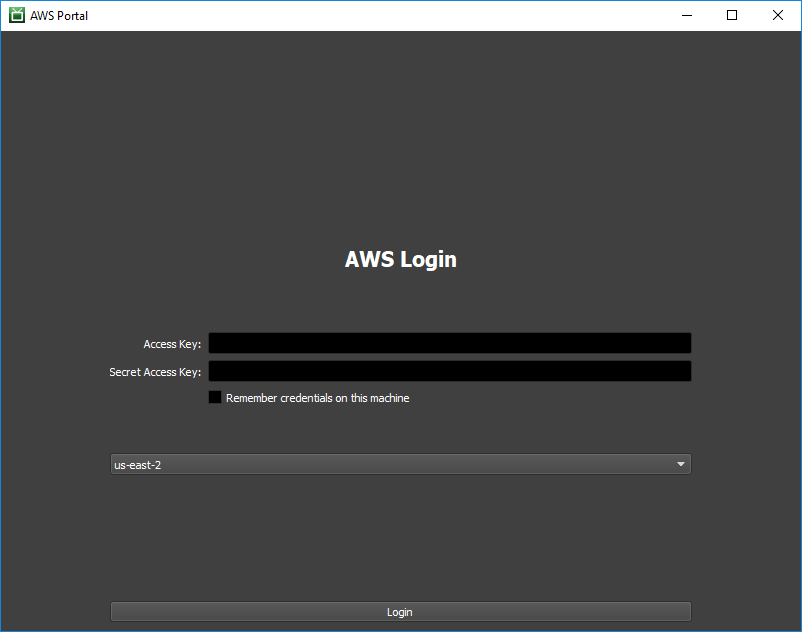
Login with your AWS Access Key and Secret Access Key.
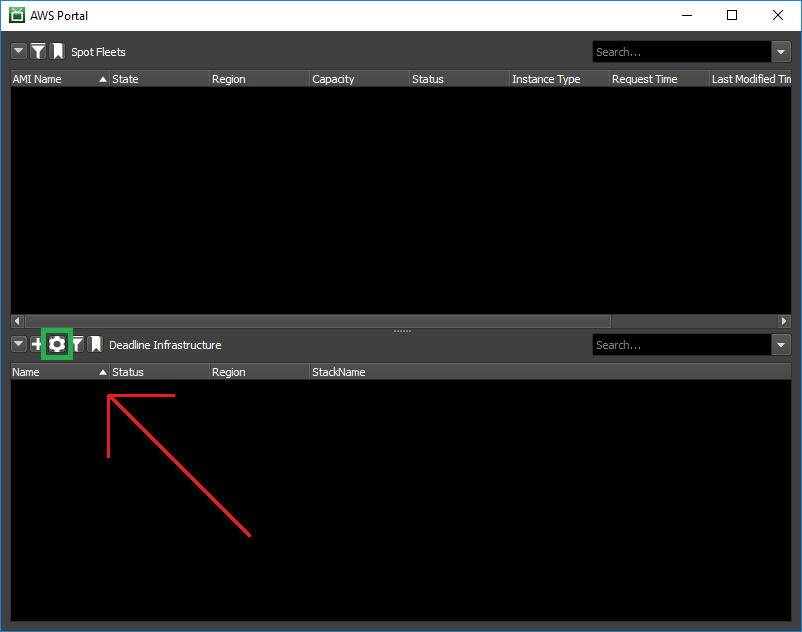
Open the AWS Portal Settings by clicking on the gear on the left of the panel.
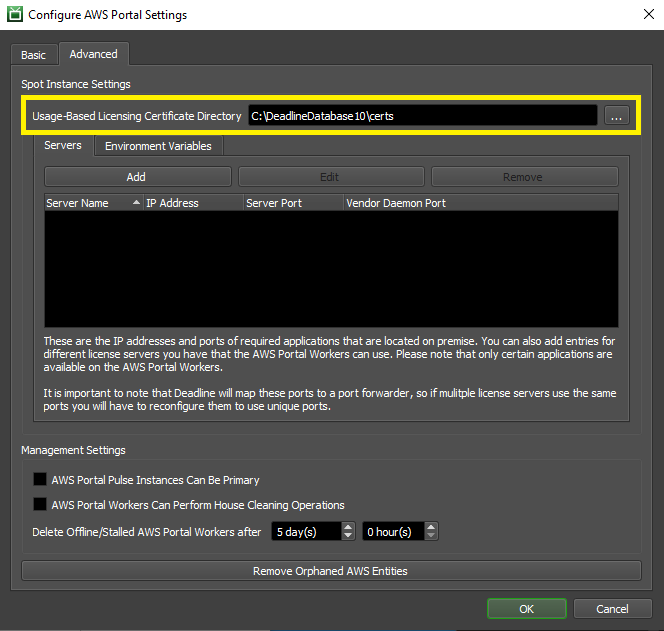
In the ‘Advanced’ tab, set the directory you unzipped your certificates to as your ‘Sync Cert Directory’.