Google Cloud
Overview
The Google plugin for Deadline allows for communication between Deadline and the Google Cloud service. It works with both the Cloud Panel in the Monitor and the Deadline Balancer application.
Configuration
Before you can configure the Google Cloud plugin for Deadline, you must add Google Cloud as a provider in the Cloud Providers dialog in the Monitor. The Google plugin requires only a few credentials before it can be used in Deadline (see the image below). You can download the Client Secrets file from the API->Credentials section of the Google Compute console.
Credentials
Here is a guide for how to get your client secrets file from the Google Cloud Console and verify your access to your GCE project in Deadline.
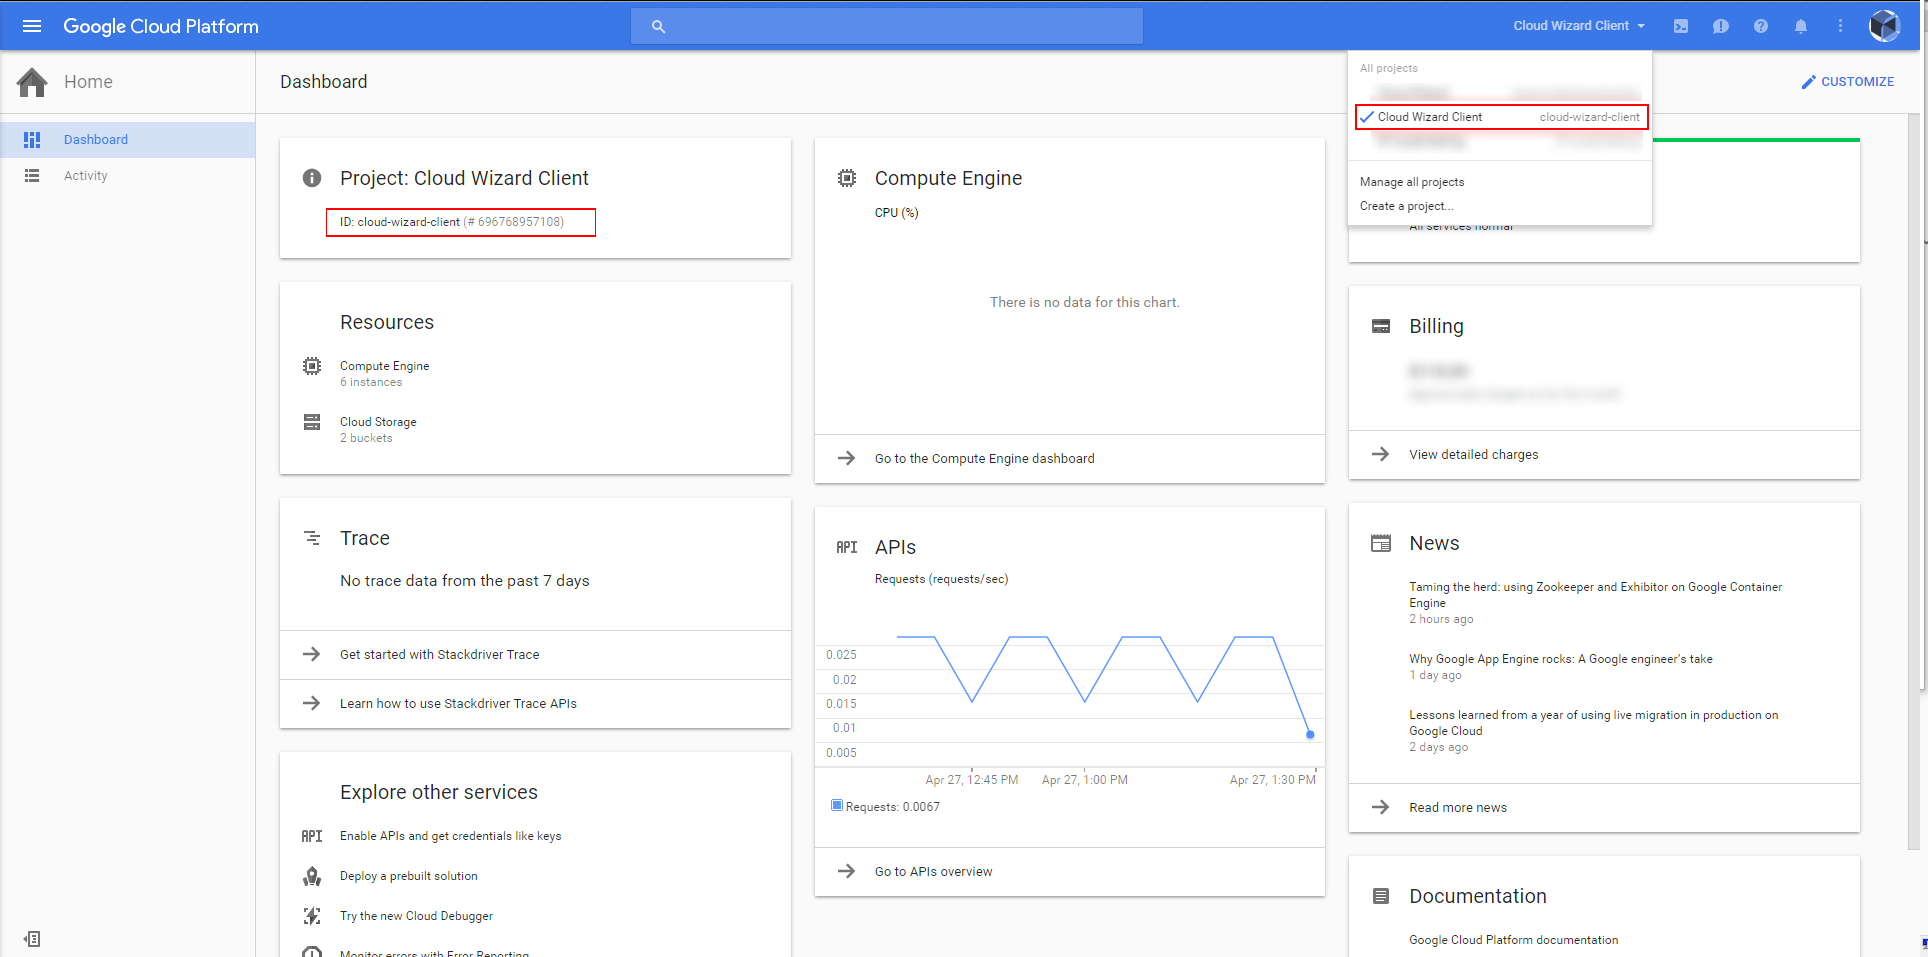
Step 1: Get your project ID
This is used in Deadline to verify access to this project.
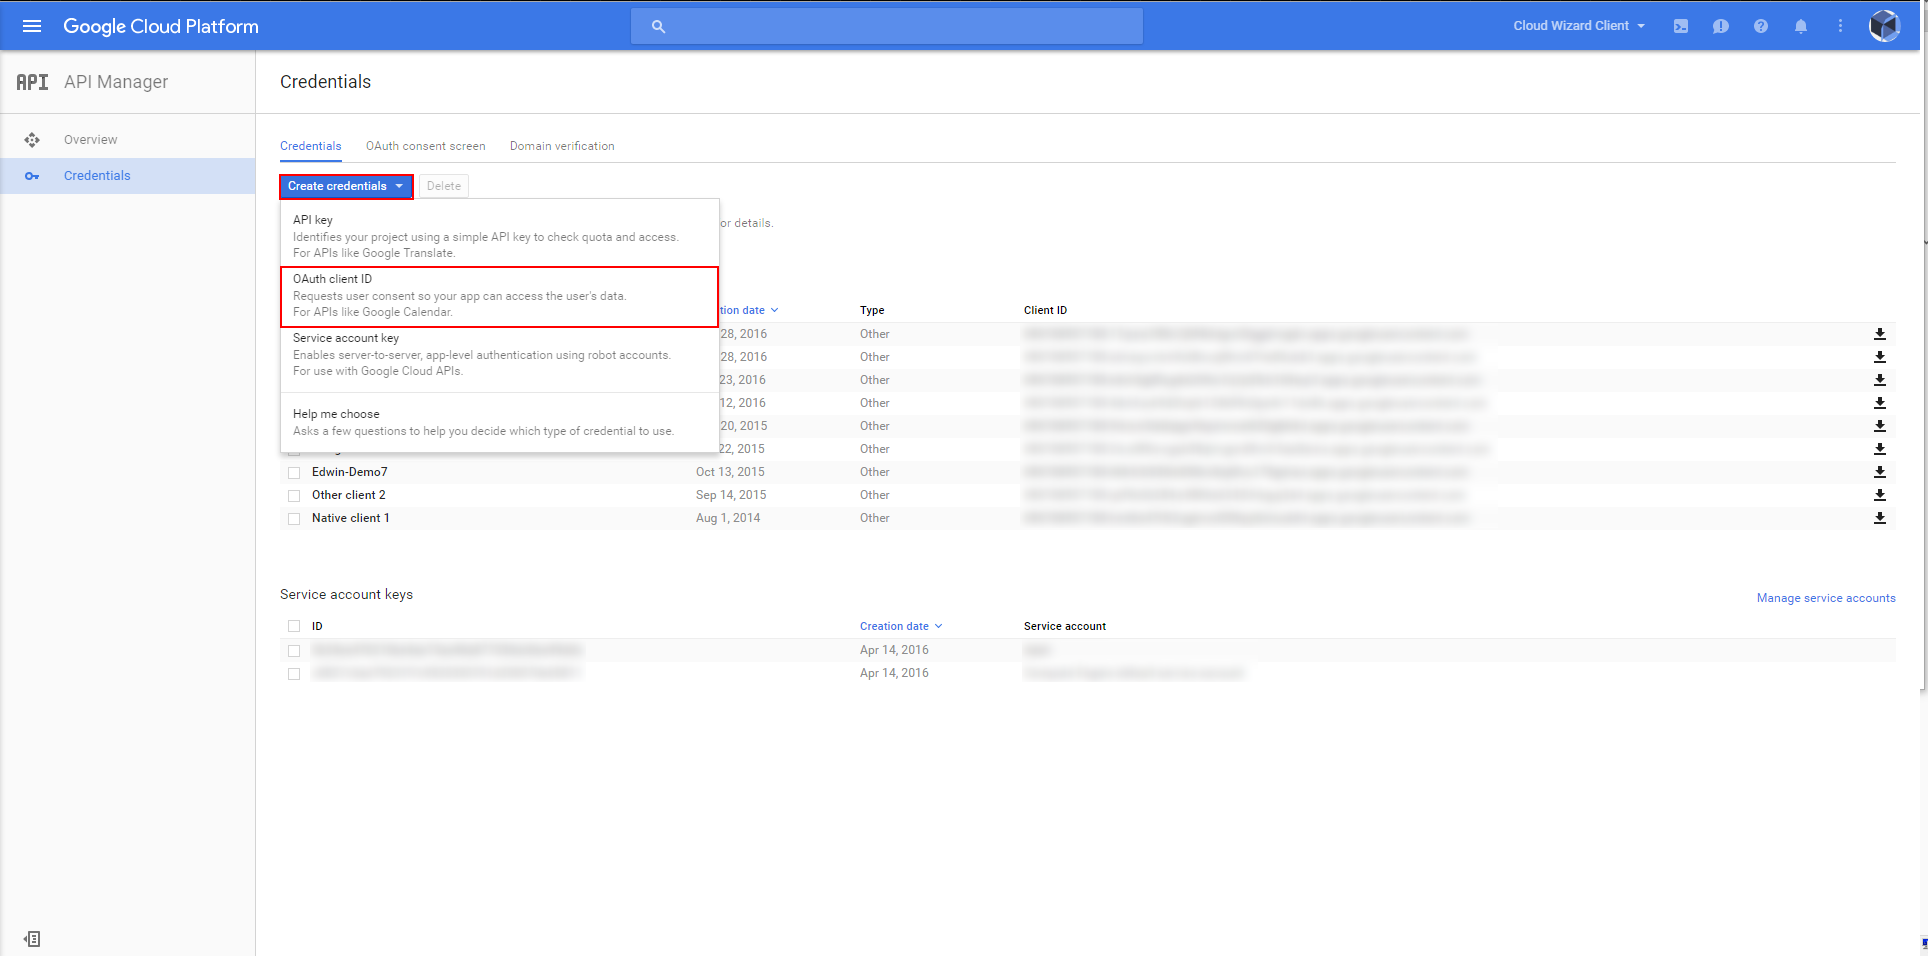
Step 2: Create your Credentials
Click on ‘Credentials’ under the ‘API Manager’ section. Here we’ll create a new Credentials. Select OAuth Client ID.
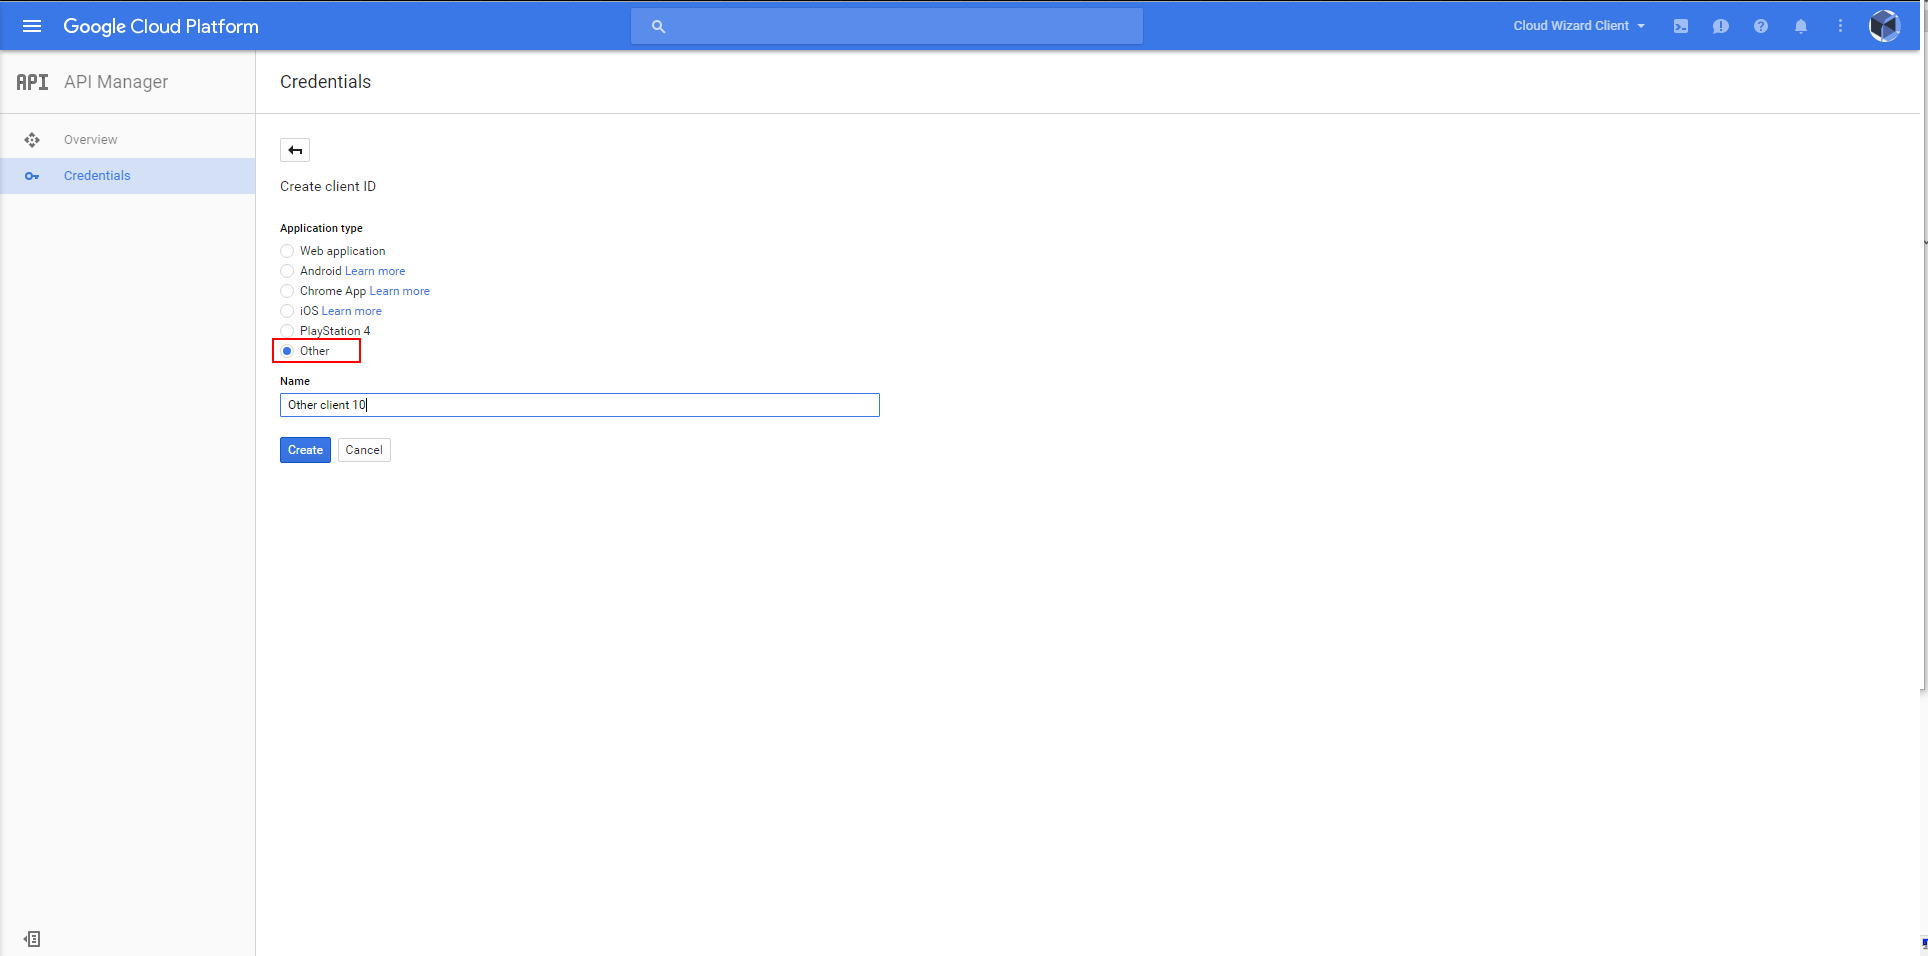
Step 3: Creating a new Client ID (continued)
Select ‘Other’ as the application type and name your credentials.
Step 4: Confirmation Screen
You will see a screen like this to confirm the creation of your credentials.

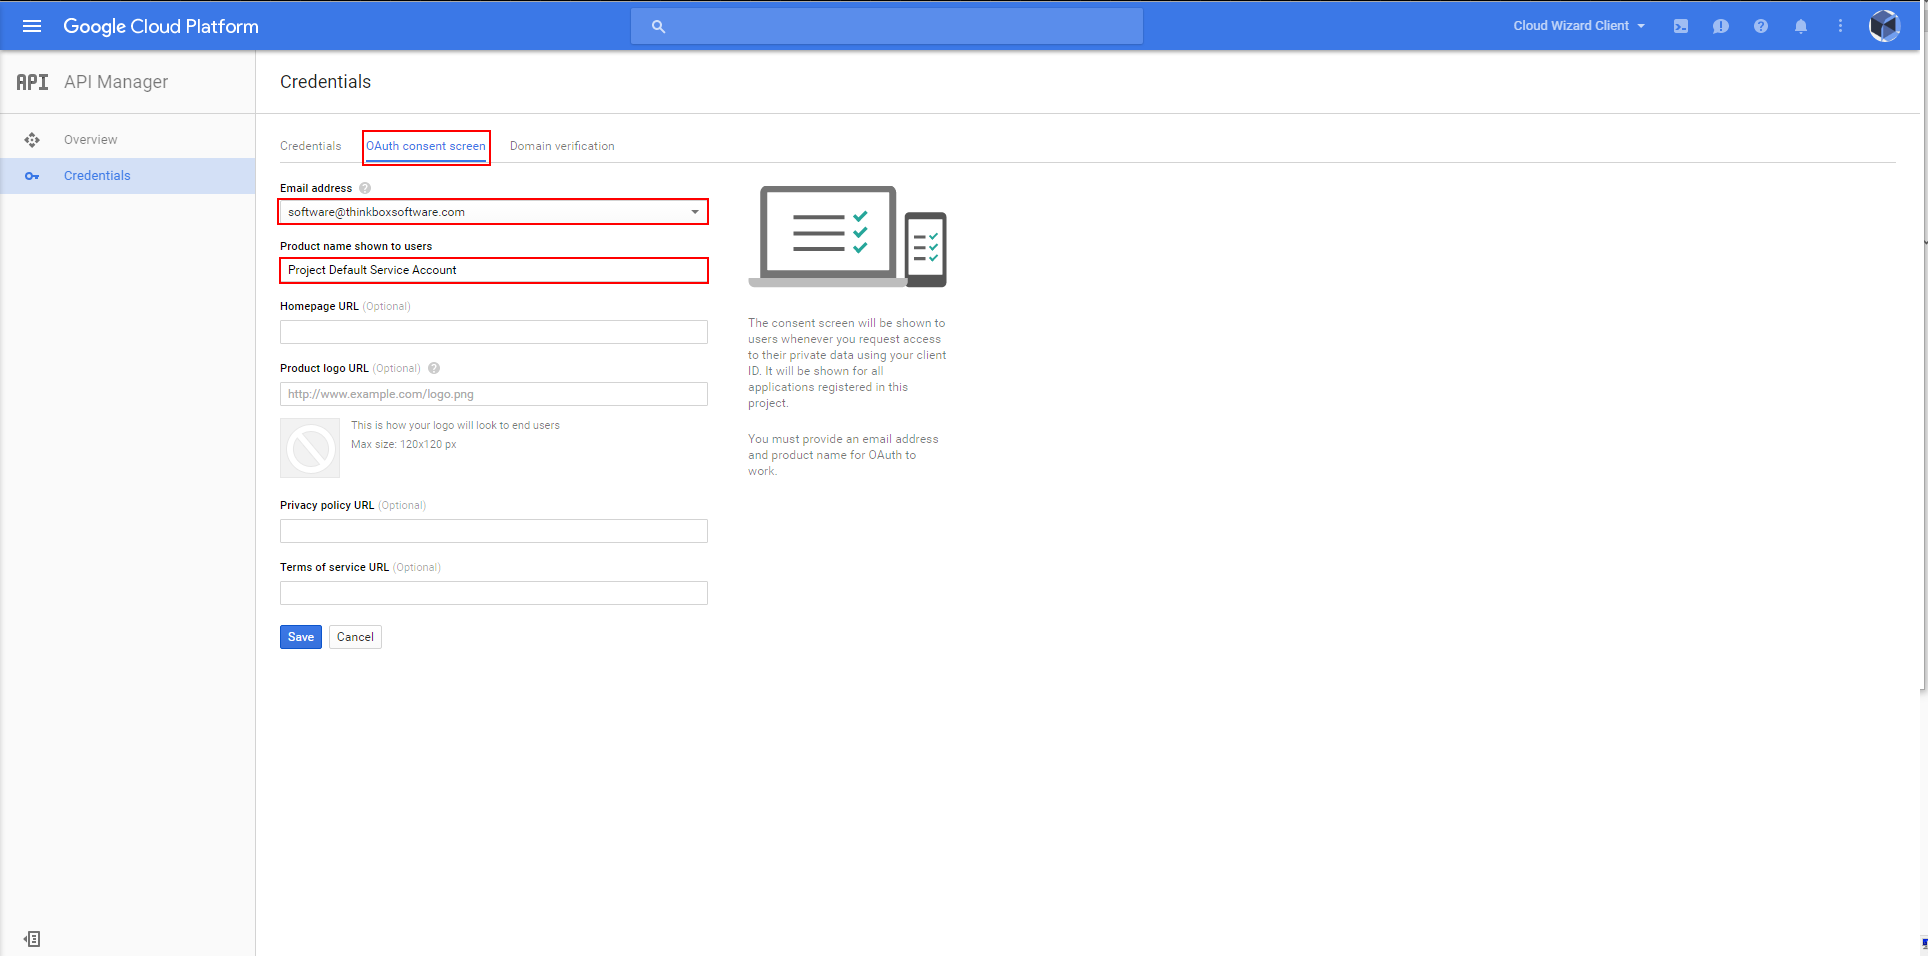
Step 5: Consent Screen
Setting up a basic consent screen is pretty simple. All you need is an email address and a product name. Everything else is optional. You will only have to do this the first time you create credentials.
Step 6: Downloading your Client Secrets File
To download your Client Secrets file click on the download arrow on the right.

Verifying Access
In order to use the Google Compute Engine we need to authenticate with Oauth 2. What we’re going to need is the Project ID (found in Step 1), the path to your client secrets file you download above and the path to your oauth.dat file (this file won’t exist until we successfully connect to GCE). Fill in these fields in the Cloud Providers dialog and click ‘Verify Access’. (Note: This is not the only way to get the oauth.dat file. The first time Deadline tries to connect to GCE with either no oauth file or an expired oauth file it will go through this process.)
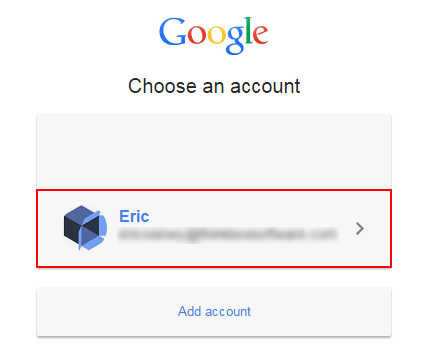
A web browser will start asking you to sign into your Google Account.
Next, you’ll see the consent screen you created in Step 4. Here’s what a basic consent screen looks like.

After choosing ‘Accept’ you should see this message:

Now your oauth.dat file should be downloaded and you should be all set to use your GCE project with Deadline.
Notes:
Make sure that the client secrets file you created and downloaded matches the project id you entered into Deadline. Note: The project name is not the same as the ID. Also, make sure that the client secrets you created is for installed applications.
This verify access process is time sensitive. It will timeout if you wait too long. The timeout is not very long, only lasting about 30 seconds.
One issue that has come up is blocked ports. If you have a process running that blocks on port 8080 this will not work. You’ll have to change the port number. (Programs such as Skype might do this)
oauth.dat files do eventually expire. You will need to repeat this process to get a new one.
Configuration Settings
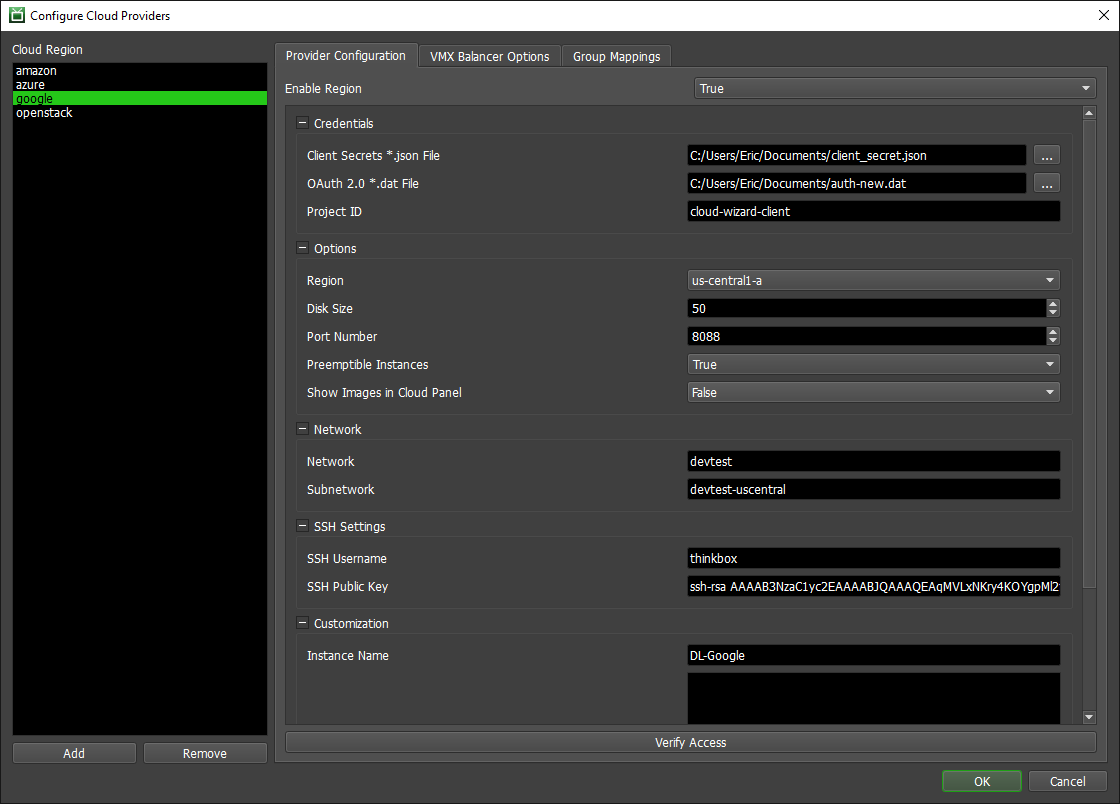
Enable Region: Enables the cloud region for use in Deadline.
Credentials
Client Secrets *.json File: The path to your Client Secrets file. You can download it by going to your project, clicking on Credentials (under the APIs & auth heading) and clicking download JSON. Note: Deadline requires a Client ID for native applications.
OAuth 2.0 *.dat File: The path to your OAuth2 dat file. This file won’t exist until you’ve Verified Access at least once (or try to use the plugin) for the first time. The API will download it after you grant it access.
Project ID: The non-human readable ID of your Google Cloud Project. Found on the Overview tab and the Cloud Console. See Step 1.
Options
Region: The GCE region you are using.
Disk Size: The size of the Persistent Disk to start with your instance. The default is 10GB.
Port Number: The port number used for authentication. Default: 8080.
Preemptible Instance: This option will create preemptible instances. Preemptible instances are a cost efficient alternative to on-demand instances but are “unreliable” in that they can be terminated at any time and will only last for a maximum of 24 hours. This option will not affect instances that have already been created. Instances that have been cloned from an existing instance use the source instance’s type. Google provides more information on creating preemptible VM instances. The default is false.
Show Images in Cloud Panel: Show the image name in the Cloud Panel. Enabling this may cause performance issues.
Network
Network: The GCE network to spawn instances.
Subnetwork: The GCE subnetwork to spawn the instances in. Must be in the Network specified.
SSH Settings
SSH Username: The username for attaching an SSH key to the instances.
SSH Public Key: The SSH public key to attach to the instances created by this region.
Customization
Instance Name: The name of the Instances that will be spawned. We add some random hex values on the end to make them unique.
Tags: Tag firewall rules to the instances that Deadline starts. Each tag should be on a new line.
FAQ
Are Preemptible Instances supported?
Yes, Preemptible Instances are supported. See the Preemptible Instance setting in the configuration settings above for more information on how to enable them.
Does the Google Compute Engine API need to be enabled?
Yes, ensure that the Google Compute Engine API is enabled for the project. In the Google Developer Console, click the project name. From the left-side menu, choose the APIs link under the ‘APIs and auth’ heading. If Google Compute Engine is not shown in the list of Enabled APIs at the top of the page, do the following: Scroll down and find Google Compute Engine and enable it. If you have not previously enabled billing for the account, you will be prompted to do so. After enabling billing, you will again need to enable the Google Compute Engine API. It should now appear under the list of Enabled APIs at the top of the page. Once Google Compute Engine appears in the list of Enabled APIs at the top of the page, re-generate and re-save the Client Secret JSON file.
Error Messages and Meanings
This is a collection of known Google Cloud error messages and their meanings, as well as possible solutions. We want to keep this list as up to date as possible, so if you run into an error message that isn’t listed here, please email Deadline Support and let us know.
Error: No JSON object could be decoded
There is an issue with the JSON file you downloaded. Here’s a checklist of possible issues that should be considered:
The JSON file could be corrupt or poorly formatted or didn’t download cleanly. Try pasting it into an online JSON checker to verify it is valid OR try re-downloading the file again.
Double-check you selected the *.json file for the ‘Client Secrets *.json File’ and you selected the oauth.dat file for the ‘OAuth 2.0 *.dat File’ in the ‘Configure Cloud Providers…’ dialog.
Double-check you clicked on ‘Download JSON’ for your ‘Client ID for native application’. Do NOT ‘Download JSON’ for your ‘Compute Engine and App Engine’ as this JSON file NOT work.
It’s possible that the JSON credentials file was made (downloaded) before the Google GCE APIs were enabled or had time to update/refresh after being enabled in the Google Console. So, ensure the GCE Compute API is enabled and try waiting 5 minutes before re-downloading the JSON file, perhaps trying a different internet browser in case of any intermediate ‘downloader’ manager issue.
