Client Deployment - Windows
Microsoft SCCM Installation for Windows
This document outlines the process to add and deploy Deadline as an application in Microsoft SCCM 2012 R2. Any options that aren’t specifically mentioned can be left at their default values unless otherwise needed.
Create an Uninstall Wrapper
Initially, you will create an uninstall application by developing code which is then wrapped as a standalone executable which will allow us to uninstall the Deadline Client software via SCCM in the future if you so wish. In our example, we will use Python 2.7 and cx_freeze to ‘wrap’ the finished Python script as an executable which SCCM will be able to use. Feel free to use the scripting language and exe compiling solution of your choice to achieve the same functionality as shown in the example Python uninstall.py script.
On any Windows machine, install Python 2.7.
To install cx_freeze, open a command prompt and run the following command:
C:\Python27\Scripts\pip.exe install cx_freeze
Create a temporary directory for use with compiling the uninstall wrapper. These instructions will refer to this as
C:\temp\uninstall_wrapperand place the uninstall.py script in that directory.Here is the Python script file, which you should copy and paste and save as uninstall.py:
import sys
import subprocess
import string
import re
from time import sleep

def uninstall_running():
        process_list_raw = subprocess.check_output(["C:/Windows/System32/tasklist.exe", "/FO:csv", "/NH"])

        re_uninstall = re.compile("^_uninstall[0-9]*$")

        for process_line in string.split(process_list_raw, "\n"):
                process_name = string.split(string.replace(process_line, "\"", ""), ",")[0]
                if re_uninstall.match(process_name):
                        return 1

        return 0

num_args = len(sys.argv)

if num_args <= 1:
        print("Error: No command was entered")
        exit(1)

args = []

args.append(sys.argv[1])

if num_args >= 2:
        for i in range(2, num_args):
                args.append(str(sys.argv[i]))

try:
        p = subprocess.Popen(args)
        p.wait()
except WindowsError:
        print("Error: Executable does not exist")

while uninstall_running():
        sleep(10)
From a command prompt, run the following command to compile the uninstall wrapper:
C:\Python27\python.exe C:\Python27\Scripts\cxfreeze C:\temp\uninstall_wrapper\uninstall.py –-target-dir C:\temp\uninstall_wrapper\exe
Copy the contents of
C:\temp\uninstall_wrapper\exeto a network location that will be accessible to the SCCM clients.
Add the Application to SCCM
From within the Configuration Manager Console, go to “Software Library” –> “Application Management” –> “Applications”.
Click “Create Application” from the top menu bar.
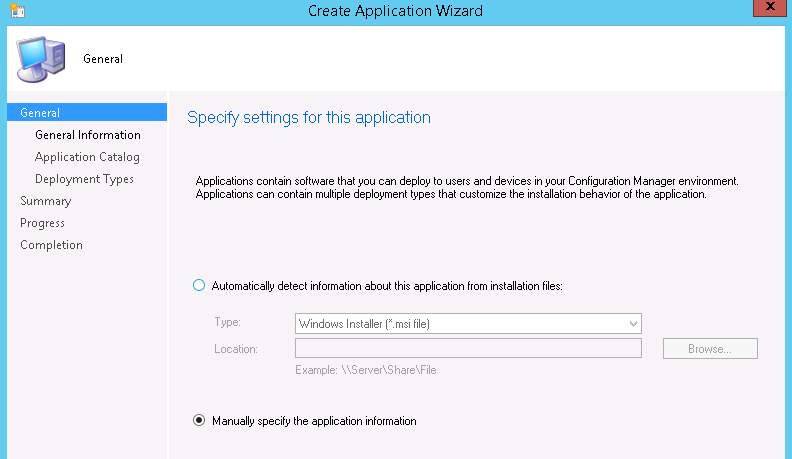
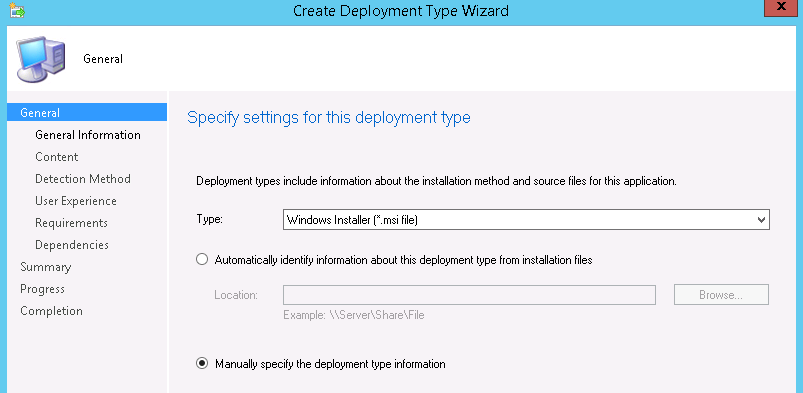
In the “General” section, choose “Manually specify the application information”.
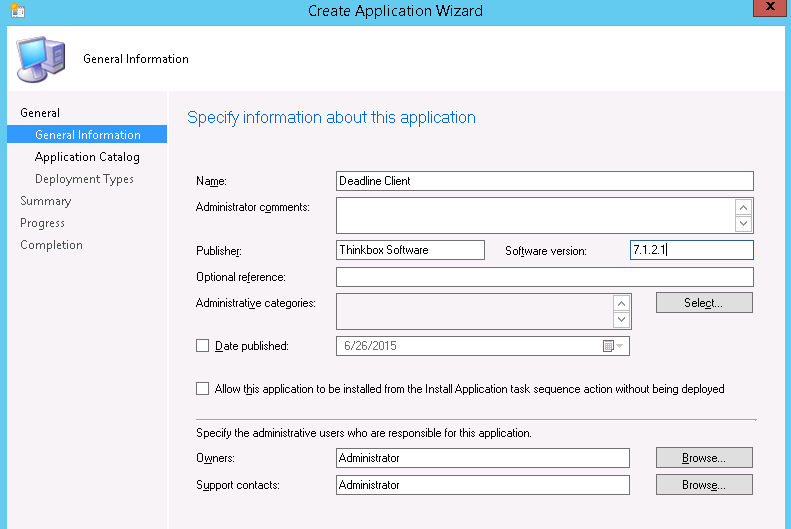
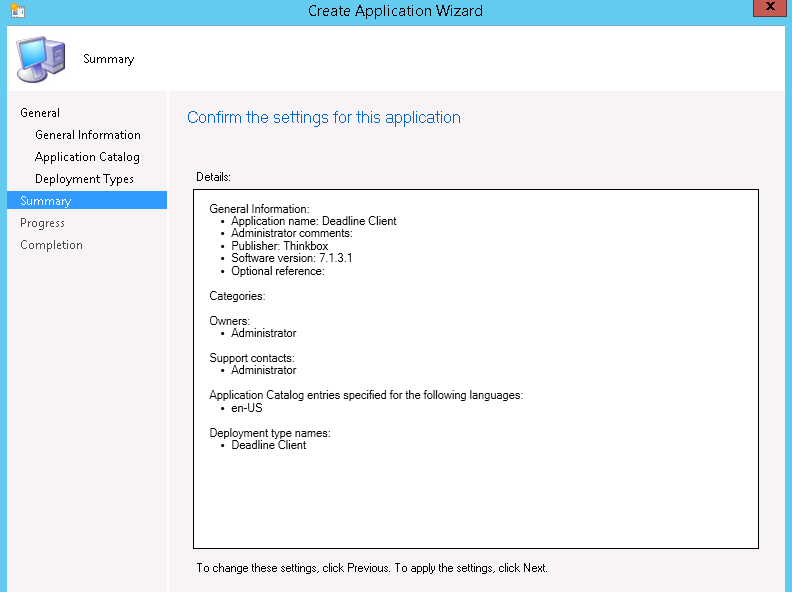
In the “General Information” section, enter the following:
Name: Deadline Client
Publisher: Thinkbox Software
Software Version: x.x.x.x (where x.x.x.x is the version of Deadline)
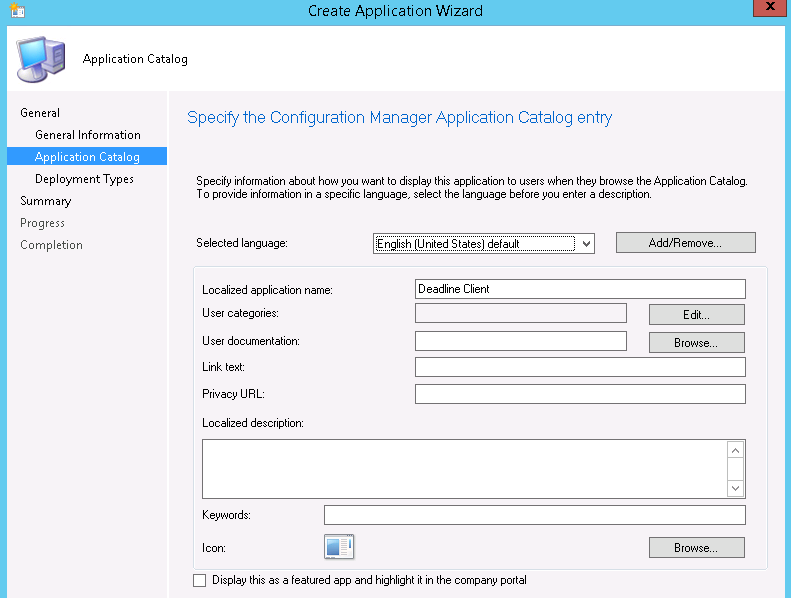
In the “Application Catalog” section, enter the following:
Localized application name: Deadline Client
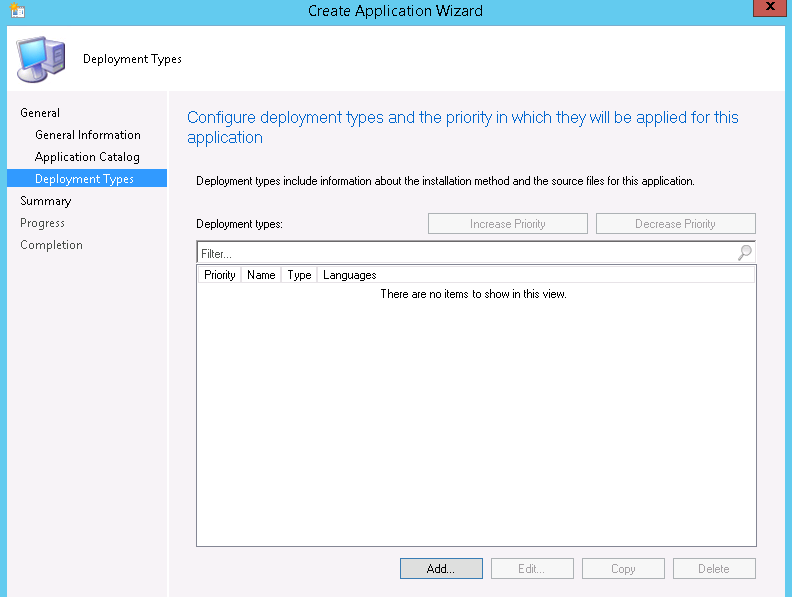
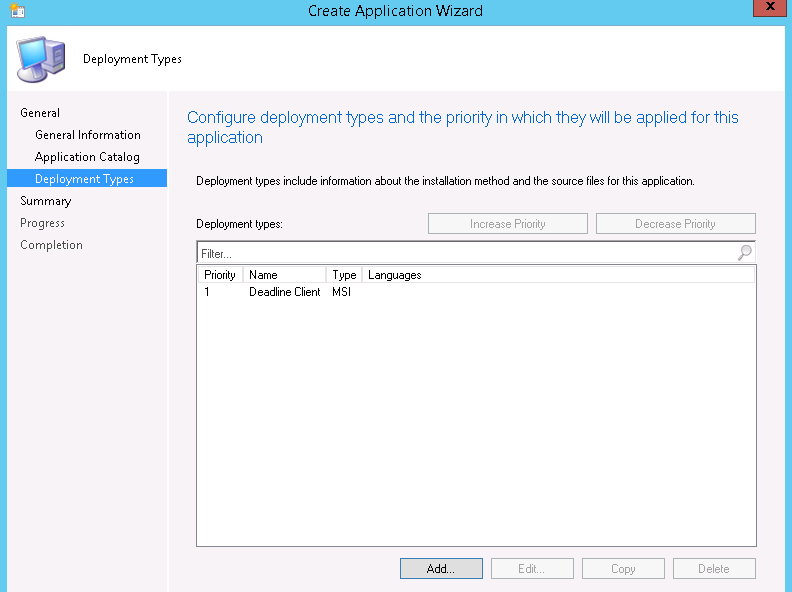
In the “Deployment Types” section, click “Add…”
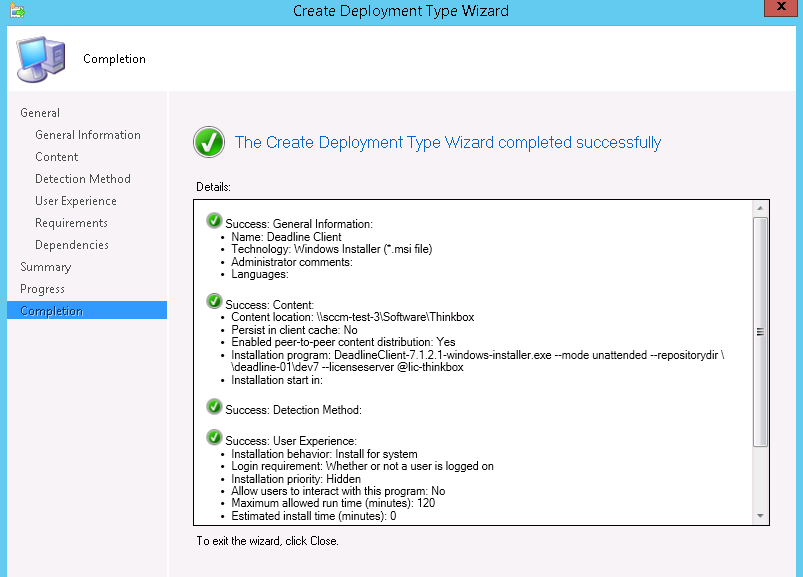
In the “General” section of the “Create Deployment Type Wizard”, choose “Manually specify the deployment type information”.
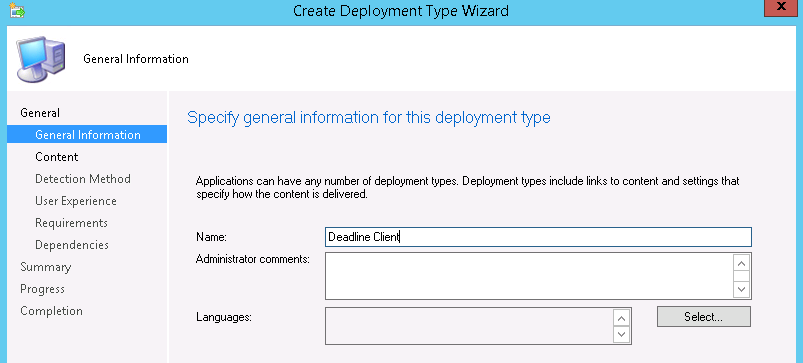
In the “General Information” section, enter the following:
Name: Deadline Client
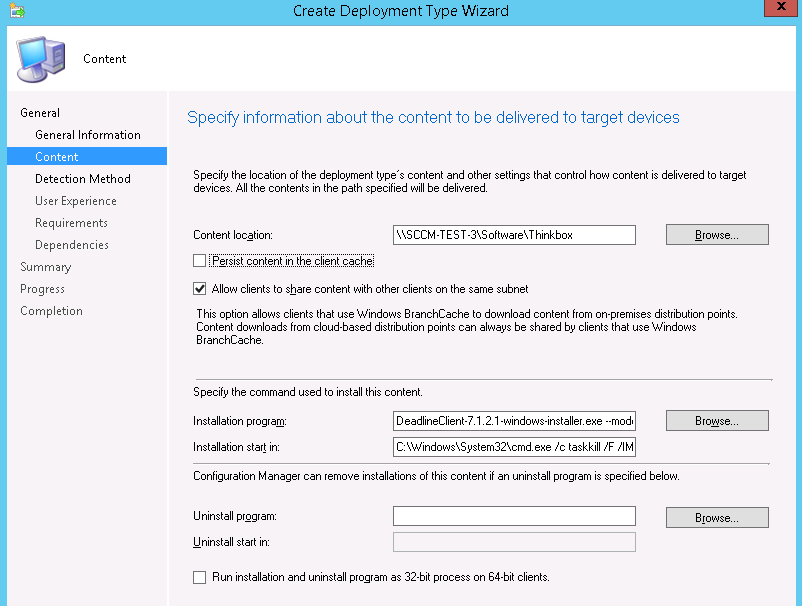
In the “Content” section, enter the following:
Content Location:
\\path\to\deadline\installers
Installation Program:
DeadlineClient-x.x.x.x-windows-installer.exe --mode unattended --repositorydir
\\servername\DeadlineRepository<VERSION>
Uninstallation Program:
C:\Windows\System32\cmd.exe /c taskkill /F /IM deadlinelauncher.exe & taskkill /F /IM
deadlineworker.exe & taskkill /F /IM deadlinemonitor.exe & taskkill /F /IM deadlinepulse.exe &
taskkill /F /IM deadlinebalancer.exe & start /wait "" "\\path\to\uninstall_wrapper\uninstall.exe"
"C:\Program Files\Thinkbox\Deadline<VERSION>\uninstall.exe" --mode unattended
Note
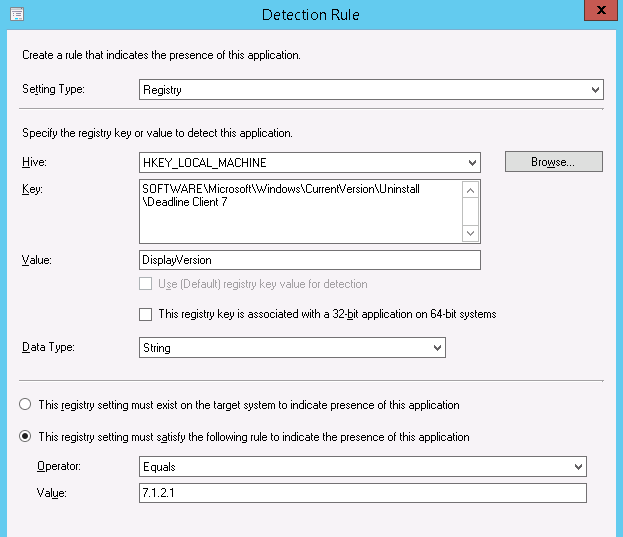
<VERSION>is the Deadline major version, such as:10.In the “Detection” section, create a new detection rule with the following settings:
Setting Type: Registry
Hive: HKEY_LOCAL_MACHINE
Key: SOFTWARE\Microsoft\Windows\CurrentVersion\Uninstall\Deadline Client x (where x is the MAJOR version of Deadline)
Value: DisplayVersion
Data Type: String
This registry setting must satisfy the following rule to indicate the presence of this application:
Operator: Equals
Value: x.x.x.x (where x.x.x.x is the version of Deadline)
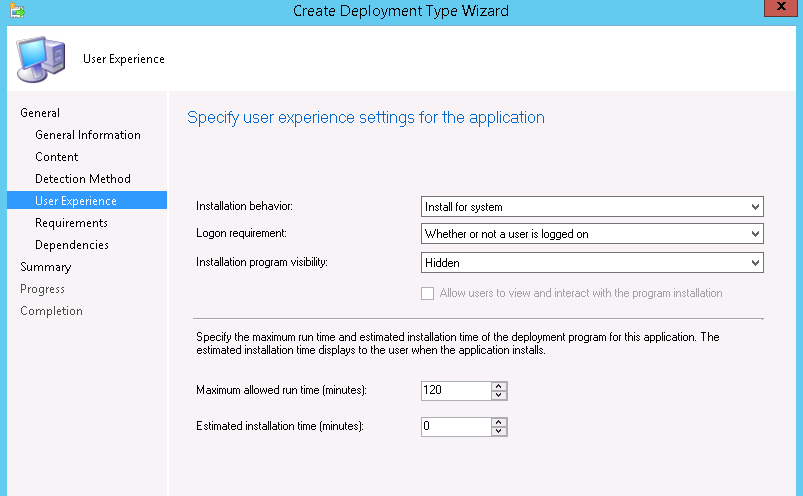
In the “User Experience” section, enter the following:
Installation Behaviour: Install for system
Logon requirement: Whether or not a user is logged in
Installation program visibility: Hidden
Maximum allowed run time (minutes): 60
Estimated installation time (minutes): 5
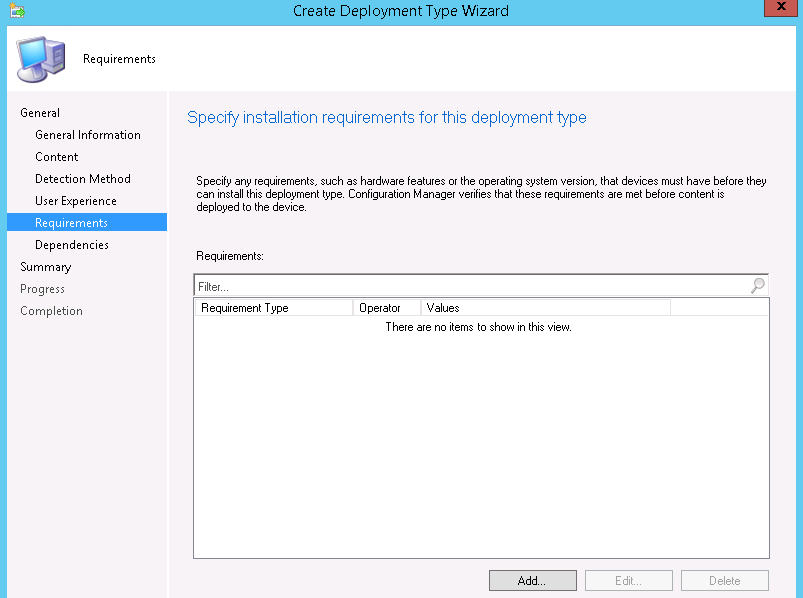
No changes are needed in the “Requirements” section.
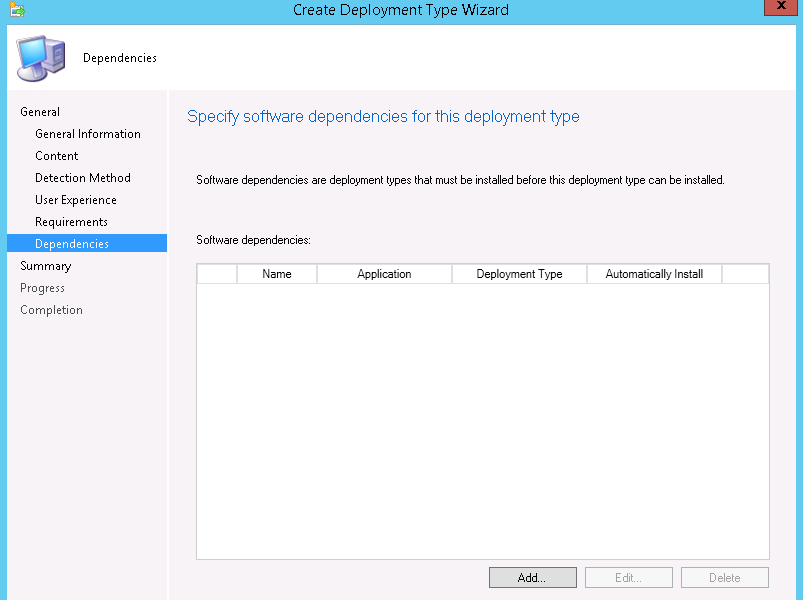
No changes are needed in the “Dependencies” section.
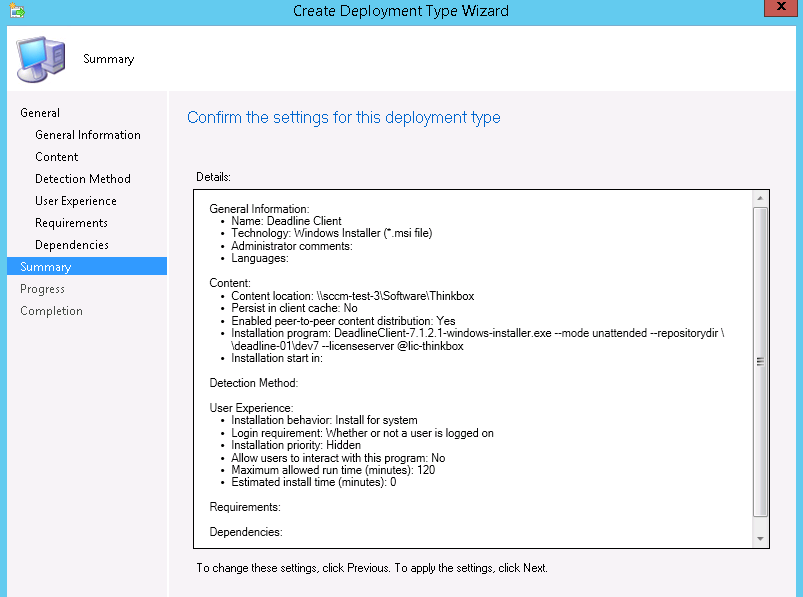
Click through the summary to return to the “Deployment types” dialog.
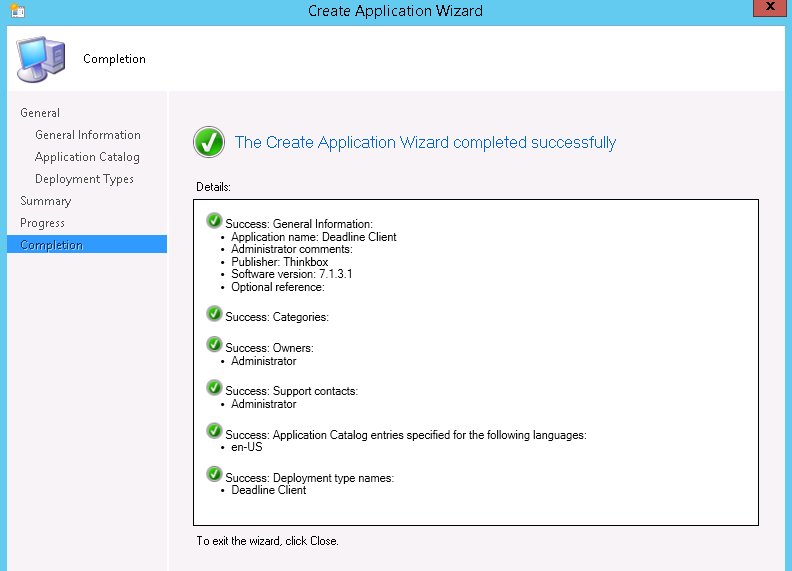
Click through the summary to finish the Application creation process.
Deploy the Application for Installation
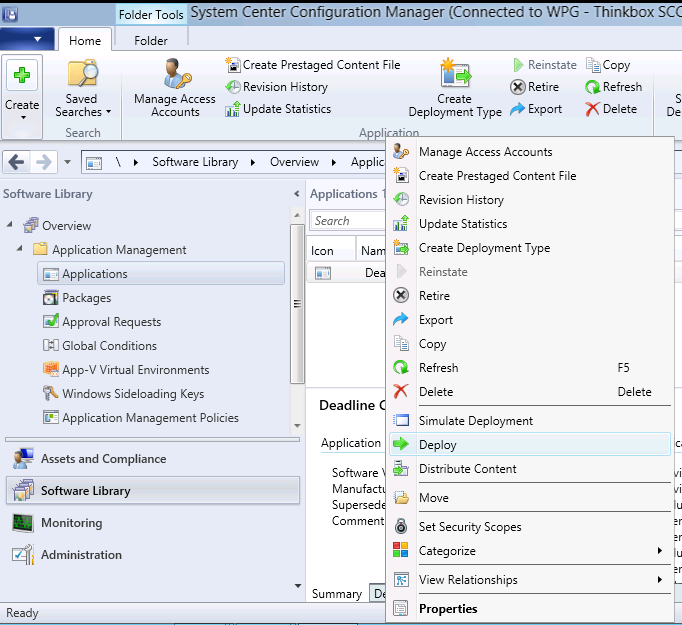
Right-click on the Deadline Client application and click “Deploy”.
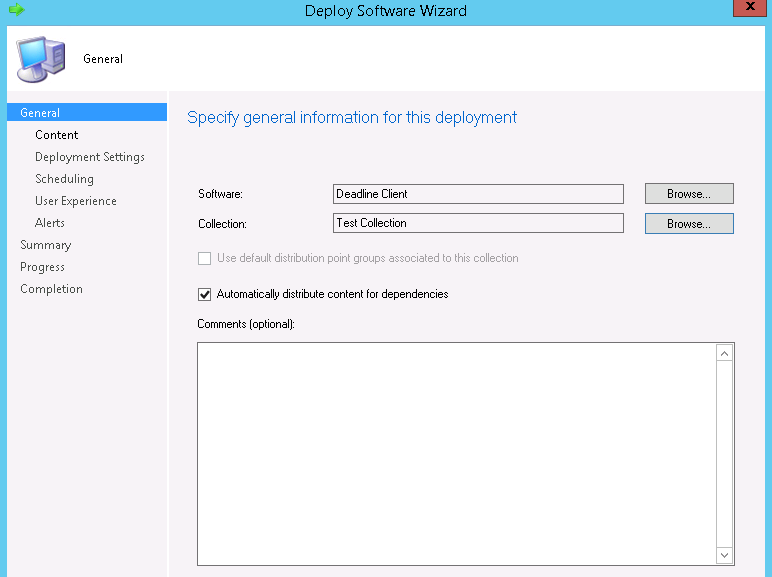
In the “General” section, select the collection(s) that you’d like to deploy to.
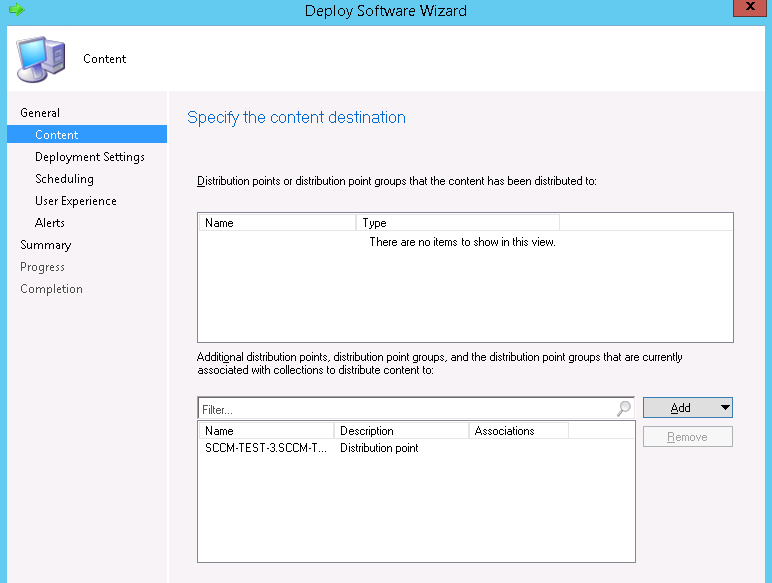
In the “Content” section, add any distribution points as needed.
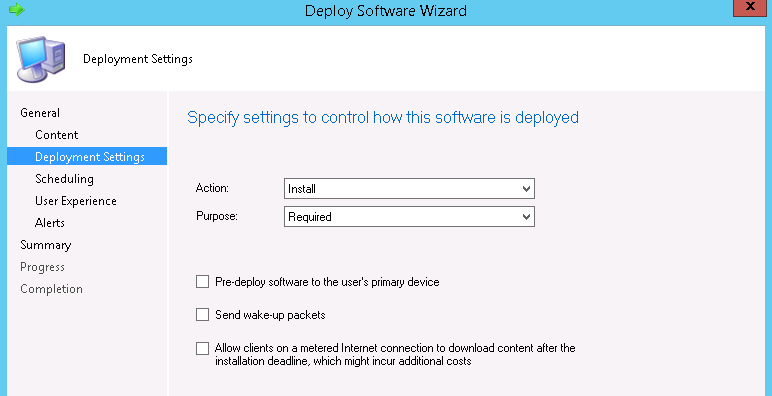
In the “Deployment Settings” section, set the following:
Action: Install
Purpose: Required
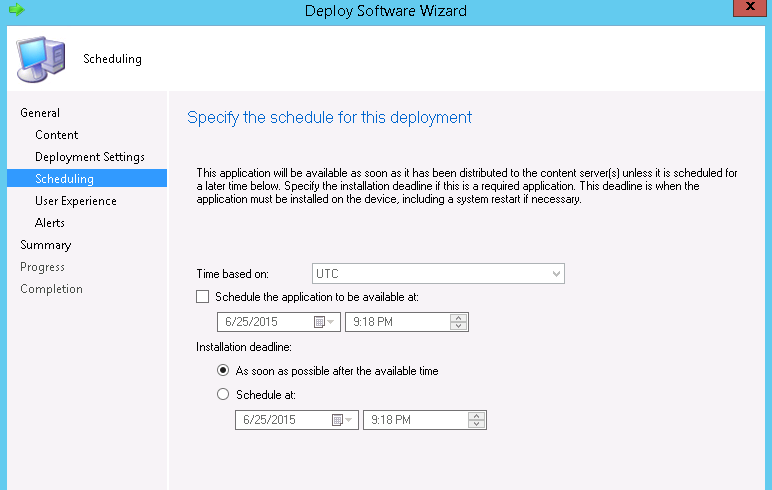
In the “Scheduling” section, set the installation deadline to “As soon as possible after the available time”.
In the “User Experience” section, configure user notifications and software availability as needed.
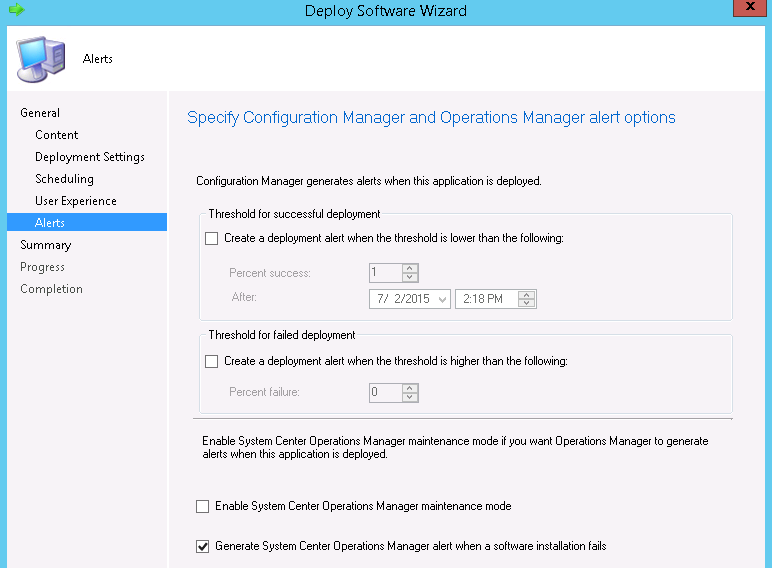
In the “Alerts” section, configure the alerting options as needed.
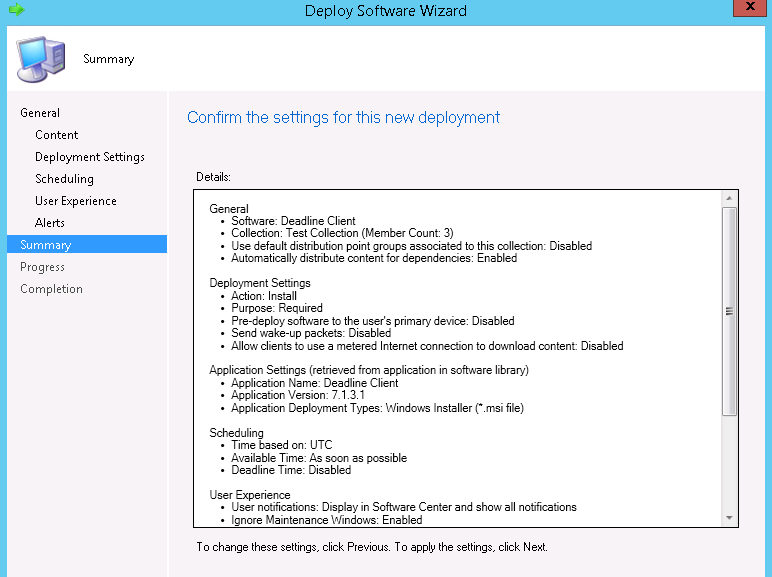
Click through the summary to complete the deployment.
Deploy the Application for Uninstallation
Right-click on the Deadline Client application and click “Deploy”.
In the “General” section, select the collection(s) for which you’d like to uninstall Deadline Client.
In the “Content” section, add any distribution points as needed.
In the “Deployment Settings” section, set the following:
Action: Uninstall
Purpose: Required
In the “Scheduling” section, set the installation deadline to “As soon as possible after the available time”.
In the “User Experience” section, configure user notifications and availability as needed.
In the “Alerts” section, configure the alerting options as needed.
Click through the summary to complete the deployment.
Visual Guidelines
Here is a series of screengrabs which step through the application creation and deployment process in SCCM: