Particle Repopulation In Krakatoa For CINEMA 4D
Introduction
- The Krakatoa renderer provides an internal mechanism for increasing particle counts based on existing lower-resolution particle systems.
- With some extreme settings Krakatoa Repopulation can produce too many particles for your system to handle.
- Thus, understanding how the various controls affect the number of particles produced and the overall look is very important.
- The following page discusses the basic parameters and workflows related to the Repopulation feature.
The Base Setup
We will start with an empty C4D scene with Units set to Centimeters.
- Create a default Sphere with Radius of 100cm, 24 segments.
- Create a default Target Spot Light.
- Create a Krakatoa PRT Volume and pick the Sphere as the source mesh.
- In the Mesh tab of the PRT Volume, enter 40cm as the Voxel Spacing.
- Open the Render Settings dialog, set the renderer to Krakatoa.
- Set the Output resolution to 640x480.
- In the Options tab of the Krakatoa renderer, check Override Background, leave the default blue color.
- Render to the Viewer.
RESULT: Only 57 particles will be generated in a grid with 40x40x40 spacing.
Basic Repopulation Principles
- Now let’s try to use the Repopulation feature on this very low-resolution point cloud barely resembling a sphere.
How Does The Repopulation Work?
- The Repopulation feature uses a voxel grid to encode all available channels of the source particles in the voxels.
- It then seeds new particles in the areas with valid data, giving birth to new particles with properties acquired from the ones encoded on the grid.
Using A Very Small Fill Radius
- Select the PRT Volume and add a Krakatoa Repopulation Tag.
- Set Fill Radius to 10cm.
- Keep Subdivs at 0 and Per Subdivision at 5.
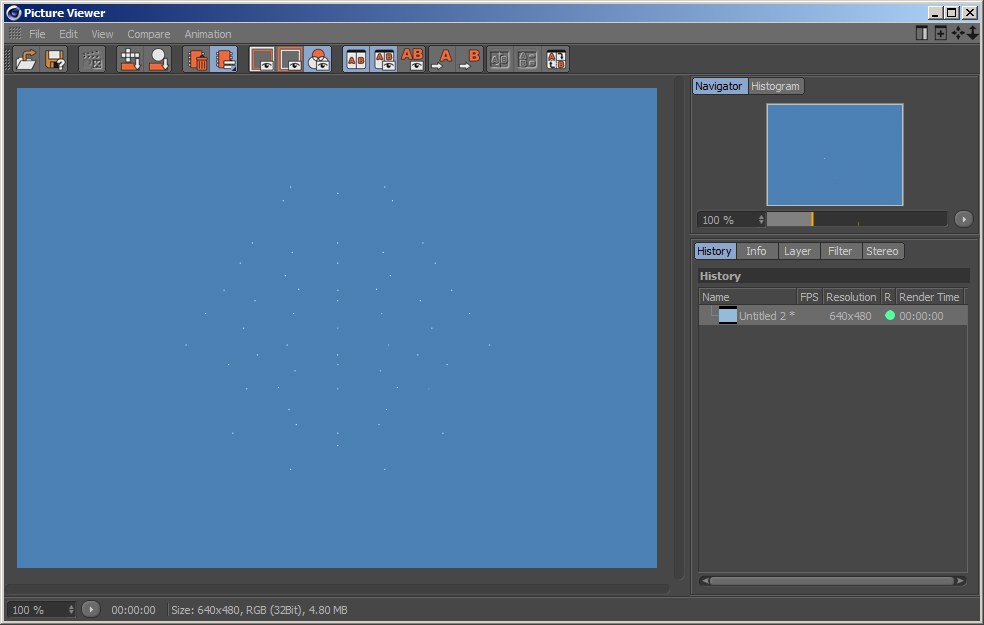
RESULT: This is clearly too low for a distribution where the distance between particles is about 40cm, but we want to see what it looks like:

- This created a voxel grid with spacing of 10cm and encoded the influence of the original 57 particles onto it.
- Then we seeded new particles within the influence regions, taking the color, density etc. of the original particles.
Creating More Particles
- Now let’s increase the number of particles:
- Change the Number Of Particles Per Subdivision to 100.
- Reduce the Final Pass Density Exponent from -1 to -3 to let more light pass through the new particles, otherwise our “blobs” will get too dark.
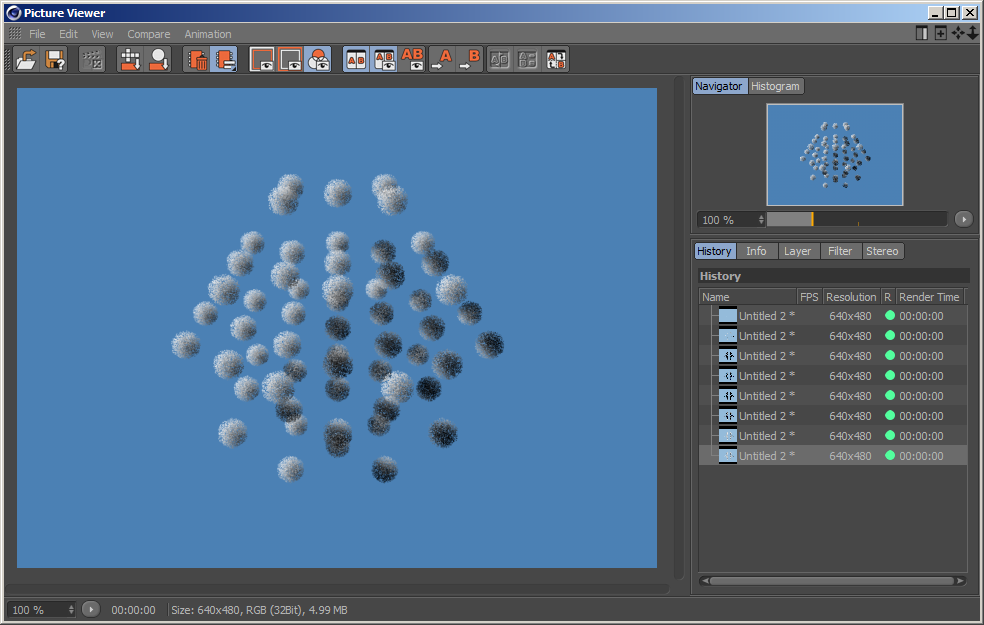
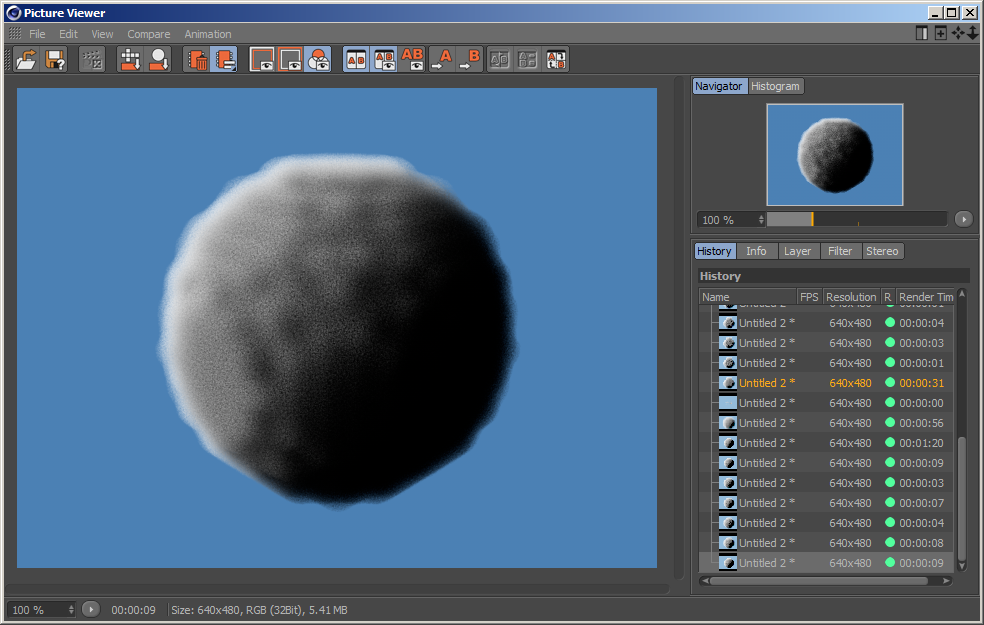
- Render 97,495 particles:
RESULT: We now have more particles within the same spherical regions with 10cm radius.
Increasing The Subdivisions
- As with PRT Volume itself, it is generally recommended to increase the Subdivisions instead as it adds some better anti-aliasing.
- Increase the Subdivisions from 0 to 2.
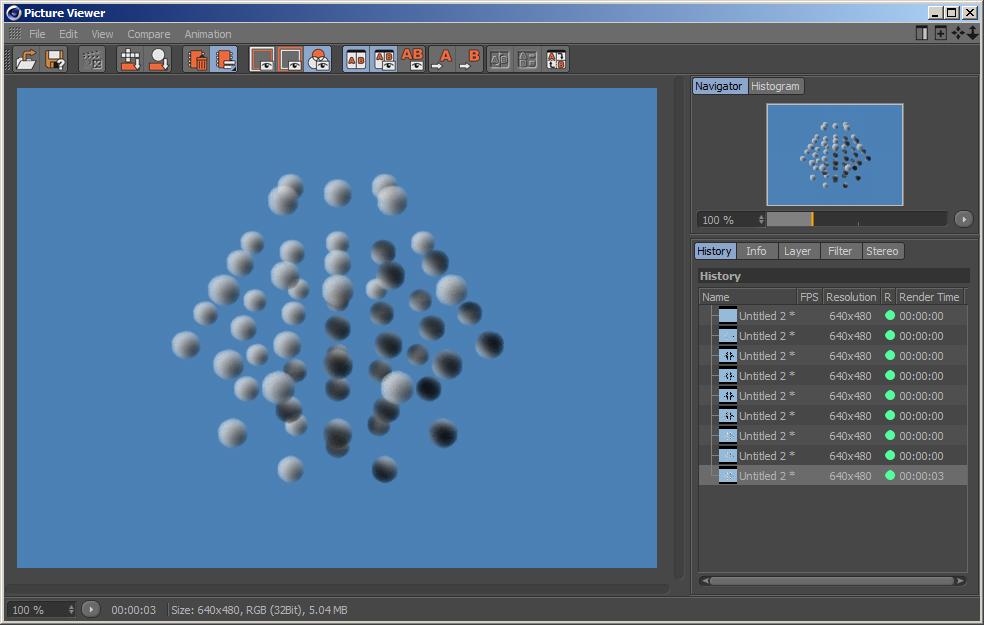
- Render again.
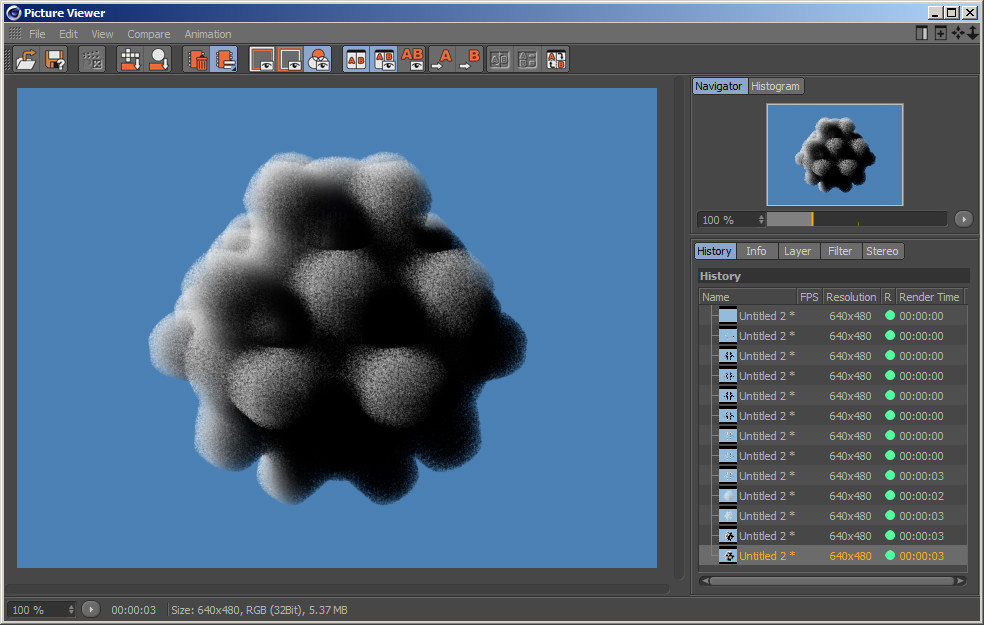
RESULT: This will turn each voxel into 3x3x3 = 27 sub-divisions, each getting potentially 100 particles. But since we are filling only around the original particles, it won’t be too much, and we get 2,627,871 particles that look like this:
Using A Larger Fill Radius
- Now let’s try increasing the Fill Radius a bit.
- Set the Fill Radius to 25cm .
- This is still not enough to cover the 40cm between the original source particles, but enough for them to overlap a bit (at 20cm radius they would be touching exactly, at 25 you get 10cm overlap).
- In the Krakatoa Settings, increase the Final Density Exponent to -1 to give it more light-shadow contrast:
- Set the Fill Radius to 25cm .
Setting The Fill Radius To The Voxel Spacing Value
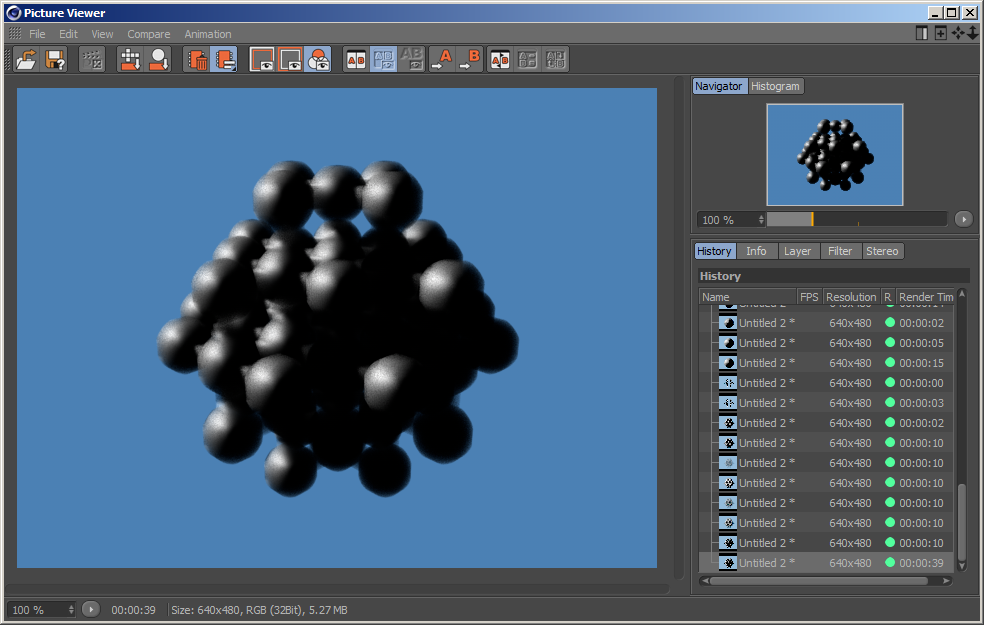
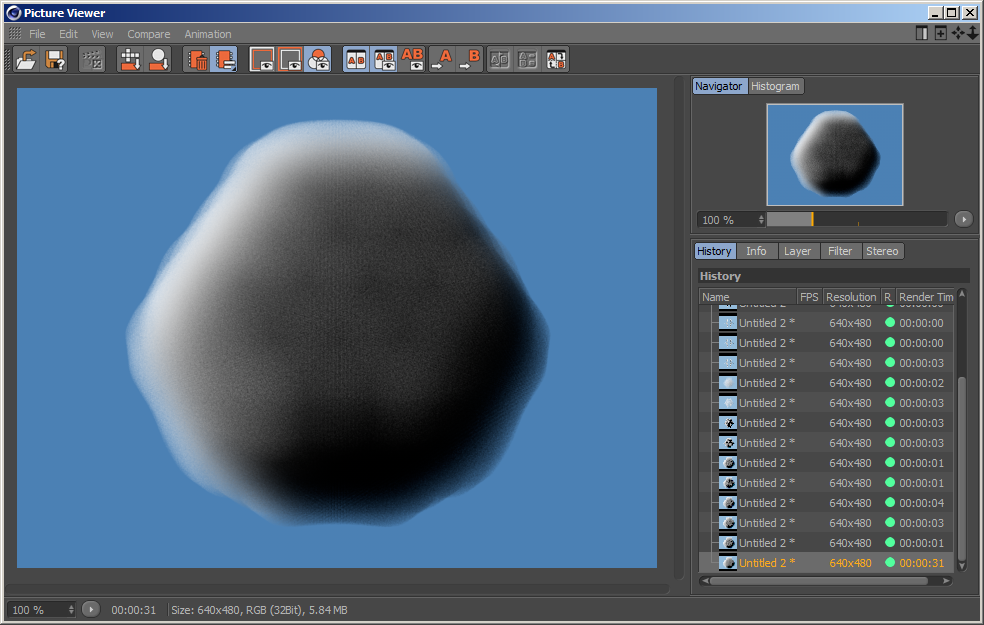
- Now we can set a much higher radius of 40cm which should help us recreate something similar to a Sphere.
- But unlike CSI Miami, we cannot get more detail out of low resolution data, so our sphere will be quite rough:

- We start noticing some patterns in the random distribution. It is generally better to increase the Subdivs and not the Number Of Particles.
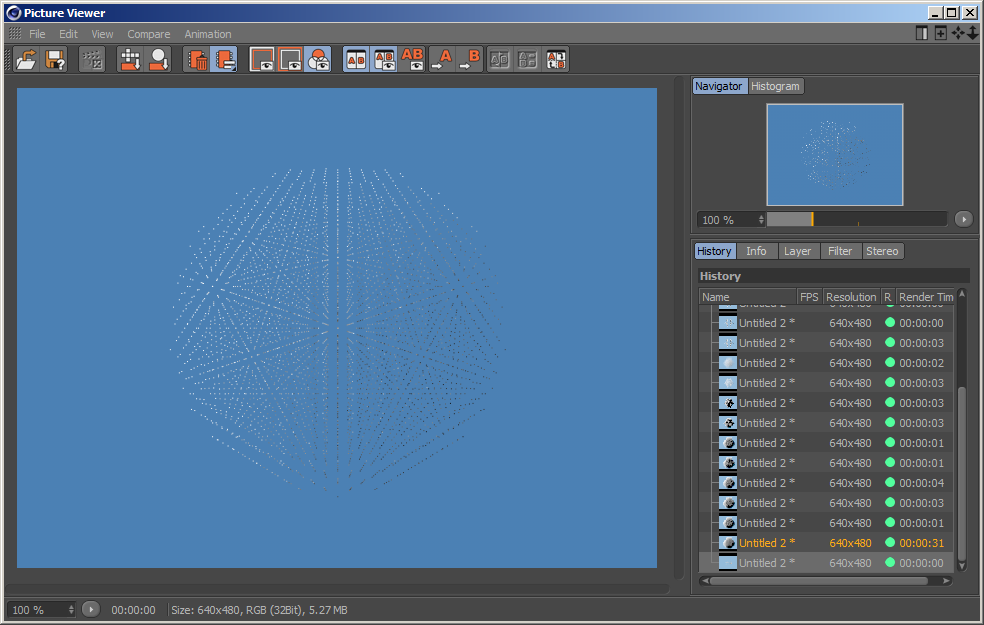
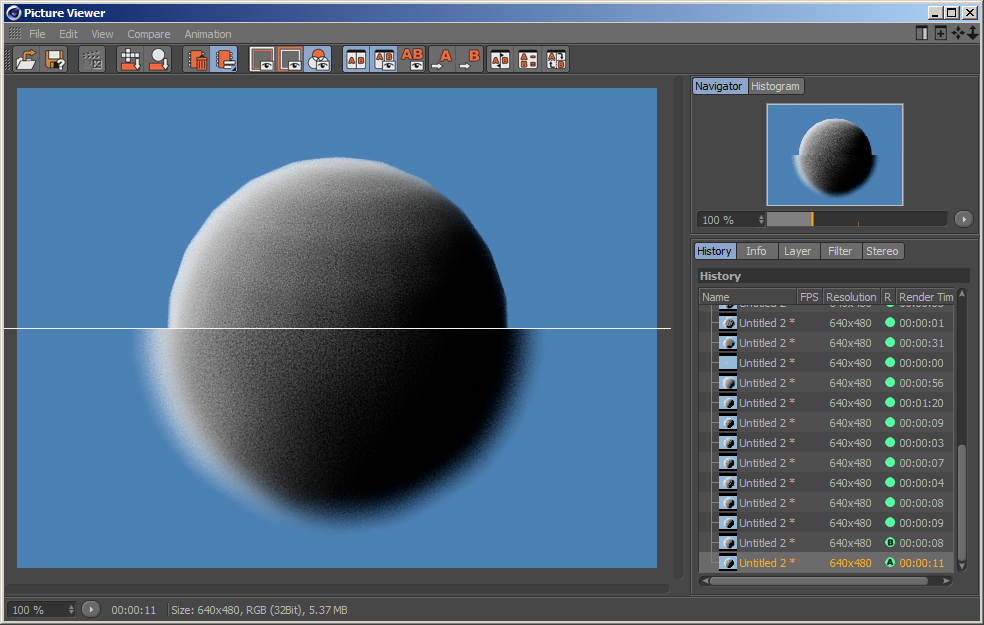
- Here are 7 Subdivisions, 100 particles per subdiv, creating 39,601,281 particles in 10 seconds, and rendering in 21 more for a total of 31 seconds:
- There are some vertical lines that become obvious.
- To improve the look, we could reduce the Particles Per Subdivision and further increase the Subdivisions count.
Increasing The Orignal Particles Resolution
- Our cloud is getting smoother, but not more detailed - we need more base particles to get a better representation of the original Sphere.
- In the PRT Volume Mesh settings,
- Change the Voxel Spacing to 10cm.
- Disable Repopulation
- Render to see the distribution of 3,959 particles:
- If we would render with the original 40cm Fill Radius, this would produce 73,742,253 particles in 18 seconds and total render time of 56 seconds:

- Obviously, the right thing to do is to reduce the Fill Radius to about 10cm which was our average particle distance in the base cloud.
REMEMBER!
- The Subdivisions apply to the Fill Radius.
- So a Fill Radius reduced 4 times will result in the subdivisions also becoming 4 times smaller, and each getting 100 particles.
- Even reducing the Subdivs from 7 to 2 would produce 100 million particles!
- Reduce the Number Of Particles Per Subdivision from 100 to 10
- Reduce the Subdivisions from 7 to 2.
- Setting the Radius to 10 will still show some grid artifacts because the original particles don’t really constitute a full smooth sphere, but a boxy approximation with 10cm voxel grid size, or 20x20x20 voxel grid with one particle in the center of each voxel.
- Render to see the resulting 9,968,897 particles:
Comparing Repopulation To Original High-Resolution PRT Volume
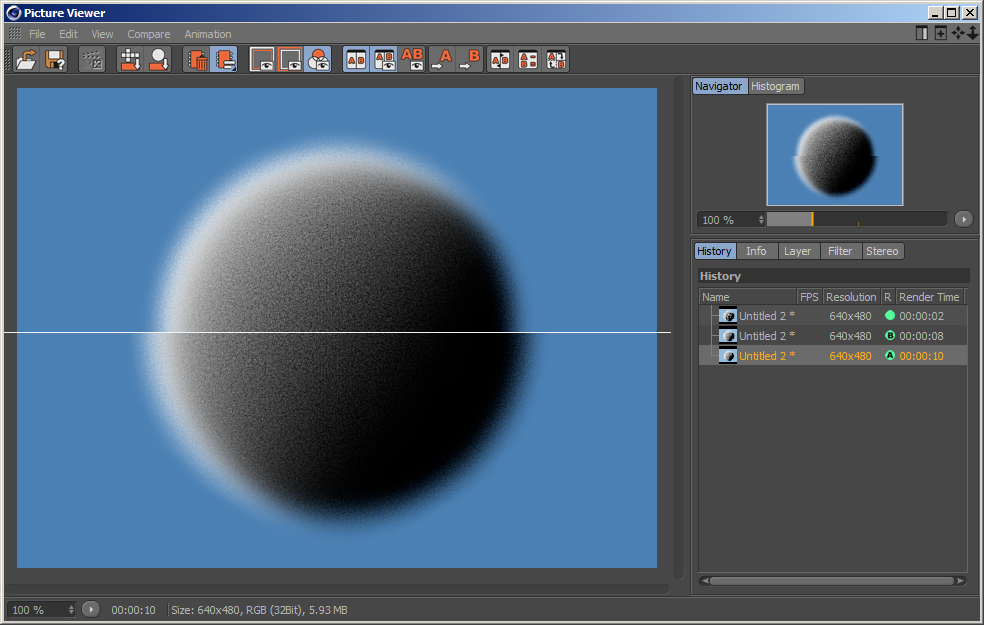
- Using a larger Fill Radius of 20.0 and a higher Subdiv of 4 will smooth out the edges, but of course our cloud will be about 10cm larger than the original sphere.
- In the following screenshot, the top image is the PRT Volume with Voxel Spacing of 2cm and Subdiv 1, Jittered, 2 particles per region, total of 8,138,288 particles in 11 seconds.
- The bottom image is the 4000 particles repopulated to 8,525,753 particles in 8 seconds:
Using The Density Falloff Start Value
- So far, we left the Density Falloff Start value at its default of 0.
- In other words, there will be no Density falloff within the Fill Radius.
- This produces solid spheres around each original particle.
- The Density Falloff Start value ranges between 0.0 and 1.0.
- The following illustration shows how the value affects the beginning of the linear falloff relative to the original particle position and the Fill Radius:
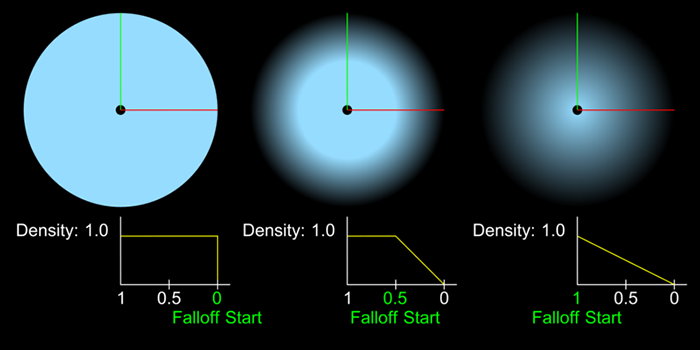
- Increasing the Falloff to its maximum of 1.0 causes a linear Density falloff for the full range from 1.0 at the location of the original particle to 0.0 at the influence range.
- This of course reduces the overal size of the resulting spherical cloud compared to the 0 falloff version:
Repopulation And Normals Generation
- A lot of CINEMA 4D particles don’t have their own Normals.
- Krakatoa PRT Volume particles do have Normals taken from the surface of the Mesh’s LevelSet produced when voxelizing the source mesh.
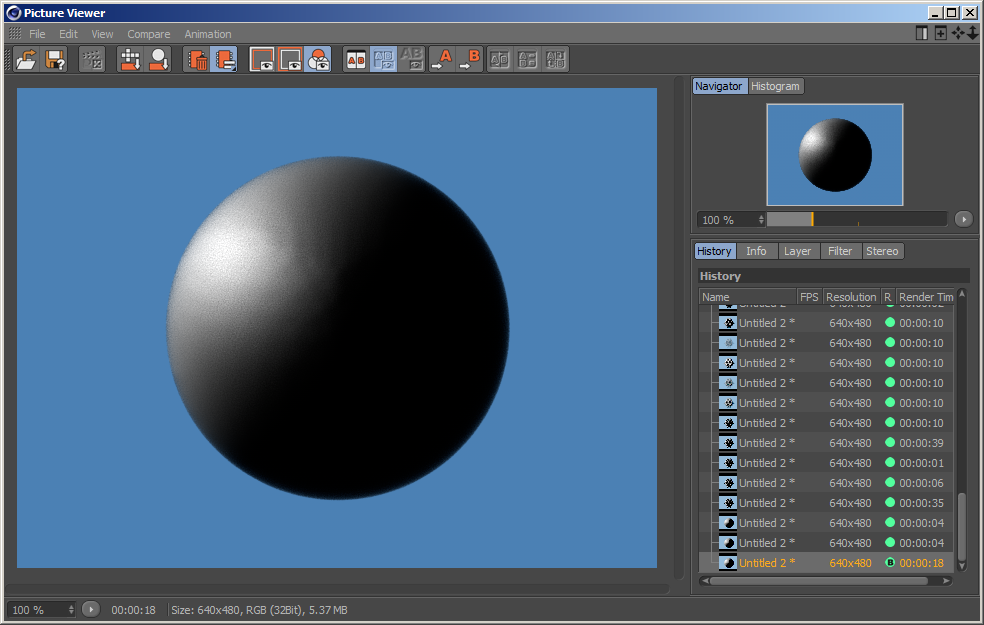
- Increase the Sphere Segments from 24 to 64 to produce a smoother LevelSet surface - in the previous example of the PRT Volume you can see the slightly flat segments of the original polygons.
- Change the Shader from Isosurface to Phong.
- Set the PRT Volume’s Voxel Spacing to 2.0 cm and the Subdivisions to 1.
- But it would make very little sense to transfer these to the new Repopulated particles the way we transfer Colors, Densities, Velocities etc.
- So the Repopulation feature actually takes the LevelSet info produced when encoding the source particles onto the Repopulation grid, and produces NEW Normals from that!
- Thus, if you take the example of 40cm Voxel Spacing, but with 20cm Repopulation “blobs” slightly touching, each individual blob will get its own correct surface Normals.
- And Phong Shading works correctly!