Environment Reflection Maps
Available in Krakatoa v1.5.0 and higher
Introduction
- Krakatoa can use the Environment Map found in the 3ds Max Environment Dialog as an additional light pass by looking up texels of the map along the particle Normals (in case a valid Normal channel is provided).
Enabling Reflection Mapping
To enable Environment Reflections, the following steps must be performed:
- A valid Texture Map must be placed in the Environment Map slot of 3ds Max.
- It should be set to an Environment Projection mode, typically Spherical.

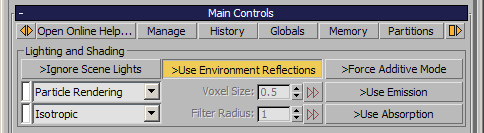
- The >Use Environment Reflection option should be checked in the Main Controls rollout.
Providing Normal Channel
- Enabling Reflections will add the Normal channel to the list of Memory Channels in the Channels rollout.
- The particles must provide Normal data for the Reflections to work.
- PRT Volume particles will acquire the Normals from the closest surface point of the source volume automatically.
- PRT Loader can load existing Normals or acquire Normals from Culling geometry even if no culling is performed.
- PRT FumeFX can generate Normals from the DensityGradient.
- Krakatoa Channel Modifiers on PRT Loader, PRT Volume or PRT FumeFX objects can modify existing or assign new Normals using Surface operators or mathematical calculations.
- Particles from Geometry Vertices will use the Vertex Normals of the source mesh.
- Particle Flow particles will generally store the X axis of their transformation matrix as the Normal.
- The particles can be oriented using various Operators including Rotate>Speed Follow, Box #3 sub-operators or the dedicated Krakatoa Geometry Lookup Operator which can acquire Normals from the closest point of a selected geometry surface.
- Thinking Particles will use the X axis of the transformation matrix.
- Legacy Particles do not provide a transformation matrix and can thus generate no Normals or Reflections.
Controlling Reflection Maps
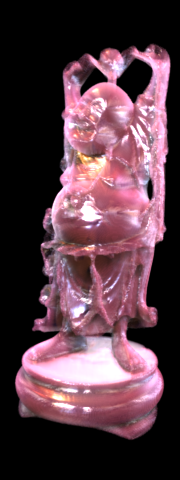
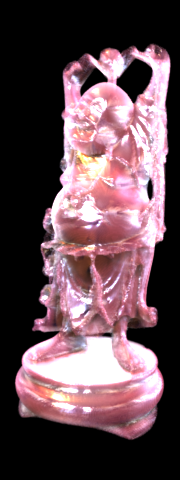
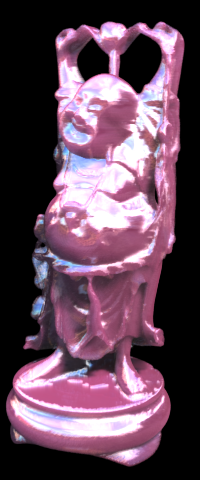
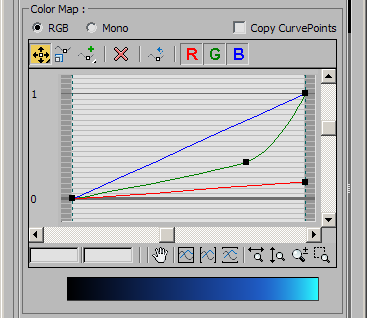
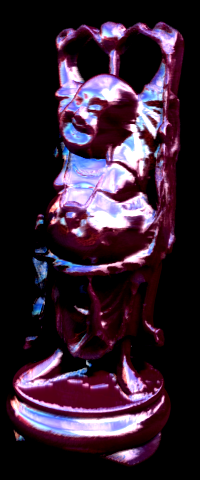
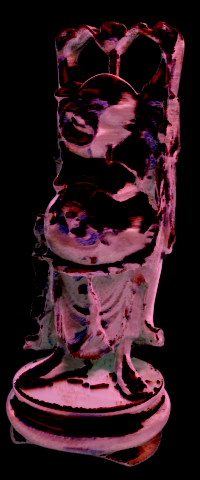
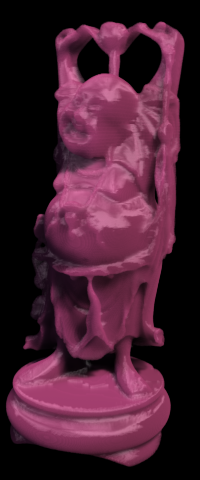
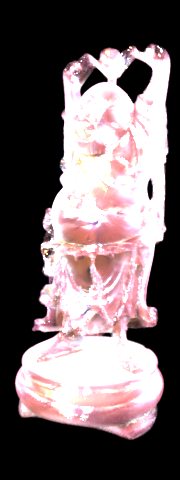
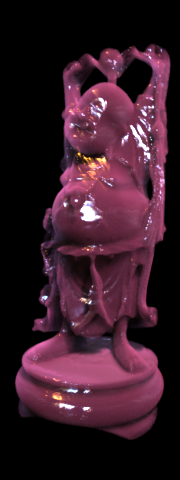
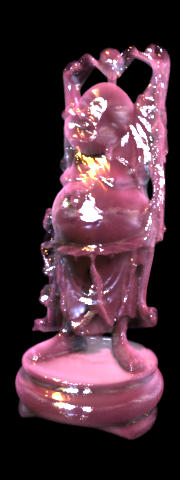
When the >Use Environment Reflections option is enabled, the Environment Map will be applied to the rendering in the Final Pass by looking up texels along the particle normals and using the RGB color produced by the map.
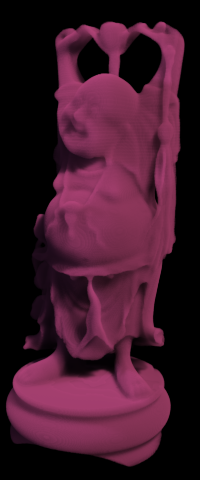
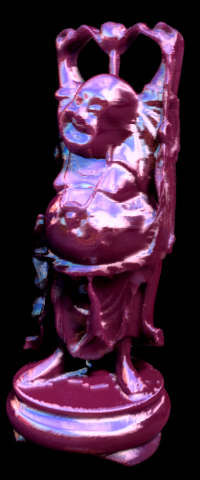
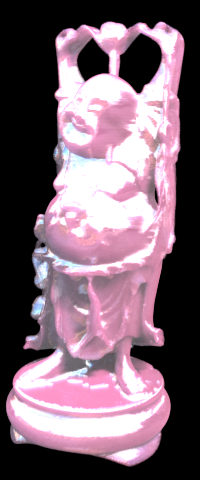
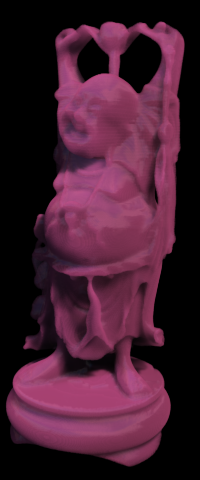
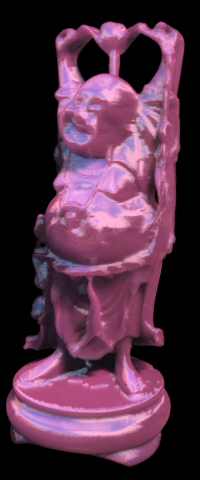
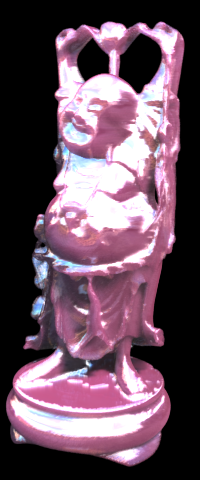
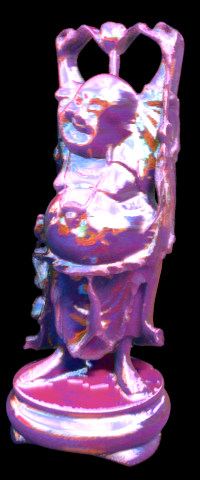
- The left image shows a PRT Volume object rendered without reflection maps.
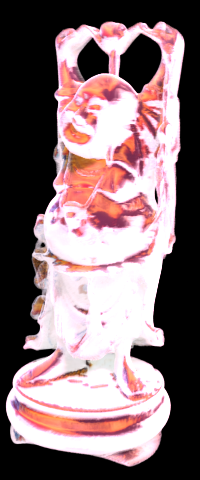
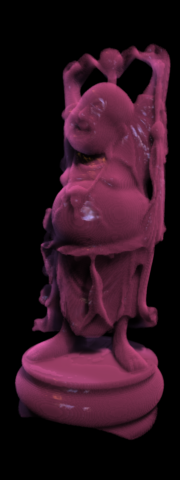
- The right image shows the same object rendered with the standard KC_outside_hi.hdr map shipping with 3ds Max.
Note
Since the reflection is calculated dynamically in camera space during the Final Pass, it is independent of the Color channel and the Particle / Lighting Caches and can be recalculated without having to load and recalculate all particle channels. Thus, you can tweak the reflection map look almost interactively.
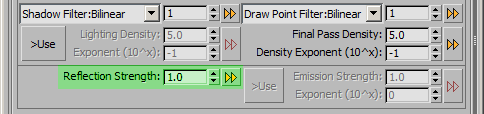
- In Krakatoa MX 2.0.0 and higher, the Reflection Strength value will control the intensity of the Environment Reflection pass - the default value of 1.0 will render as in earlier versions, values between 0.0 and 1.0 will produce reduced Reflection intensity, values above 1.0 will boost the Reflection.
- Krakatoa will respect the following controls found in the Output rollout of the Bitmap map:
Invert
- This Output option inverts the RGB values:
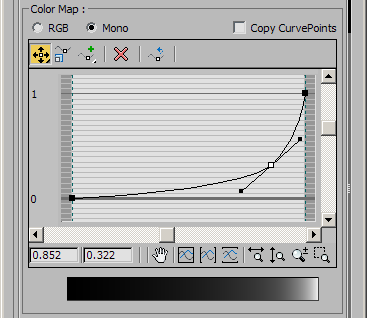
- Note that the same result could be achieved by setting a Mono Curve that starts with 1.0 and ends with 0.0, with any curvature in between to tweak the intensity of the intermediate values - see below:
Clamp
- This Output option clamps the color values within valid ranges.
- See the topic “Mising the Output Controls” below for en example of clamping invalid values.
Enable Color Map - Mono Curve
- Uses the Mono curve to remap the output colors in a non-linear fashion.
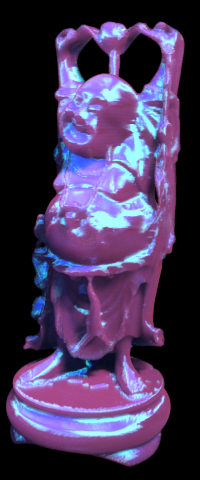
Enable Color Map - RGB Curve
- Uses the R, G and B curves to remap the the 3 color components independently.
Output Amount
- Controls the Output amount of the map.
- When set to 0, disables the output completely.
- Typically useful when tweaking Inverted maps to balance the output values together with RGB Offset and RGB Level.
RGB Offset
- Adds the RGB Offset value to the R, G and B components:
- The following examples show RGB offset of -0.25, 0.0 (default) and 0.25:
RGB Level
- Multiplies the R, G and B values by the RGB Level value:
- The following examples show RGB Levels of 0.1, 0.5, 1.0 and 1.25:
Mixing the Output Controls
- Obviously, the various bitmap Output controls can be combined to achieve the desired look.
- The following image shows RGB Level of 1.5 and RGB Offset of -0.5 applied at the same time:
- The following two images show Inverted Output with Output Amount set to 0.75, RGB Offset of 0.75, RGB Level of 3.0 without and with Clamp checked:
Using Color Correct Map
- To modify the exposure of the Environment Map interactively inside of 3ds Max, you can also employ the ColorCorrect Map (the free ColorCorrect by Cuneyt Ozdas for earlier versions of 3ds Max, or the built-in one in 3ds Max 2009 and higher).
- The following examples show the same map with a Color Correct map set to Monochrome, Monochrome with Brightness and Contrast set to -50, and Color with Saturation set to 100.0:
Controlling HDRI Exposure
- When using a High-Dynamic Range Image (HDRI, EXR) as the Environment Map, the Default Exposure of the source might be too high.
- There are several approaches to tweaking the Environment Reflection intensity:
Adjusting the RGB Level
- If the bitmap is being loaded with Default Exposure, or the image is not an HDRI and there is no exposure control in the I/O plugin, you can use the RGB Level control in the Output rollout of the 3ds Max Bitmap Texture to scale the input linearly:
The following images show no environment reflections compared to RGB Levels of 0.01, 0.1 and 1.0 while using Default Exposure:


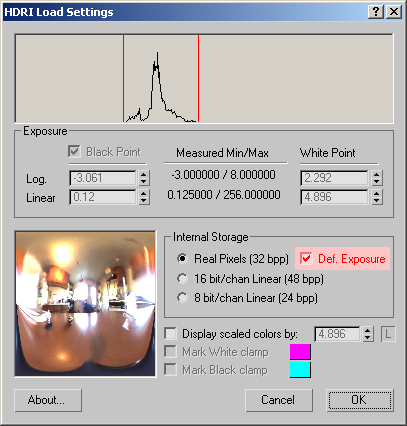
Adjusting the Black and White Points
- The preferred approach to scaling the input values is to use the built-in Exposure Controls of the Image Loader plugin (HDRI or EXR).
- Other than the RGB Level value, it scales the values logarithmically, producing much better results.
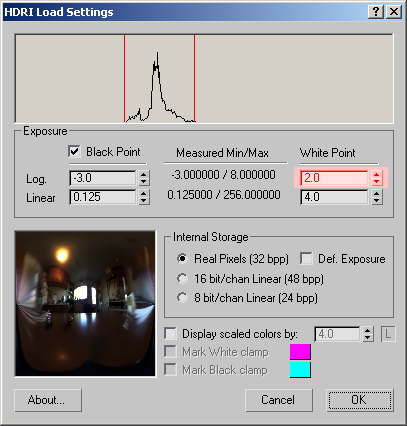
- The images below use a White Point of 7,6,4 and 2 respectively:
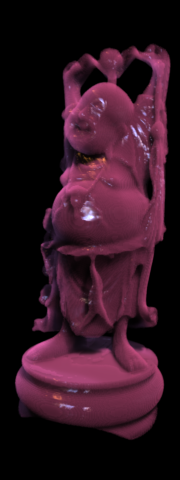
Mixing The Two Approaches
- The RGB Level value can still be used AFTER the image has been scaled by the loader to tweak the final intensity:
- The Black and White Points in the HDRI I/O Setup Dialog provide means to control the exposure:
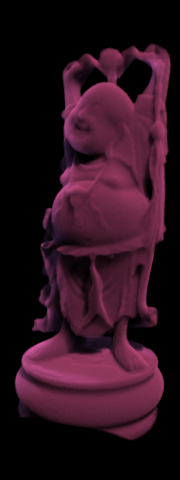
- The following images show the Bitmap loaded with Black Point of -3 and White Point of 2.0
- From left to right - Isotropic shading with No Environment Reflections, RGB Level of 1, 2 and 3: