Installation And Setup
Stoke MX
Stoke MX 2.x is provided as a single 64 bit installation package.
Installation
Launch the Stoke MX installer.
The following dialog will appear and after some disk space checking, will enable the Next button.
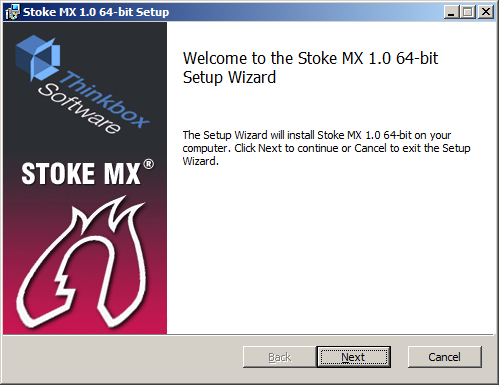
Press the Next button to continue, or the Cancel button to exit the installation.
The following dialog will ask you to read and accept the End User License Agreement.
The Next button will only be enabled once you have agreed.
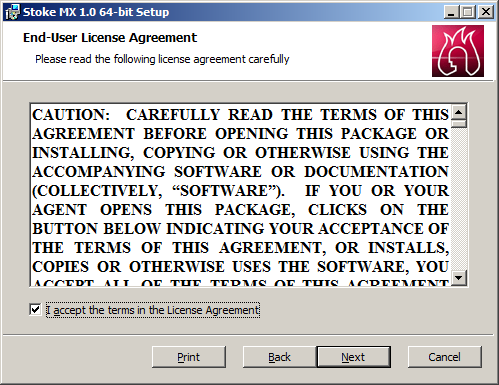
If you don’t agree, press the Cancel button to exit the installation.
If you agree, check the checkbox and press Next.
The following dialog shows you the components that will be installed.
You can customize which plugins will be installed and the location where the files will be copied to.
In most cases, it is a good idea to leave the settings at their defaults.
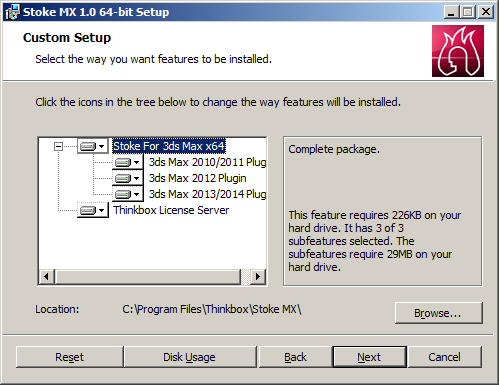
Press Next to continue.
In the following dialog, you can select the version of 3ds Max installed on your computer according to the Windows Registry. Check the ones you want to add Stoke to.
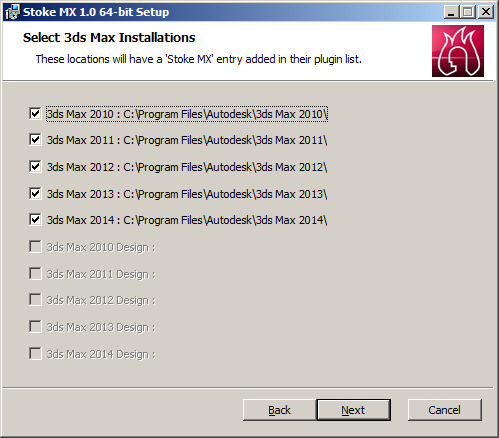
Press Next to continue.
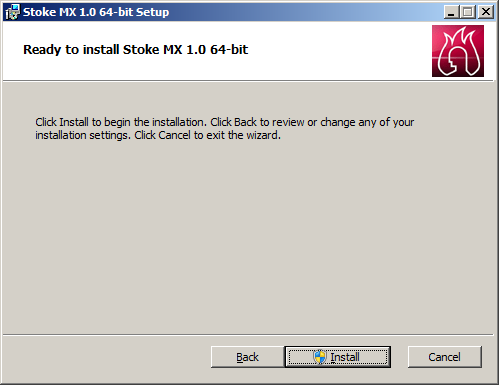
Press Install to continue.
You might be prompted about confirming the installation by the Windows defense mechanisms (e.g. UAC).
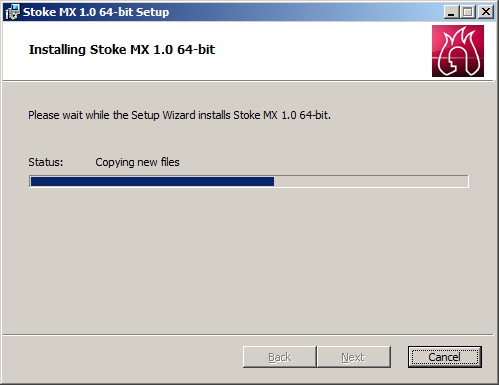
Wait for the installation to complete.
The following final screen will appear:
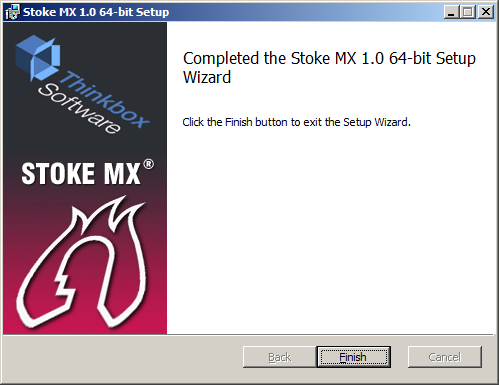
Press Finish to end the installation and launch 3ds Max to start using Stoke MX.
Installation Structure
The Stoke MX Installer copies all relevant files into a Stoke MX folder, usually in the Program Files folders of Windows (unless specified differently during the installation procedure).
The typical install location is C:\Program Files\Thinkbox\Stoke MX\
The following sub-folders are created within the main folder:
- C:\Program Files\Thinkbox\Stoke MX\3dsMax20XX\ - contain the respective plugin files for 3ds Max 20XX.
- C:\Program Files\Thinkbox\Stoke MX\Icons\ - contains the 4 Stoke MacroScript icon files (image and alpha for 16 and 24 pixel icons), and the StokeUI.bmp defining the UI icons.
- C:\Program Files\Thinkbox\Stoke MX\Scripts\ - contains the StokeUI.ms implementing the scripted Stoke plugin and the UI MacroScripts, the StokeSimulator.ms implementing the simulation logic, the StokePartitioning.ms implementing the local partitioning/Deadline submission tool, and the StokePartitionTasksOnDeadline.ms which is used by Deadline to process partitions on the network.
- C:\Program Files\Thinkbox\Stoke MX\BlackOps\ - contains the shipping compound operator definitions for the Magma editor.
- C:\Program Files\Thinkbox\Stoke MX\Shaders\ - contains custom viewport shaders for point display.
The only connection between 3ds Max and Stoke MX is an entry in the 3ds Max plugin.ini file which points at the corresponding plugin folder for the respective 3ds Max version.
In order to move the Stoke folder structure to a new location, all you need to do is move the complete Stoke MX\ folder with all its sub-folders listed above without changing the sub-folder structure. Then edit the plugin.ini entry of 3ds Max to point at the new location. This can be used to copy Stoke to network machines or put it in a centralized network location for all workstations and network nodes to access.