Installing FROST MX on a Workstation
- Double-click the installer file, FrostMX-*.msi
- FROST MX 2.x ships as a 64 bit installer for 3ds Max 2012 to 3ds Max 2017.
- The FROST MX installer dialog should appear:
- Click [Next] to start the installation.
- Read the EULA.
- If you accept the license, check “I accept the terms in the License Agreement” press [Next] to continue.
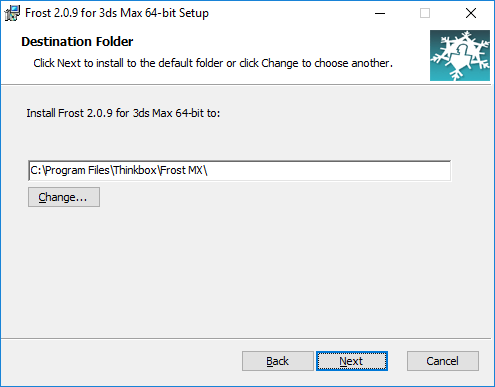
- Review the default installation path, or press [Change…] to pick an alternative installation location.
- Press [Next] when you are ready to continue.
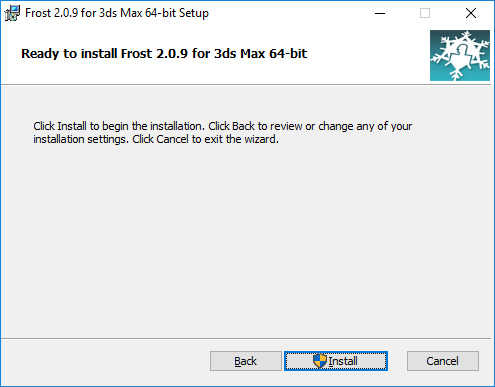
- Press [Install] when ready.
- If a previous version of FROST is already installed and one or more instances of 3dsmax.exe are found to be running, a Files In Use dialog will appear.
- It allows you to attempt to close the applications preventing the update, or ignore them, but reboot the computer after installing FROST MX.
- You can also close the 3ds Max instances manually.
- If the above dialog appeared, press [OK] to continue after making a decision via the radio buttons.
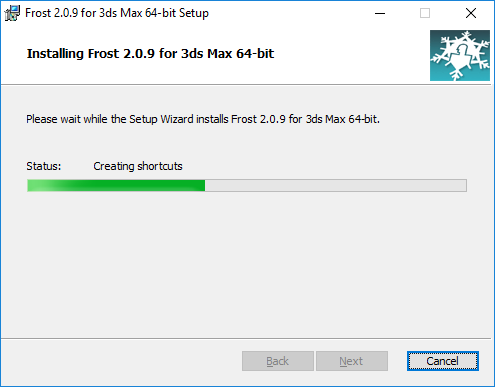
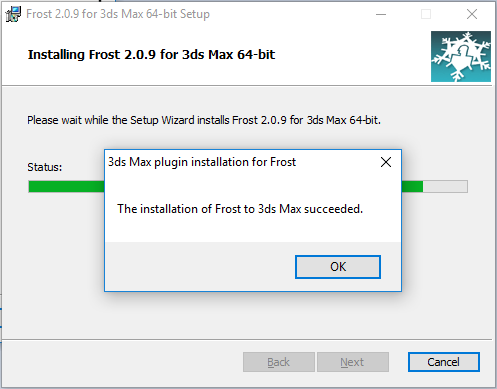
- Wait for the installation to copy all files.
- Review all paths browse to the 3ds Max install to which you wish to add Frost.
- The list will show the supported 3ds Max versions and their installation paths.
- You can uncheck any versions you don’t want Frost to be added to.
- If a version of 3ds Max is not found on the machine, it will be grayed out.
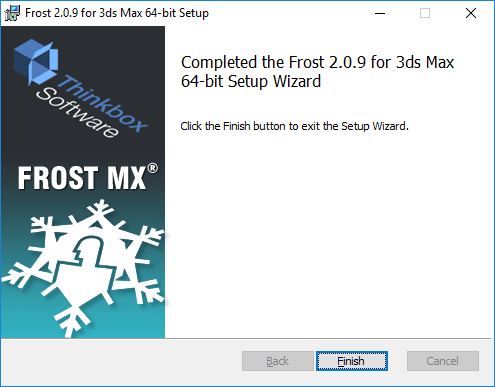
- Press [Finish] to complete the installation.
- Now you can start 3ds Max, create a FROST object.