Using the AutoFrost Feature
AutoFrost is a script-based mode which simplifies the process of adding new particle sources to a FROST object. The following tutorial will demonstrate the basic workflows related to AutoFrost.
Overview
AutoFrost is accessible ONLY through a MacroScript icon located in the Frost category in the Customize User Interface dialog.
The icon contains the Frost logo and the capital letter A in the lower right corner.
AutoFrost is a toggle - you can check the icon to enable the mode, and uncheck to disable it.
AutoFrost expects at least one FROST object to exist in the current scene. The following rules apply:
- If there is no FROST object in the scene, the mode will not be enabled.
- If there is exactly one FROST object in the scene, the mode will be enabled for that object.
- If there are two or more FROST objects in the scene and none of them is currently selected, the mode will be enabled for the LAST FROST object created.
- If one FROST object is selected, the mode will be enabled for it.
- If there are two or more FROST objects selected, the mode will not be enabled.
If the FROST object that AutoFrost was activated for gets deleted from the scene, the AutoFrost icon will be unchecked automatically.
Trying Out AutoFrost
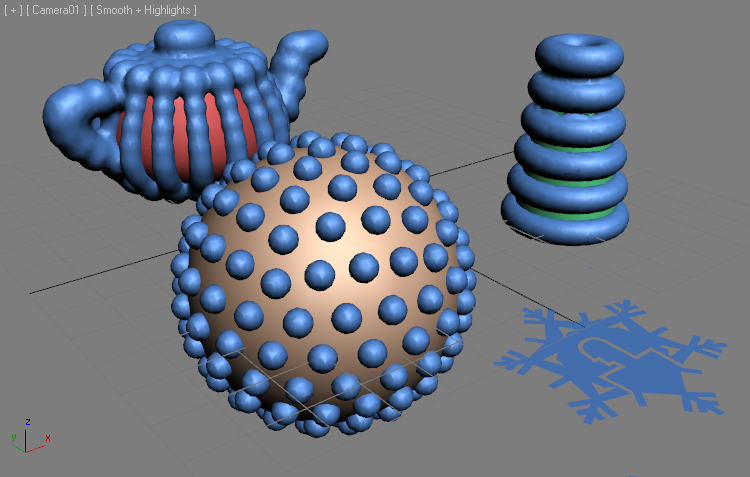
Let’s create a FROST object and see how we can use AutoFrost to define sources without dealing with the Particle Objects rollout.
- Start a new 3ds Max scene.
- Click the Frost icon in the Frost toolbar and click/hold and drag in the viewport to create a FROST object.
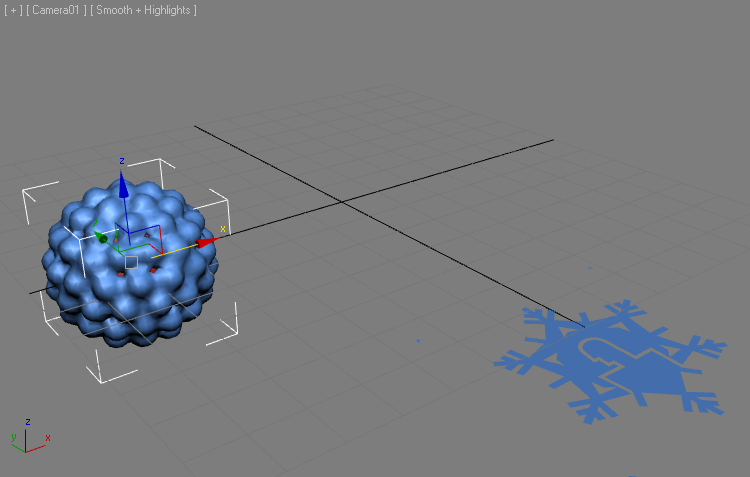
- Change the Meshing Mode to Metaballs.
- Change the Relative to Max. Radius > Viewport value to 3.0
- Check the AutoFrost icon in the Frost toolbar - it will become checked.
- Switch the Command Panel to Standard Primitives category
- Click the GeoSphere button, click and drag to define the position and radius of the object
- Continue creating geometry primitives like a Cone, a Teapot etc.
RESULT: Since the AutoFrost mode is enabled, the primitives you create will be added to the FROST Particle Objects list automatically and will be meshed dynamically!
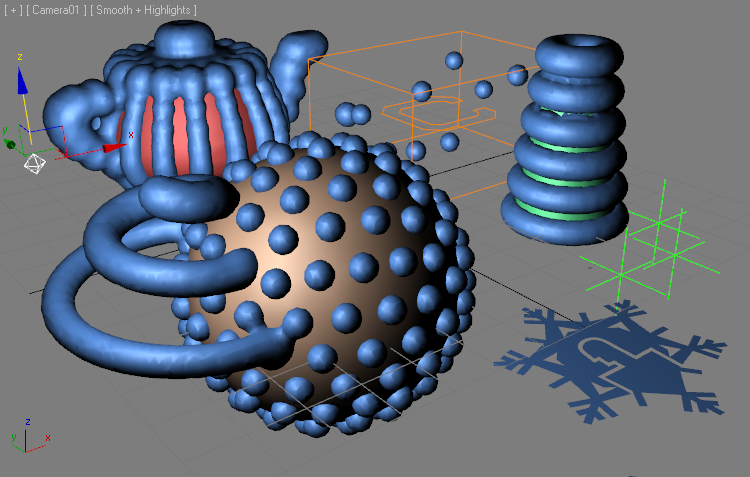
You can continue creating other supported particle sources like Splines, Legacy or Particle Flow particle systems, Sphere Gizmo helpers etc. - they will all be added to the active FROST object.
Attempting to create unsupported objects like Helpers, Lights, Cameras etc. will cause no problems - they will be added to the scene but will be filtered out and not added to the FROST object.
AutoFrost and Cloning Objects
AutoFrost supports not only the adding of newly created objects, but also the cloning of existing ones.
- Select and delete all scene objects except the FROST object.
- Select the FROST object and expand the Particle Objects rollout.
- Click the Options [>>] button and select the Remove Deleted Objects item to clean up the list.
- With the AutoFrost icon still checked, go to Create tab, Geometry, Standard Primitives and click the GeoSphere button.
- Click in the viewport, hold and drag to define the position and a radius of about 14 units for the GeoSphere - it will be added to FROST automatically as expected.
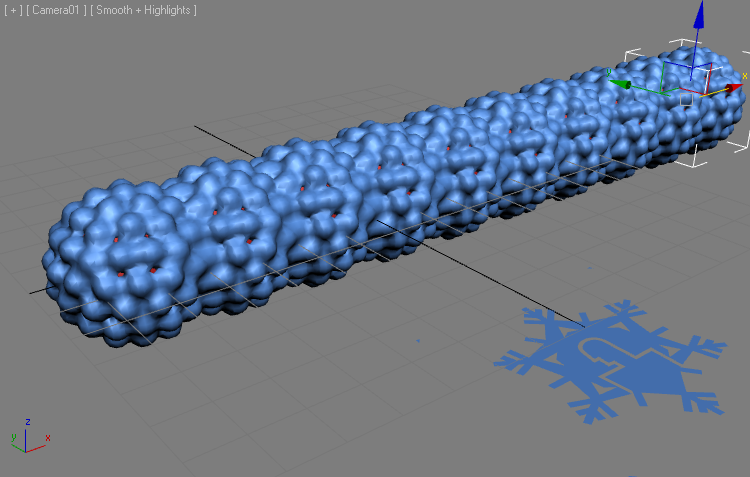
- Change the Segments of the GeoSphere from 4 to 3.
- With the GeoSphere still selected, SHIFT+Move it 20 units along the X axis to clone.
- Set the Clone dialog to Instance and enter 9 copies to produce 10 GeoSpheres in total.
RESULT: Now we have 10 GeoSphere instances, all added to the FROST Particle Objects list automatically!
Cloning Objects Not On The List
In the above test, the GeoSphere we cloned was already added to the FROST object by AutoFrost, but this is not a necessary condition.
- Click the AutoFrost icon to disable the AutoFrost mode.
- Create a Cylinder primitive in the scene - it will not be added to the FROST object.
- Click the AutoFrost icon again to re-enable the mode.
- With the Cylinder selected, hold down SHIFT and move it 20 units along X to clone - note that the cloned object will appear in the FROST mesh, but the original cylinder will not.
- Enter 4 copies and confirm.
RESULT: You now have 5 cylinders, but only the 4 copies are on the Particle Objects list of the FROST object, the original object is not.
Conclusion
In this tutorial, you learned about the AutoFrost feature which can be a real time saver when creating multiple particle sources that are supposed to be added to a FROST object for meshing.
In a future tutorial, we will take a closer look at a special case of FROST meshing - the use of the SphereGizmo Atmospheric helper to define individual points, each with a custom Radius. In conjunction with the AutoFrost mode and all other supported particle sources, they turn FROST into a rather fexible and easy to use Metaball Modeling tool. In the mean time, you can watch the “Frost (Heart) Graphite Object Paint” video…
In the next tutorial, we will look at the use of Custom Geometry objects as particle shapes.
