Fighting The Grainy Look
Introduction
- It is a common misconception that since Krakatoa is a particle renderer, point rendering must be inherently grainy.
- The idea behind Krakatoa has always been to accumulate as many particles as possible with a relatively low per-particle density contribution to produce a very smooth final result where a single particle is practically invisible.
- At least in the cases of fire, plasma and wispy smoke rendering, this is the correct approach and it requires a large number of partitions and very low Denisty values to avoid the grainy look.
- The discussion below will examine the results of various particle counts and Density settings to demonstrate how to get clean images from Krakatoa.
The Base Scene
- To explore the effect of particle counts and per-particle Density on the final rendering, we will use 3ds Max and a very simple Particle Flow system producing 1 million particles over 100 frames.
- The PFlow system uses a Force Operator to apply a turbulent Wind to the particles, as well as a Drag force with default values.
- The system was then partitioned using Krakatoa. Frame 100 of each partition contains 1M particles with slightly different positions due to the changed random seed of the Position operator.
- The partitions were then loaded using a PRT Loader showing just the first partition in the viewport, but rendering different numbers of partitions while using different Density settings to explore the change in the look of the final image.
One Million Particles, Various Densities
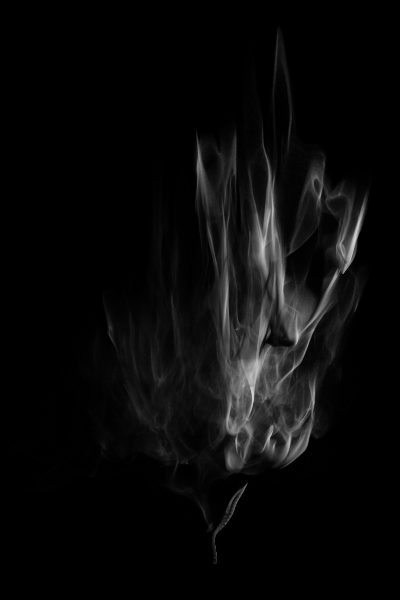
- First, let’s take a look at a single partition rendered with Density set to 5.0 and Exponent of -1, -2, -3 and -4:


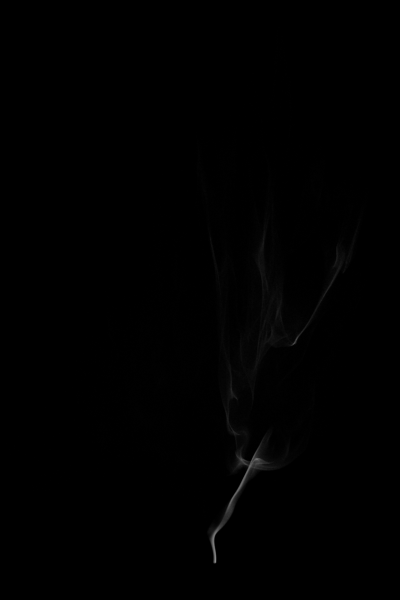
- As you can see, the first image is very grainy, with every single particle drawn with a Density of 0.5.
- It is likely you will find videos on YouTube featuring several millions of particles where the artist has been so impressed by that number alone that he wanted every single one of them to be visible.
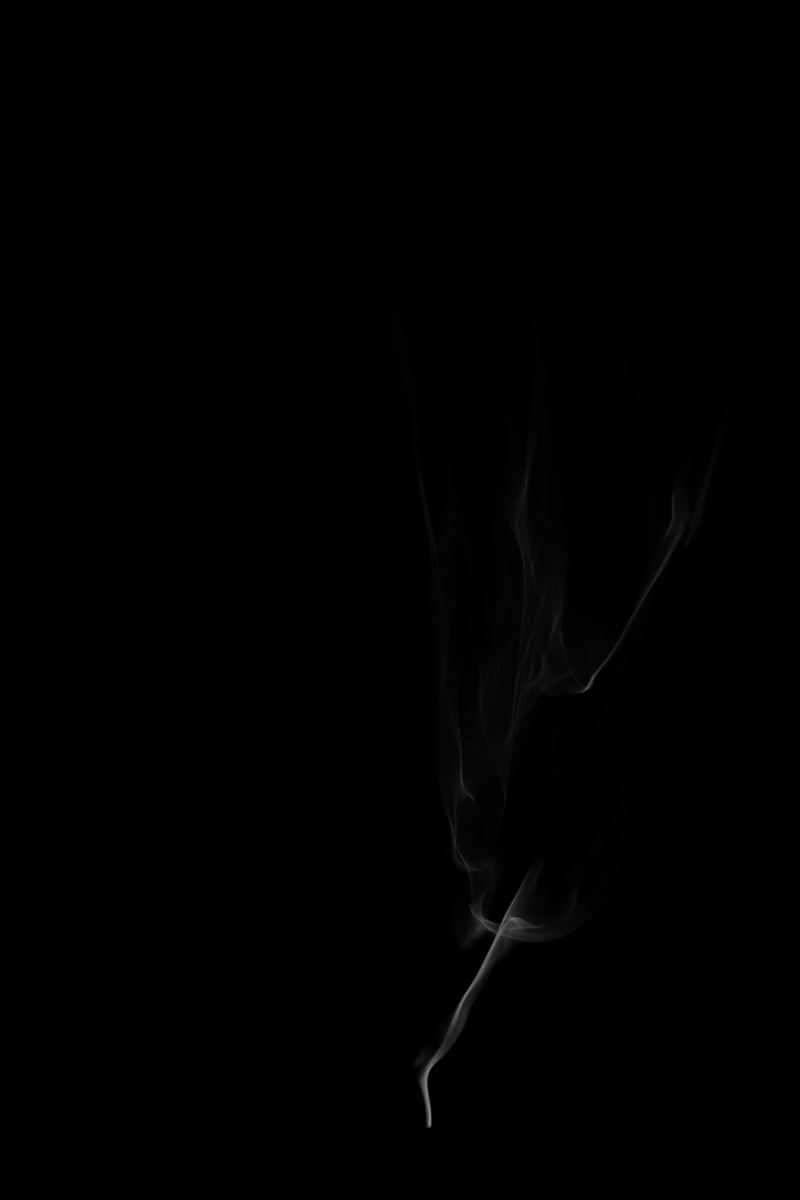
- This is the wrong approach as you can see from the last two images - at Density of 0.005 most of the grain is gone and at 0.0005 (5.0/-4), the result could be used for wispy cigarette smoke as is.
Ten Million Particles
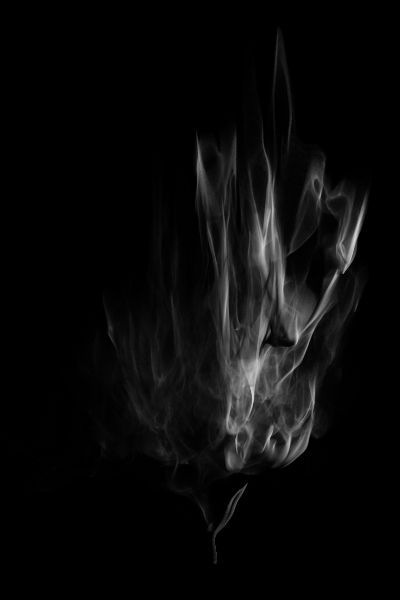
- Now let’s load 10 partitions and take a look at the result with Density of 0.0005 (left) compared to the one million particles with 10 times higher Density of 0.005 (right):
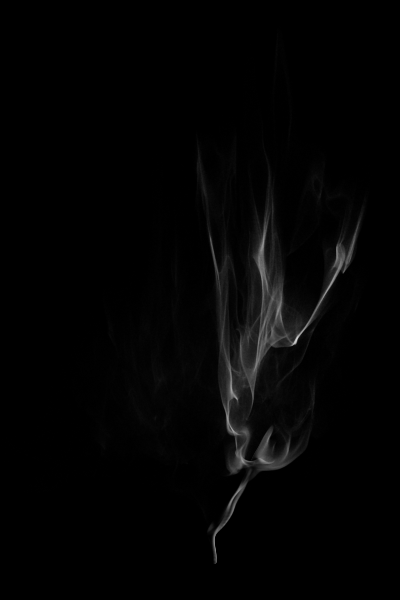
- As you can see above, the final spatial density (the combination of the number of particles that end up in the space represented by one pixel, and their contributing per-pixel Density value that gets used to affect that pixel) of the two images is equivalent, but the 10 million particles with 1/10 of the per-pixel density produce an image that is probably 10 times smoother!
- And here is the rendering of 10 partitions with Density of 0.005 (left) compared to 1 partition with Density of 0.05 (right):

- As with the previous attempt, using 10 times more particles with 10 times less density per particle produces a similar volumetric rendering, but with much less noise!
- For your information, here is the Log data from rendering the 10 million particles - the total time incl. loading, lighting and rendering was around 17.5 seconds:
     PRG: Rendering frame 100
     STS: Section "Retrieving Particles":
     STS:    Total 00h 00m 05.000s   Called 1 times   Avg 00h 00m 05.000s
     PRG: Rendering 10000000 particles.
     PRG: Producing volumetric lighting with 1 lights
     STS: Section "Lighting:Matte Objects":
     STS:    Total 00h 00m 00.000s   Called 1 times   Avg 00h 00m 00.000s
     STS: Section "Lighting:Sorting Particles":
     STS:    Total 00h 00m 01.312s   Called 1 times   Avg 00h 00m 01.312s
     STS: Section "Lighting:Generating Attenuation":
     STS:    Total 00h 00m 06.110s   Called 1 times   Avg 00h 00m 06.110s
     STS: Section "Render:Matte Objects":
     STS:    Total 00h 00m 00.016s   Called 1 times   Avg 00h 00m 00.016s
     STS: Section "Render:Sorting Particles":
     STS:    Total 00h 00m 01.203s   Called 1 times   Avg 00h 00m 01.203s
     STS: Section "Render:Drawing Particles":
     STS:    Total 00h 00m 03.969s   Called 1 times   Avg 00h 00m 03.969s
     PRG: Finished rendering frame: 100
The Output Resolution Factor
- When rendering Particles as Points (as opposed to Voxels), it is important to remember that the output resolution affects the final result almost as much as the particle count.
- When the output resolution changes, it changes the real-world size of the space represented by a single pixel.
- This means that at a lower resolution, a single pixel represents a larger volume of space and thus it gets to draw a lot more particles within the same volume, reducing the grain.
- Increasing the resolution causes less particles to “hit” a single pixel, requiring a lot more particles to cover all relevant pixels to produce a smooth result.
- In the images below, the Iterative mode’s scaling feature was used to reduce the width and height of the output image by half, while internally preserving the same density.
- The left image shows the 0.005 Density rendering of 10 million particles, the right image shows one partition with 1 million particles at 0.05 Density:


- As you can see for yourself, the right image which was rather grainy at full resolution now appears about as grainy as the 10 million particles at full resolution, while the left image is perfectly smooth now.
Voxel Rendering Of 10 Million Particles
- Using voxels that are slighly larger than a pixel produces less grainy images because all voxels are adjacent to each other and as long as there are no empty voxels between them, they result in a smoother gradient.
- In addition, the Filter Radius of the Voxel mode can smooth out the differences between neighboring voxels since it takes into account the particles outside of the current voxel when shading it.
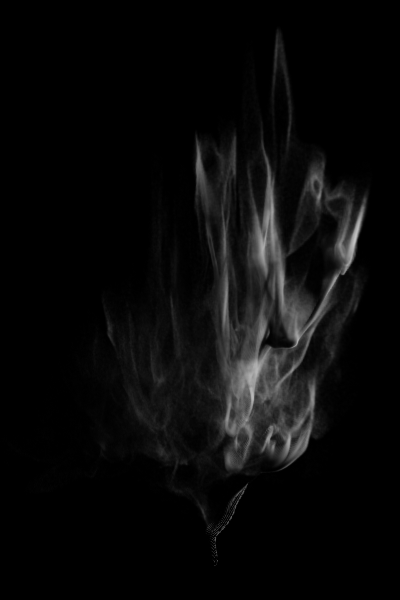
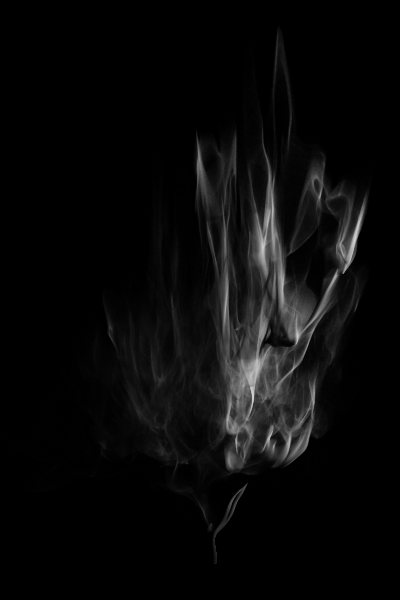
- The following images show the 10 partitions rendered at Density of 0.005 using various Voxel Sizes and Filter Radii:
- The first image uses a Voxel Size of 0.5 and Filter Radius of 1. The result is comparable to the Particle Rendering above.
- The second image uses a Voxel Size of 0.5 and Filter Radius of 2, smoothing out the noise a bit.
- The third image uses a Voxel Size of 1.0 and Filter Radius of 1. It is similar to the previous one.
- The last image uses a Voxel Size of 1.0 and Filter Radius of 2, producing an overly blurred final image:


100 Million Particles
- Here is the comparison of 100 million particles vs. 10 million.
- The left image shows 100 partitions with 100 million particles at Density of 0.0005.
- The right image shows 10 partitions with 10 million particles at Density of 0.005:
- While this might appear to be an overkill, remember that some shots in “Superman Returns” used between 700 million and one billion particles per frame to produce the smooth result expected from a 2K movie frame.
- It is important to note that the 100 million particles hold up great at 2x the resolution:

- Here is the Log of this test - as expected, 10 times more particles take 10 times longer to load, light and render!
     PRG: Rendering frame 100
     STS: Section "Retrieving Particles":
     STS:    Total 00h 00m 49.000s   Called 1 times   Avg 00h 00m 49.000s
     PRG: Rendering 100000000 particles.
     PRG: Producing volumetric lighting with 1 lights
     STS: Section "Lighting:Matte Objects":
     STS:    Total 00h 00m 00.000s   Called 1 times   Avg 00h 00m 00.000s
     STS: Section "Lighting:Sorting Particles":
     STS:    Total 00h 00m 13.890s   Called 1 times   Avg 00h 00m 13.890s
     STS: Section "Lighting:Generating Attenuation":
     STS:    Total 00h 01m 00.610s   Called 1 times   Avg 00h 01m 00.610s
     STS: Section "Render:Matte Objects":
     STS:    Total 00h 00m 00.016s   Called 1 times   Avg 00h 00m 00.016s
     STS: Section "Render:Sorting Particles":
     STS:    Total 00h 00m 17.625s   Called 1 times   Avg 00h 00m 17.625s
     STS: Section "Render:Drawing Particles":
     STS:    Total 00h 00m 40.593s   Called 1 times   Avg 00h 00m 40.593s
     PRG: Finished rendering frame: 100
Fighting The Shadow Moire Artifacts
- As you can see clearly especially on the double-sized output image, there are certain moire effects at the “trunk” of the particle cloud.
- The same problem can be seen in almost all other renders above and is caused by the default Shadow Map size of the Spotlight used to illuminate the particles - 512x512.
- Increasing the Shadow Map size generally improves the quality of the shadows in this particular case:
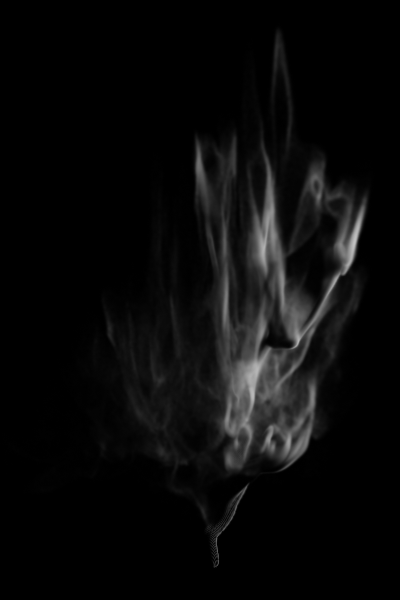
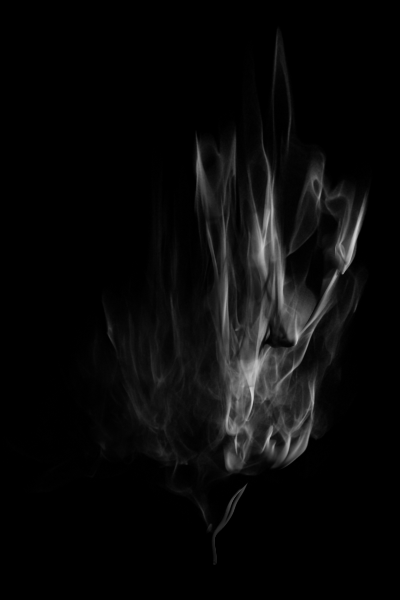
- Here are some comparisons of various Shadow Map sizes:
- The first image uses the default 512x512 Shadow Map.
- The second image uses a Shadow Map with 1024x1024 resolution.
- The third image increases the Shadow Map size to 2048x2048 and practically removes the Moire patterns.
- The last image also uses 2048x2048, but also had the particles drawn using Bicubic interpolation, smoothing out some aliasing effects at the edge of the “trunk”:
- And here is the double resolution output rendered with a Shadow Map of 2048 and Bicubic Draw Filter:

Wispy Smoke Versions
- In the beginning, we saw that 1 million particles can produce a rather pleasant smooth image when rendered with Density of 5.0/-3 or 5.0/-4.
- Now that we have 100 times more particles, we could render the same look by just settings the Density 100 times lower, to 5.0/-5 and 5.0/-6 respectively.
- At the same time, we can afford to increase the output resolution without risking any graininess.

Conclusion
- As you can see from the above examples, rendering more particles with lower per-particle density is generally better than rendering fewer particles with higher per-particle density.
- This is especially important when rendering at high output resolutions since you need to provide enough particles to cover all pixels in the output image with multiple particles.
- In practice, you should attempt to generate as many particles as the schedule and the available disk space allow.
Remember, ten million particles might sounds like a lot, but in the world of Krakatoa, that is typically a preview setup!