Stoke MX And Legacy Particles
Last Edited August 6, 2014
Overview
The following tutorial discusses the use of the Legacy Particle Systems of 3ds Max to generate Velocity Fields for Stoke MX.
The Base Scene
We will create the test scene from scratch:
- Create a Spray particle system with an Emitter size of 20.0 x 20.0 units.
- Rotate the Spray Emitter at 180 degrees about X to emit up
- Create a Plane with Width and Length of 20.0 to match the Emitter size.
Creating A Basic Stoke Simulation
Let’s create a Stoke simulation which simply emits 100 particles per frame from the Plane and follows the motion of the Spray particles:
- Select the Plane and the Spray objects and click the Stoke icon, then click in a viewport to create a Stoke object - the Spray will appear as both Distribution and Velocity source, the Plane only as Distribution source.
- Select the Spray in the Distribution Sources list and press the Remove button.
- Alternatively, if you haven’t customized a toolbar with the Stoke MacroScript, you can create a Stoke object via the Create tab of the Command Panel and pick the Plane as Distribution and the Spray as Velocity Sources.
- Set the Particle Lifespan value to 30.0, Lifespan Variation to 0.0 to match the life of the Spray.
- Press the SIMULATE button to simulate with the default settings.
RESULT: 100 particles will be emitted each frame, producing 10000 particles following the general motion of the Spray particles.
Deleting The Particles By Age
We set the Age to 30.0, but did not request the deletion of any particles.
- If you have Krakatoa installed on your system, click the icon next to the “Delete ‘Dead’ Particles” checkbox - two new modifiers will be added to the modifier stack of the Stoke object - a Magma modifier to select by Age > LifeSpan, and a Krakatoa Delete modifier to delete the selected particles. This deletes the particles procedurally without resimulation.
- If you do not have Krakatoa installed, check the “Delete ‘Dead’ Particles”checkbox and press SIMULATE again to delete during simulation.
RESULT: The particles are now deleted after 30.0 frames and don’t collect at the top of the simulation anymore.
Tweaking The Grid Settings
We are driving the Stoke particles using the default Grid settings. When using Particles as Velocity Field, a Grid with a given Spacing (default is 10.0) is created around them and the velocities are splatted on the grid to produce the field. The Spacing of the Grid affects the precision of the motion transfer - higher values might average multiple particles’ velocities together and produce smoother results, while lower values usually capture more detail but can sometimes miss particles if the Spacing is a lot smaller than the velocity magnitude of the source particles.
- In the “Velocity Field” rollout, “Velocity From Particles” group of controls, change the Grid Spacing value from 10.0 to 5.0
- Press SIMULATE to recalculate the motion.
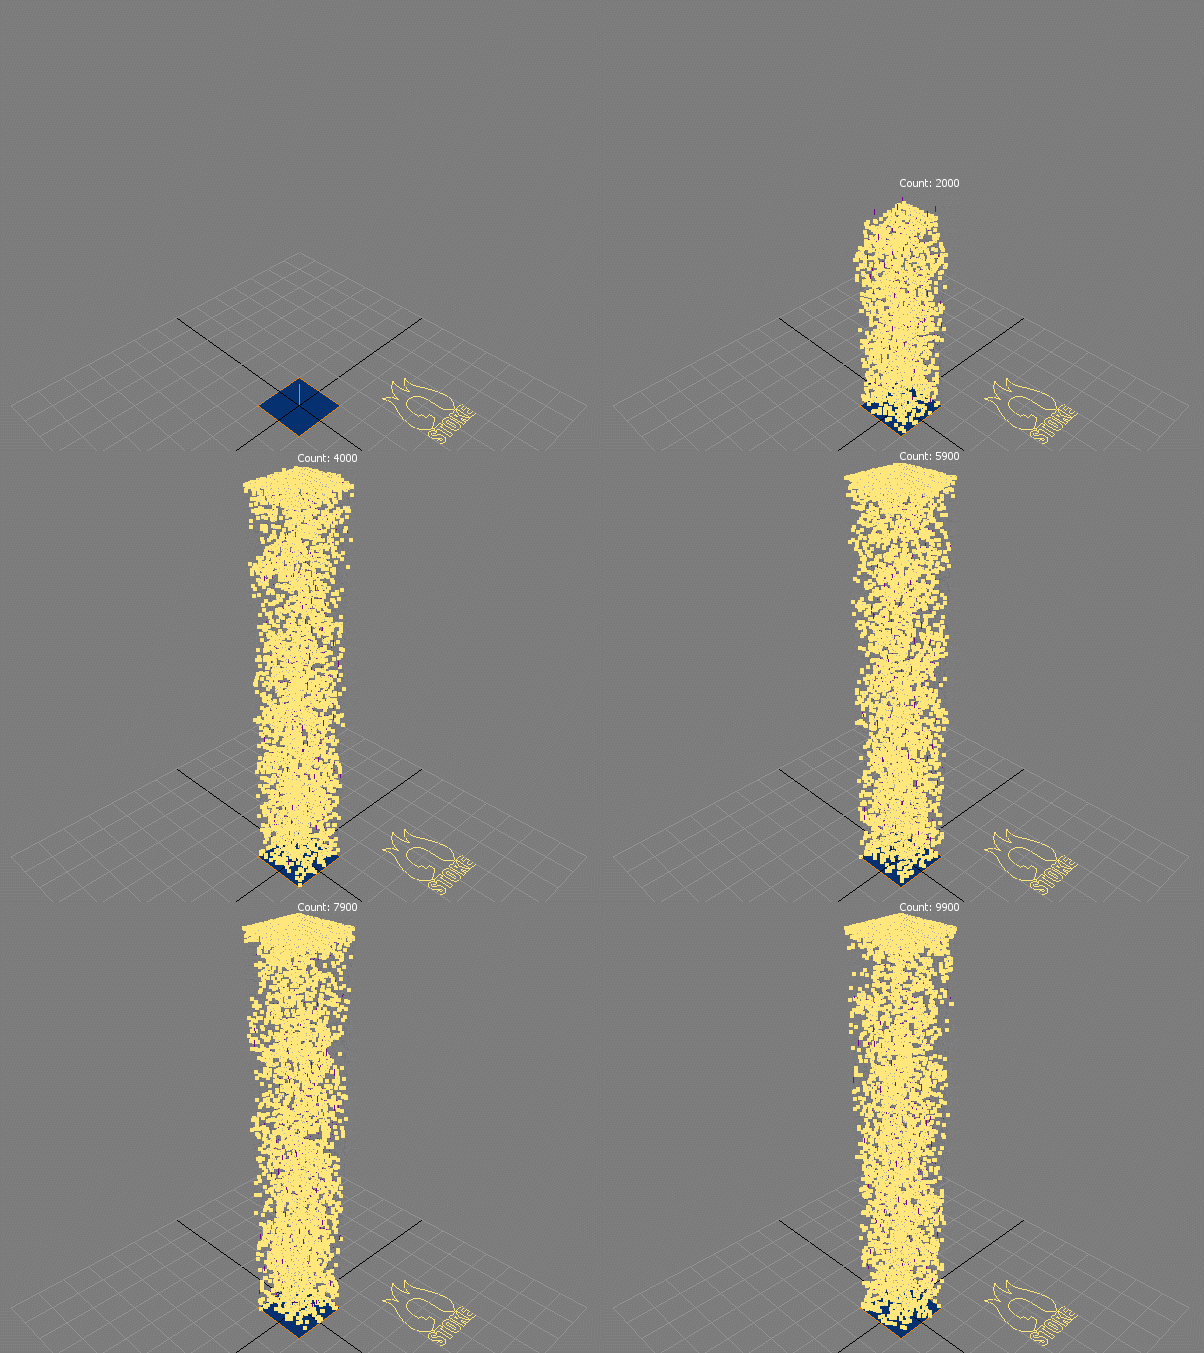
RESULT: The Stoke particles start clumping together as they are affected by less particles per voxel, and on some frames some particles slow down because they is no source particle nearby to provide a velocity:
Creating Fluid Motion
Stoke MX can produce Velocity Fields that resemble uncompressible fluid motion - also known as Divergence-Free Velocity Fields. When a Field is Divergence-Free, the amount of fluid going out from every point in space is equal to the amount of fluid going in.
To enable this feature, all we have to do is check the “Create Fluid Motion” checkbox.
- In the “Velocity Field” rollout, “Velocity From Particles” group of controls, check the Create Fluid Motion checkbox.
- Change the Viewport Display from “Large Dots” to “Velocity” to display lines.
- Press SIMULATE to recalculate the motion.
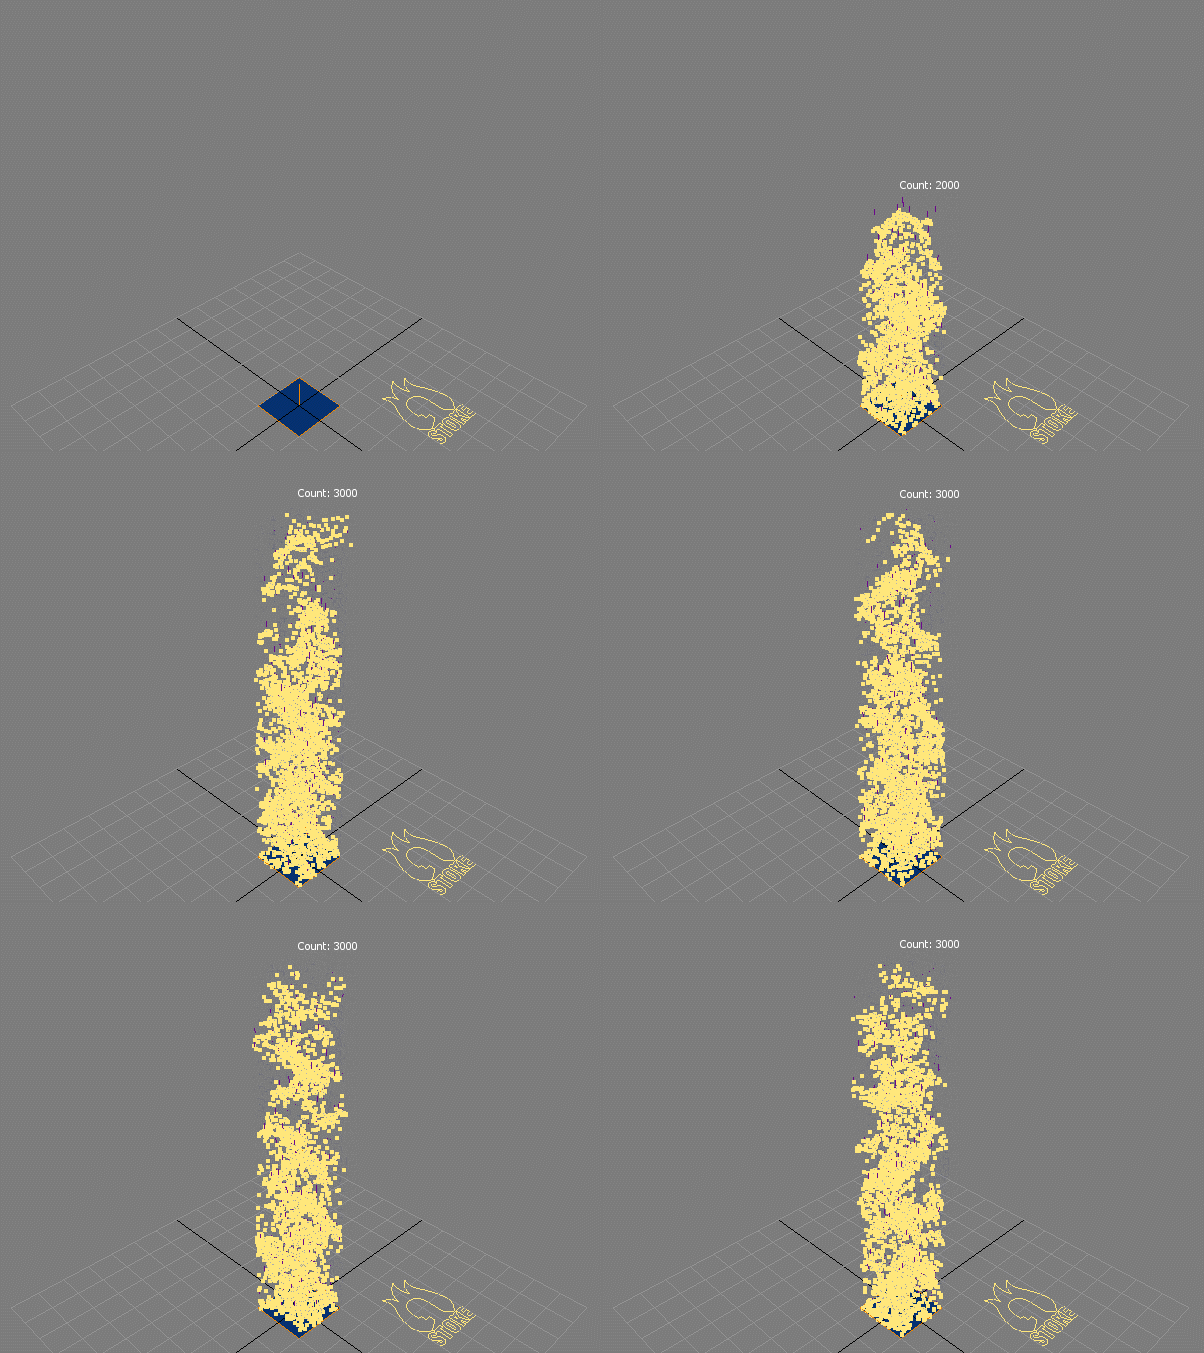
RESULT: The motion of the Stoke particles now resembles a burning fire:
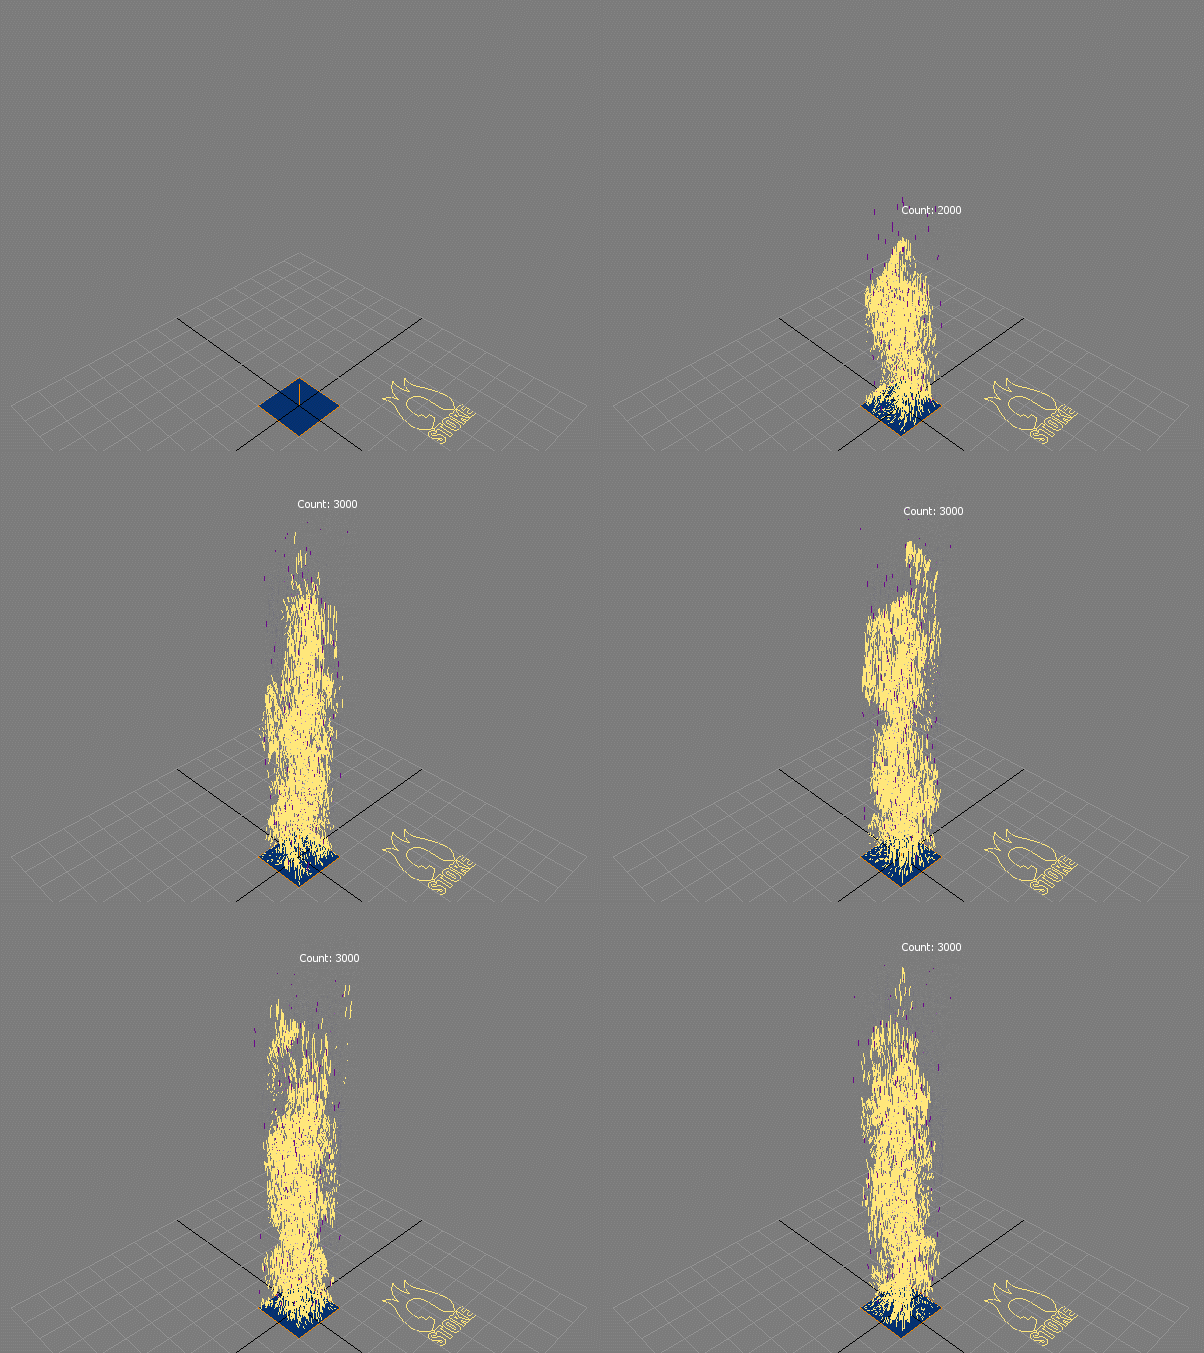
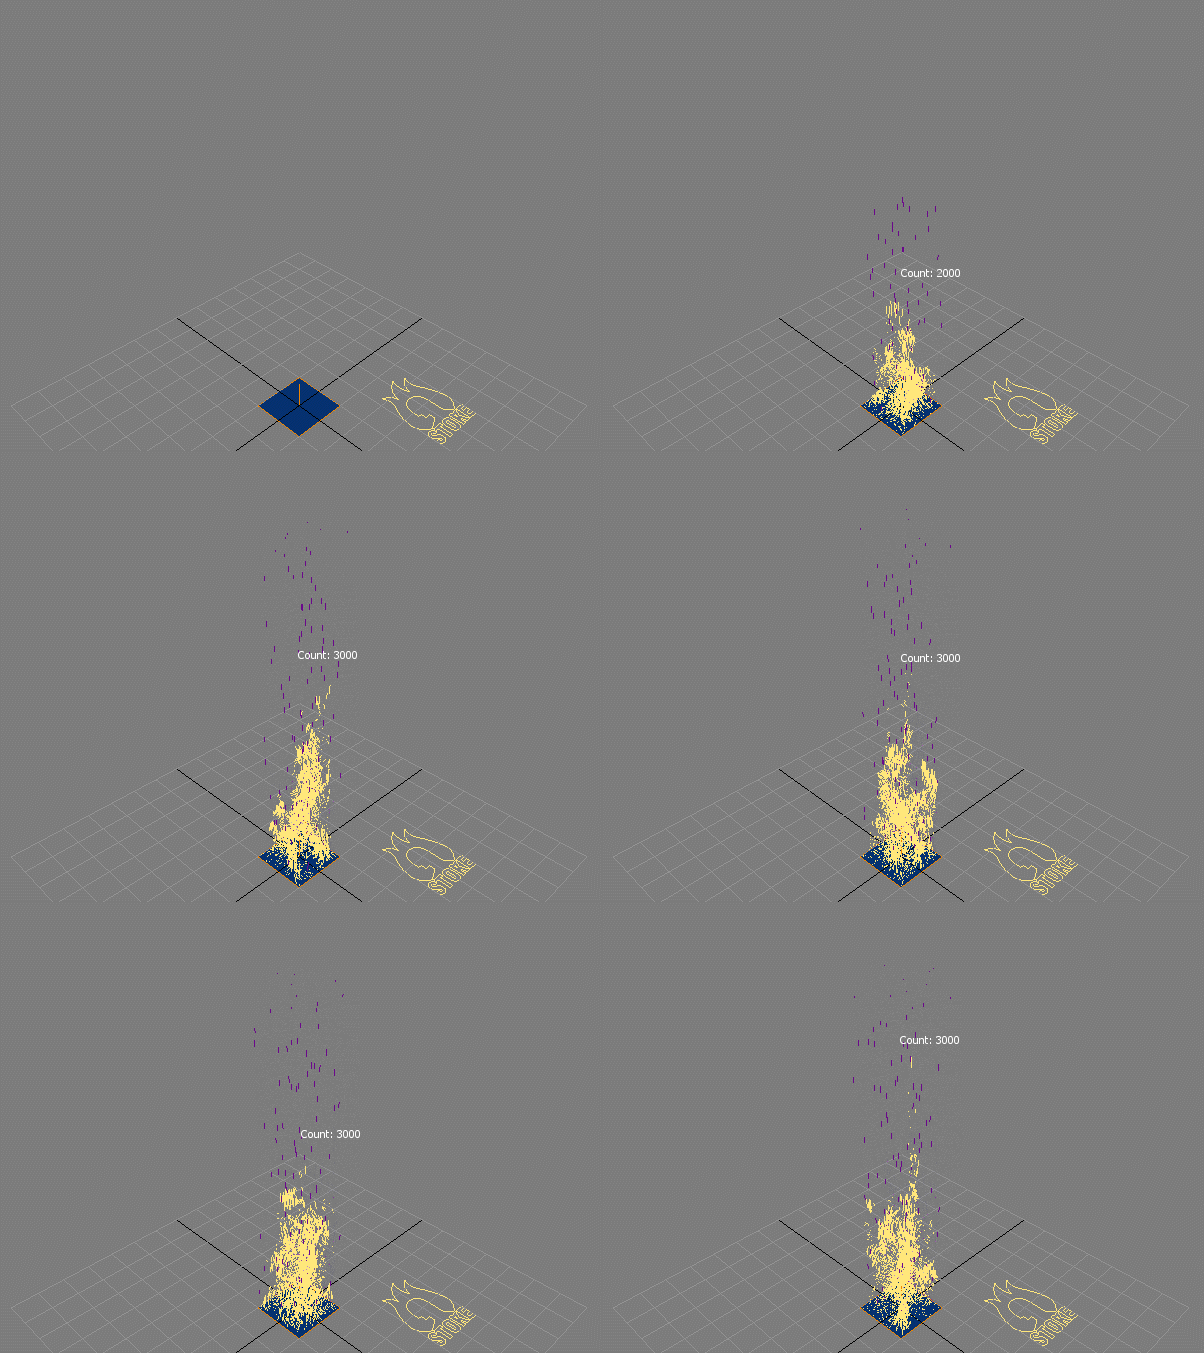
Reducing the Grid Spacing further will capture more detail, but miss a lot of particles in the second half of the motion:
- Change the Grid Spacing to 3.0
- Click SIMULATE
RESULT: We still get a burning-like motion, but as the animation goes on, a lot of particles are left behind.
Blending Different Grid Spacings Of The Same Source
In some cases, we might want to achieve some of the detail of the last test above with the more general motion of the test before it. Thankfully, Stoke MX allows you to pick the same Velocity Source more than once and use different Grid Spacing settings for each instance, combining characteristics of both.
- In the “Velocity Field” rollout, uncheck the checkbox “Use Global Grid Settings” - this will achieve two things: the Pick… and By Name… buttons will now allow you to pick the same source object multiple times, and each source will now provide its own local Grid settings.
- Click the By Name… button and select the Spray system again.
- Highlight the first instance of the Spray on the list and set its settings: Scale to 0.6, Grid Spacing to 3.0, Grid Padding to 5 and Create Fluid Motion to checked.
- Highlight the second instance of the Spray on the list and set its settings: Scale to 0.6, Grid Spacingto 5.0, Grid Padding to 5 and Create Fluid Motion to checked.
- Click the SIMULATE button.
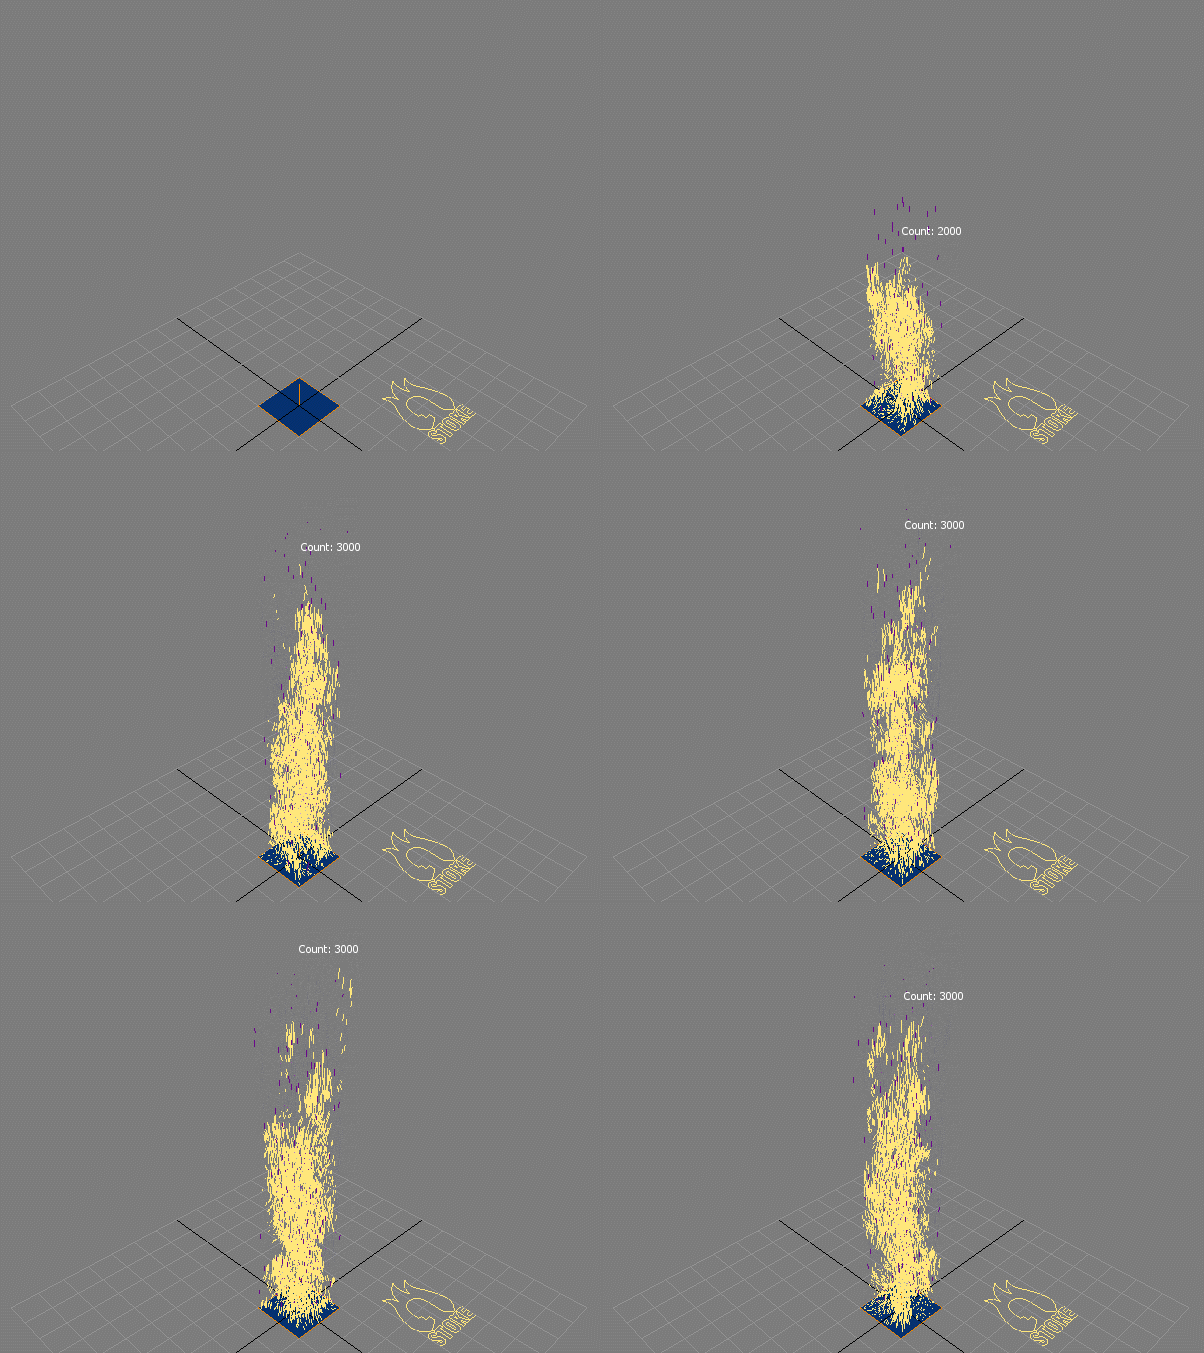
RESULT: We get a new particle simulation with 60% influence from the small spacing and 60% from the large spacing. We can of course use 50%, but given that some particles don’t get enough velocity from the small-spaced grid, higher Scale values are a good idea.
Using PathFollow Space Warp
The PathFollow Space Warp does not produce a force field, and is thus not supported by Particle Flow. But it was designed to deform the Legacy particle systems like Spray, so it can be used indirectly to influence the motion of the Stoke particles.
- In the Front viewport, create a Line starting at the pivot of the Spray emitter, and create a few bendy curves to make the motion of the Spray more interesting.
- Create a PathFollow SpaceWarp object and pick the Line as the curve to follow.
- In the PathFollow, check the Constant Speed option. Leave the other settings at their defaults. The Particle Motion mode should be set to Along Parallel Splines
- Bind the Spray to the PathFollow using the Bind To Space Warp tool.
- Select the Stoke object and click SIMULATE.
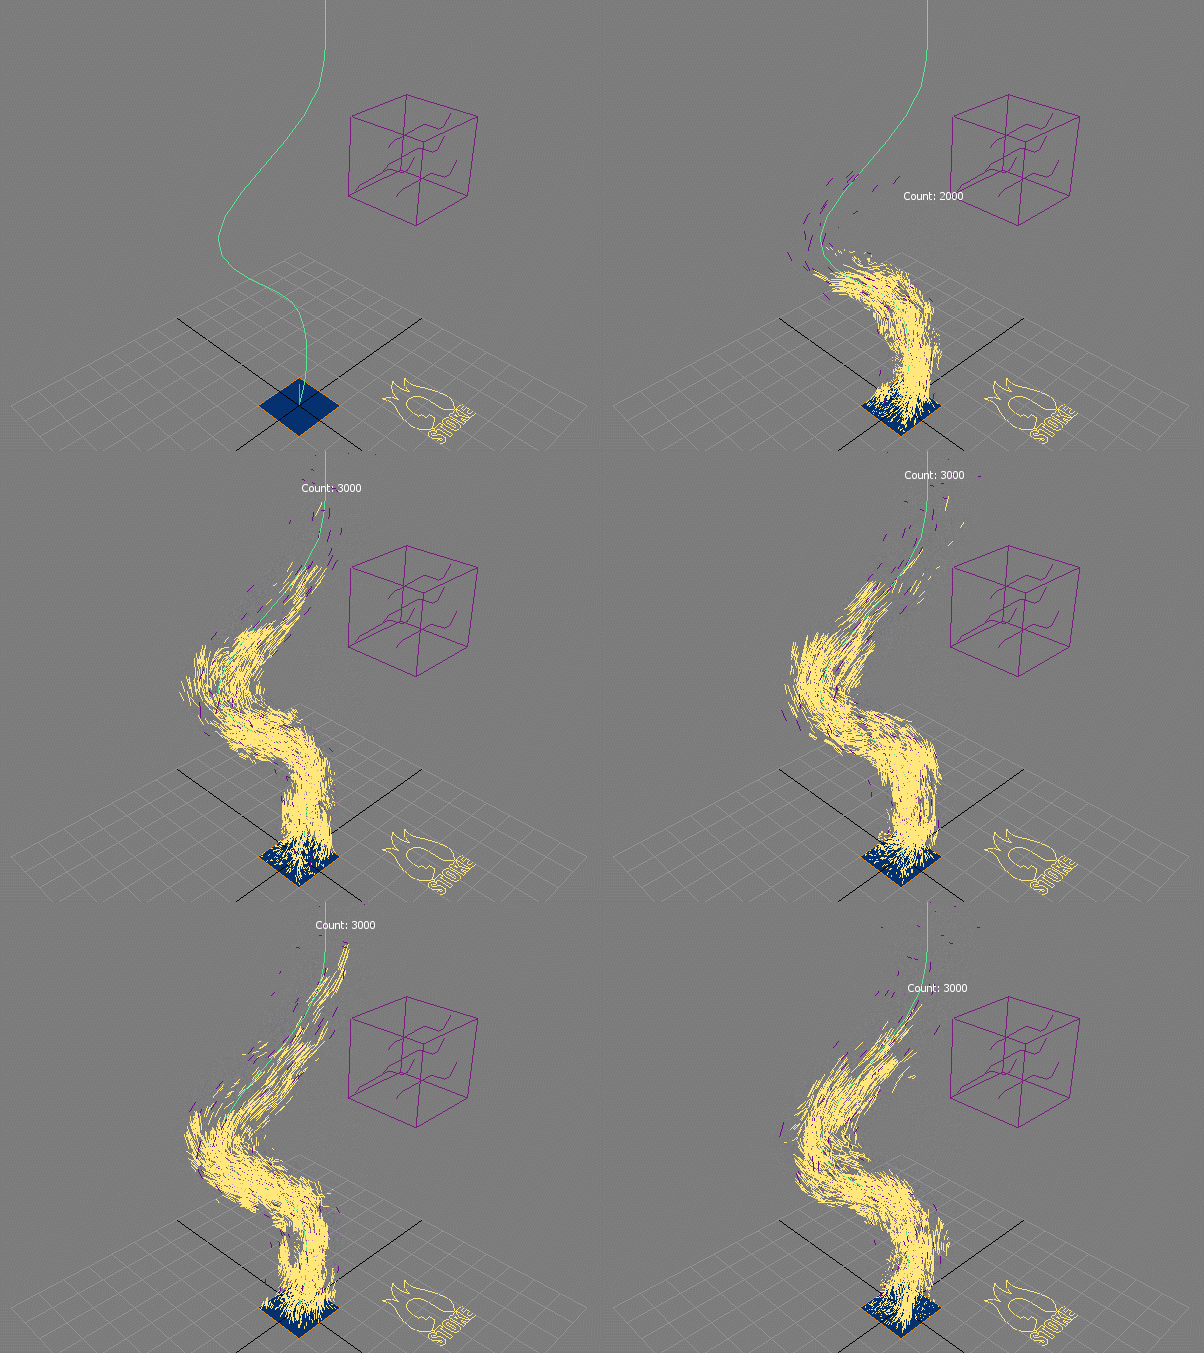
RESULT: The Stoke particles now follow the Spray particles along the curve, while retaining most of their “flame burning” characteristics achieved in the previous step.
