Stoke v1.0 Custom Fields And Particle Meshing
Last Edited August 8, 2014
Overview
The following tutorial discusses the creation of custom Velocity Fields for Stoke 1.0 using the Krakatoa toolset, and the meshing of Stoke particles using Particle Flow or the Frost particle mesher.
Stoke v2.0 introduces poweful dedicated tools for the creation of Fields and does not require the workarounds described in this tutorial.
This tutorial requires Krakatoa MX v2.1.8 or higher to be installed.
Parts of this tutorial assume a commercial version of the Frost Particle Mesher is also installed. If you don’t have Frost, you can skip those parts of the tutorial
The Base Scene
We will create the base scene from scratch:
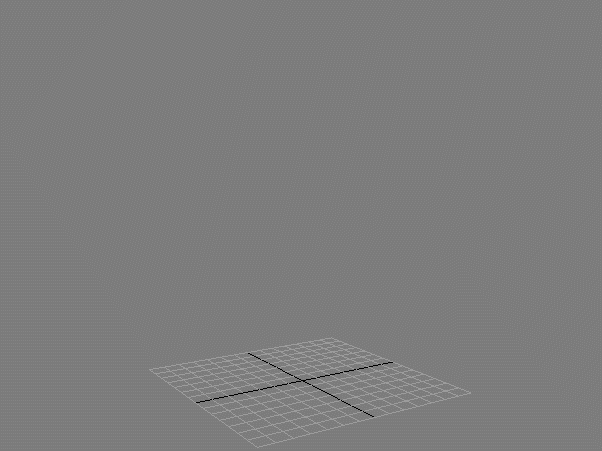
- Start a new 3ds Max scene.
- Create a Box primitive at the origin with Size of 200.0x200.0x200.0 units.
- With the Box selected, press the VOL icon in the Krakatoa toolbar, or select Create PRT Volume… from the Krakatoa menu.
- Set the Spacing to 2.5
- Uncheck the Viewp. Spacing option.
- Uncheck the Jitter Position option to produce a regular grid.
- Hide the Box primitive
- Select the PRT Volume and add a Magma modifier to its stack - either by using the KCM icon, by selecting Add Krakatoa Channels Modifier (KCM)… from the Krakatoa menu, or manually from the modifiers list (MagmaModifier).
- Open the Magma Editor
- Press [Ctrl]+[O] to create an Output node.
- Set the Output to “Velocity” channel.
- With the Output node selected, press [SHIFT]+[P] to create a “Position” InputChannel node. It will be connected to the Output automatically.
- With the Position InputChannel selected, press the [*] key on the Numeric keypad to create a Multiply operator, then enter 0.0345 in the Right Value field. This is necessary to produce larger scale noise in the following step.
- With the Multiply node selected, press [F] and then [V] to insert a VecNoise operator. This operator will generate a vector noise based on the scaled Position input.
- Uncheck the Normalize option in the VecNoise operator.
- With the VecNoise node selected, press the [*] key on the Numeric keypad to insert another Multiply operator and enter 60.0 for the Right Value. This will scale the Noise going out as Velocity. The value is rather arbitrary and is needed because the Velocity is expected in Units Per Second. At 30 FPS, this will scale the VecNoise enough to produce significan motion per frame. You can later play with this value, or just use the Scale value in Stoke to adjust the speed of your particles…
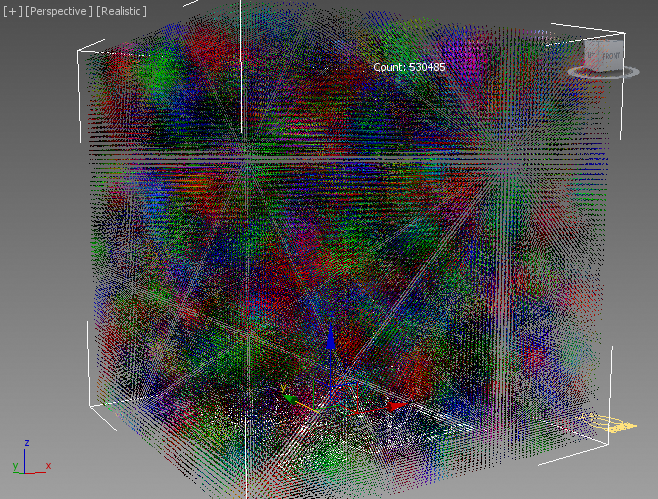
- At this point, our Modifier would be producing a valid Velocity Field, but we can visualize it to get an idea about its shape.
- Press [Ctrl]+[O] to add another Output node. Set it to “PRTViewportVector” channel and connect the VecNoise output to the new Output.
- Press [Ctrl]+[O] to add yet another Output node. Set it to “Color” and connect the VecNoise output to it.
- Check the >AUTO button to force updates.
RESULT: Tha Magma should look like this, and the viewport will show the Vector field as both lines and colors.

Simulating Stoke Using The Custom Velocity Field
Now we can create a Stoke object and simulate some particles through the field.
- Set the Scene Time Range End to 200
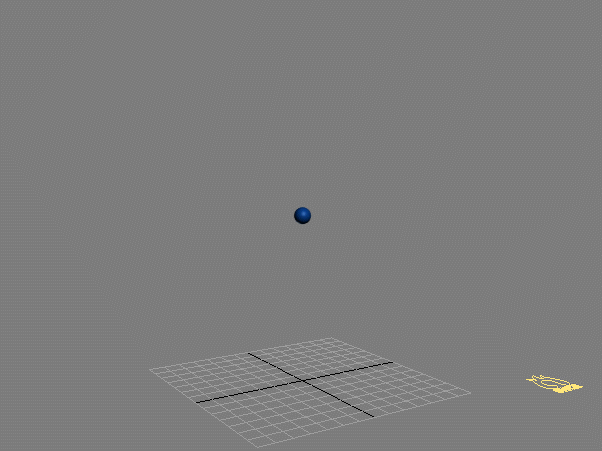
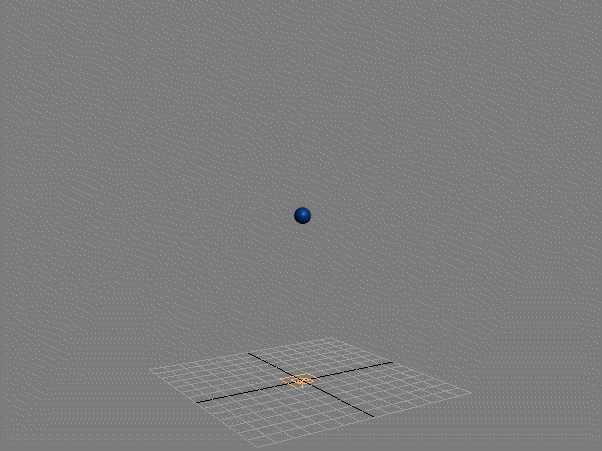
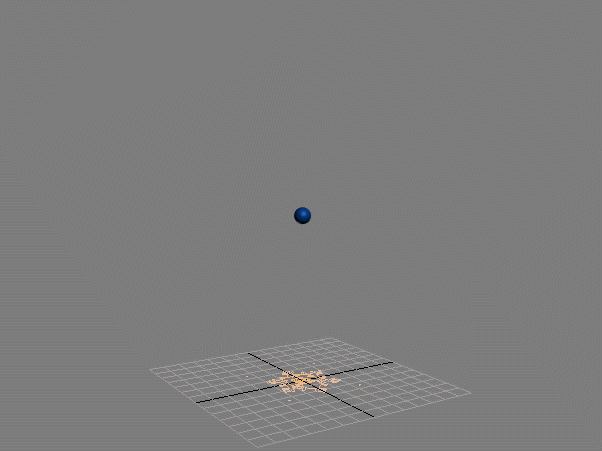
- Create a Geosphere with Radius 5.0 and place it at [0,0,100] in the center of the Field.
- Select the Geosphere and the PRT Volume and click the Stoke icon, then click in the viewport to create a Stoke object. Remove the PRT Volume from the Distribution source list as it is a valid source of both seeding positions and velocities.
- Alternatively, create a Stoke Particle Simulator manually and add the Geosphere as Distribution source, and the PRT Volume as Velocity source.
- Highlight the Geosphere entry on the list and set it to Volume mode, Spacing 0.8.
- Set the Grid Spacing of the Velocity Field to 5.0 and check Create Fluid Motion.
- Make sure the Rate/Frame is set to 100 for 20,000 particles on frame 200.
- Press the SIMULATE button and wait - the simulation will take a while because of the large size of the velocity field.
- Once simulated and saved to Disk Cache, switch the Display to Velocity.
RESULT: The particles will be emitted in the volume of the Geosphere and follow the Velocity Field generated by the VecNoise function in the Magma modifier:
Transferring Stoke Particles To Particle Flow For Meshing
In this example, we want to place a geometry mesh on each particle. For this, we will transfer the particle data via a PRT Loader and the Krakatoa PRT Birth and PRT Update operators to Particle Flow.
- Select the Stoke object and click the [+] icon next to the >Use Disk Cache button - a new PRT Loader set to load the Stoke particles will be created.
- Hide the Stoke object since we now have the baked particles in the scene represented by the PRT Loader.
- Open Particle View and create a Standard Flow.
- Select the PF Source node and change the Viewport % to 100.0.
- Replace the Birth operator with a Krakatoa PRT Birth, then pick the PRT Loader as the source. When prompted, answer Yes to disabling the Renderable property of the PRT Loader.
- Replace the Position operator with a Krakatoa PRT Update, pick the PRT Loader as the source and check the Velocity channel in addition to Position and ID.
- Delete the Speed operator.
- Switch the Rotate operator to Speed Space Follow mode.
- Set the Size in the Shape operator to 3.0.
- Change the Display operator to Type: Geometry.
- Optionally, add a Cache operator to the PF Source emitter event to speed up the playback.
- Hide the PRT Loader.
RESULT: The Particle Flow now replicates the motion of the Stoke particles loaded by the PRT Loader, and replaces each particle with a Box oriented along the Velocity.
Alternative Meshing Approach Using Frost Particle Mesher
- The following approach is only applicable if you have the Thinkbox Frost particle mesher installed.
- Disable the Particle Flow and hide it.
- Unhide and select the PRT Loader.
- Click the Create Frost icon if you have customized a toolbar, or create a Frost object manually and pick the PRT Loader as the source.
- Switch Frost to Geometry meshing mode.
- Set the Particle Size to 2.0
- Switch the Particle Geometry drop-down list to Box mode.
- In the Orientation group of controls, select “Use Vector Channel” and select “Velocity” from the Vector Channel list.
RESULT: The result is very similar to the Particle Flow example above, except that you can freely scrub back and forth to any frame since Frost and PRT Loader are both completely history-independent.
Blob Meshing Using Frost
Switching the Frost mesher to Zhu-Bridson mode will produce a continuous blob mesh.
- Switch the Meshing Mode to Zhu-Bridson.
- Change the Particle Size > Radius from 2.0 to 2.5 to produce some more volume
- Set the Meshing Quality > Relative to Max. Radius > Viewport resolution to 3.0.
- Set the Blend Radius to 2.0.
- Add a Relax modifier to the stack and set it to a Relax Value of 0.5 and 20 Iterations.
RESULT: The particles turn into an abstract fluid-like splash.