Fluid Motion From Space Warps
Last Edited August 7, 2014
Overview
The following tutorial discusses the creation of Fluid Motion from 3ds Max Force Space Warps.
The Stoke MX Particle Simulator does not directly support Fluid Motion from sources that are not particle-based. In other words, Space Warps and FumeFX simulations are taken As Is, esp. since the Space Warps can be evaluated procedurally at any point in space because they are based on mathematical functions, and FumeFX already represents fluid motion.
But it is possible to resample any kind of velocity field by simulating one Stoke object, and then using a second Stoke object to produce a Divergence-free Velocity Field from the first one’s particles.
Also note that starting with Stoke MX 2.0, any Velocity Field source could be made Divergence-fee using a Stoke Field Magma with a Simple Fluid operator.
The Base Scene
We will create the test scene from scratch:
- Start a new 3ds Max scene.
- Create a Plane at the world origin with Size of 20.0x20.0 units.
- Create a Wind Space Warp at the world origin and set it to Spherical mode, Strength of 0.1, Turbulence of 1.0, Frequency of 0.01 and Scale of 0.05.
- Select both the Plane and the Wind and create a Stoke object by clicking on the Stoke icon on the toolbar, then in the viewport. Alternatively, create a Stoke object via the Create panel and pick the Plane as Distribution source and the Wind as Velocity source.
- Check the “TextureCoord” channel on the list of available channels in the Distribution rollout. We will use the mapping coordinates of the Plane to colorize our particles according to their birth position.
- Set the Rate/Frame to 5000 and click SIMULATE to process 100 frames.
- Switch the Display to Velocity and the Color to TextureCoord
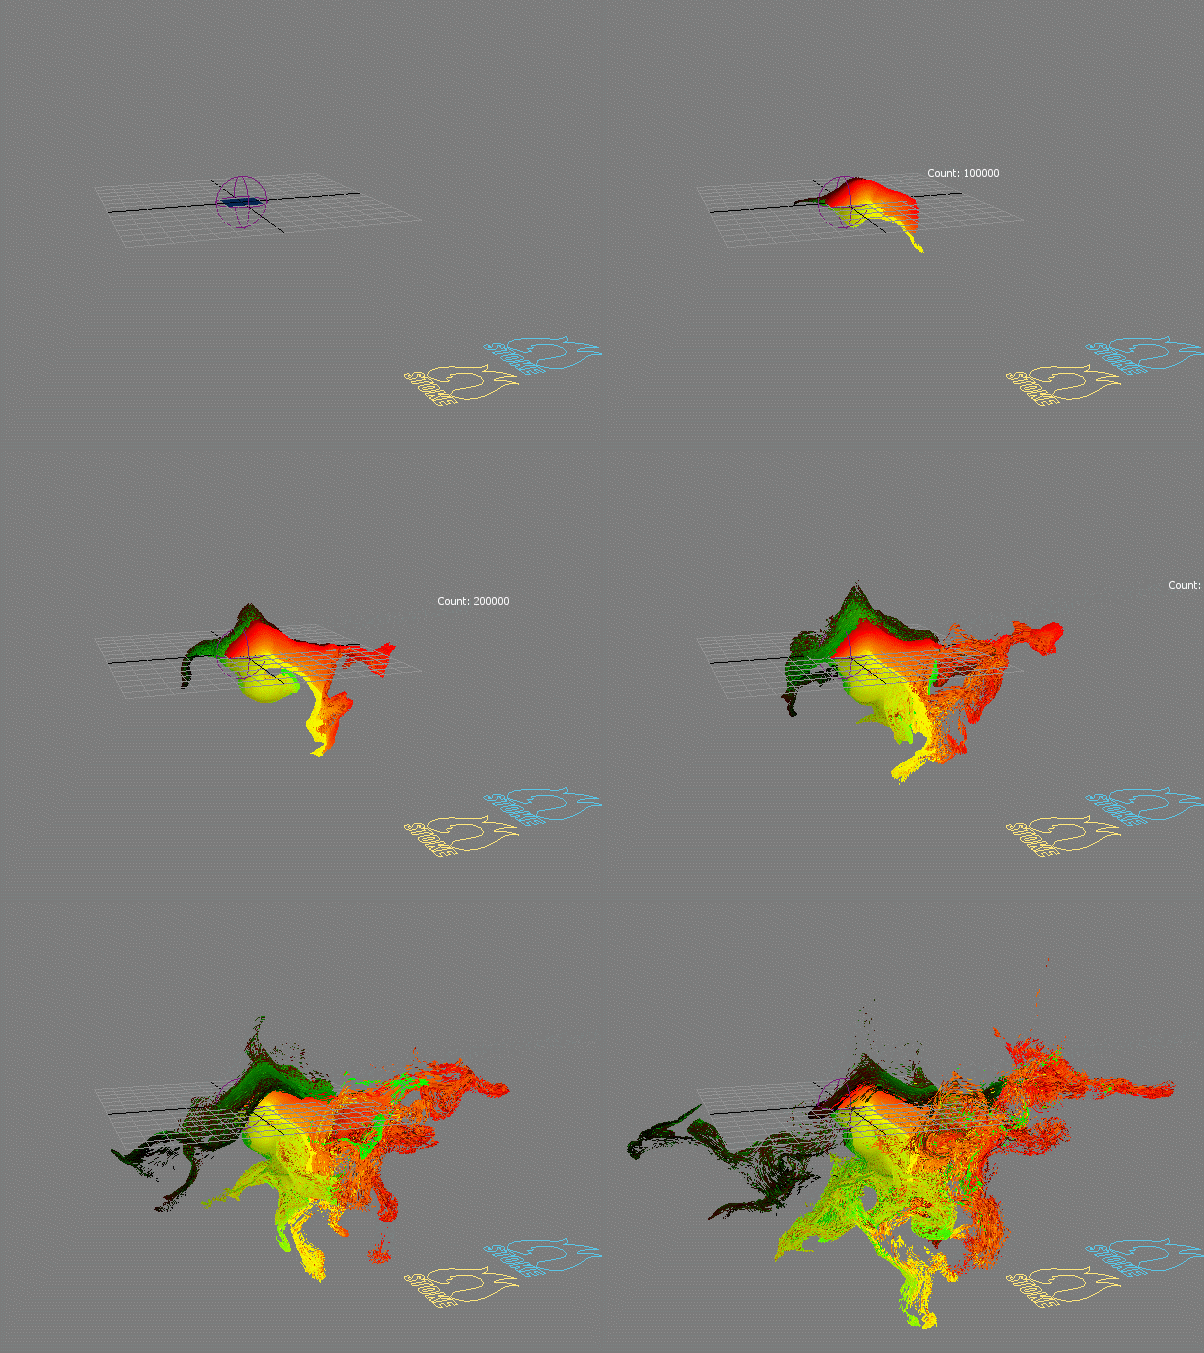
RESULT: This is the simulation using only the Wind Space Warp to drive up to 500,000 particles:
Resampling The Stoke Simulation
Now we will create a second Stoke object and use the same Plane object as Distribution Source, but the first Stoke as the Velocity Source:
- Select the Plane and the Stoke objects and click the Stoke icon, then click in the viewport to create a second Stoke.
- Remove the first Stoke from the Distribution sources list.
- Check the “TextureCoord” channel.
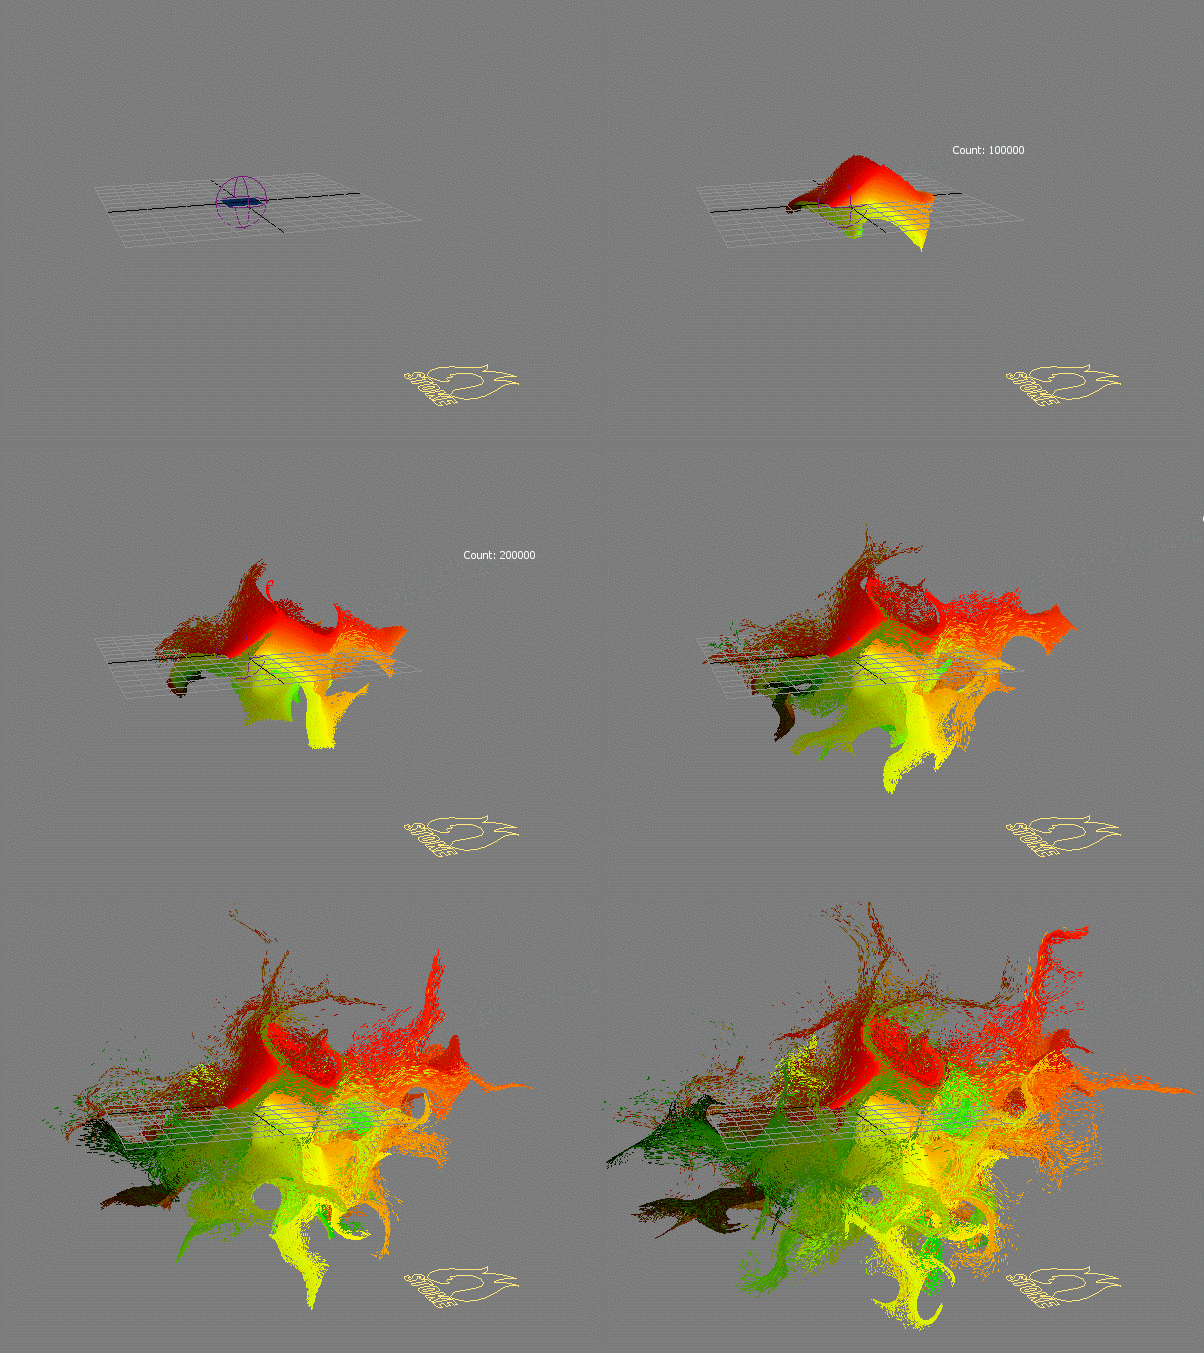
- Press SIMULATE to simulate over 100 frames with default settings - Grid Spacing 10, No Fluid Motion, and Scale of 1.0.
- Switch Viewport Display to Velocity and Color to TextureCoord.
- Once done simulating, turn off the display of the first Stoke, or hide it to see only the second one.
RESULT: We get a heavily resampled and blurred version of the original motion, mainly due to the large Grid Spacing which averages the velocities of the many particles found in a single voxel:
Resampling With Fluid Motion
Let’s increase the resolution and enable the Fluid Motion option:
- Enable the first Stoke object’s display, or unhide it if it is hidden.
- Change the Grid Spacing from 10.0 to 5.0
- Check the Create Fluid Motion option
- Press SIMULATE again.
- Once finished, disable the first Stoke’s display, or hide it.
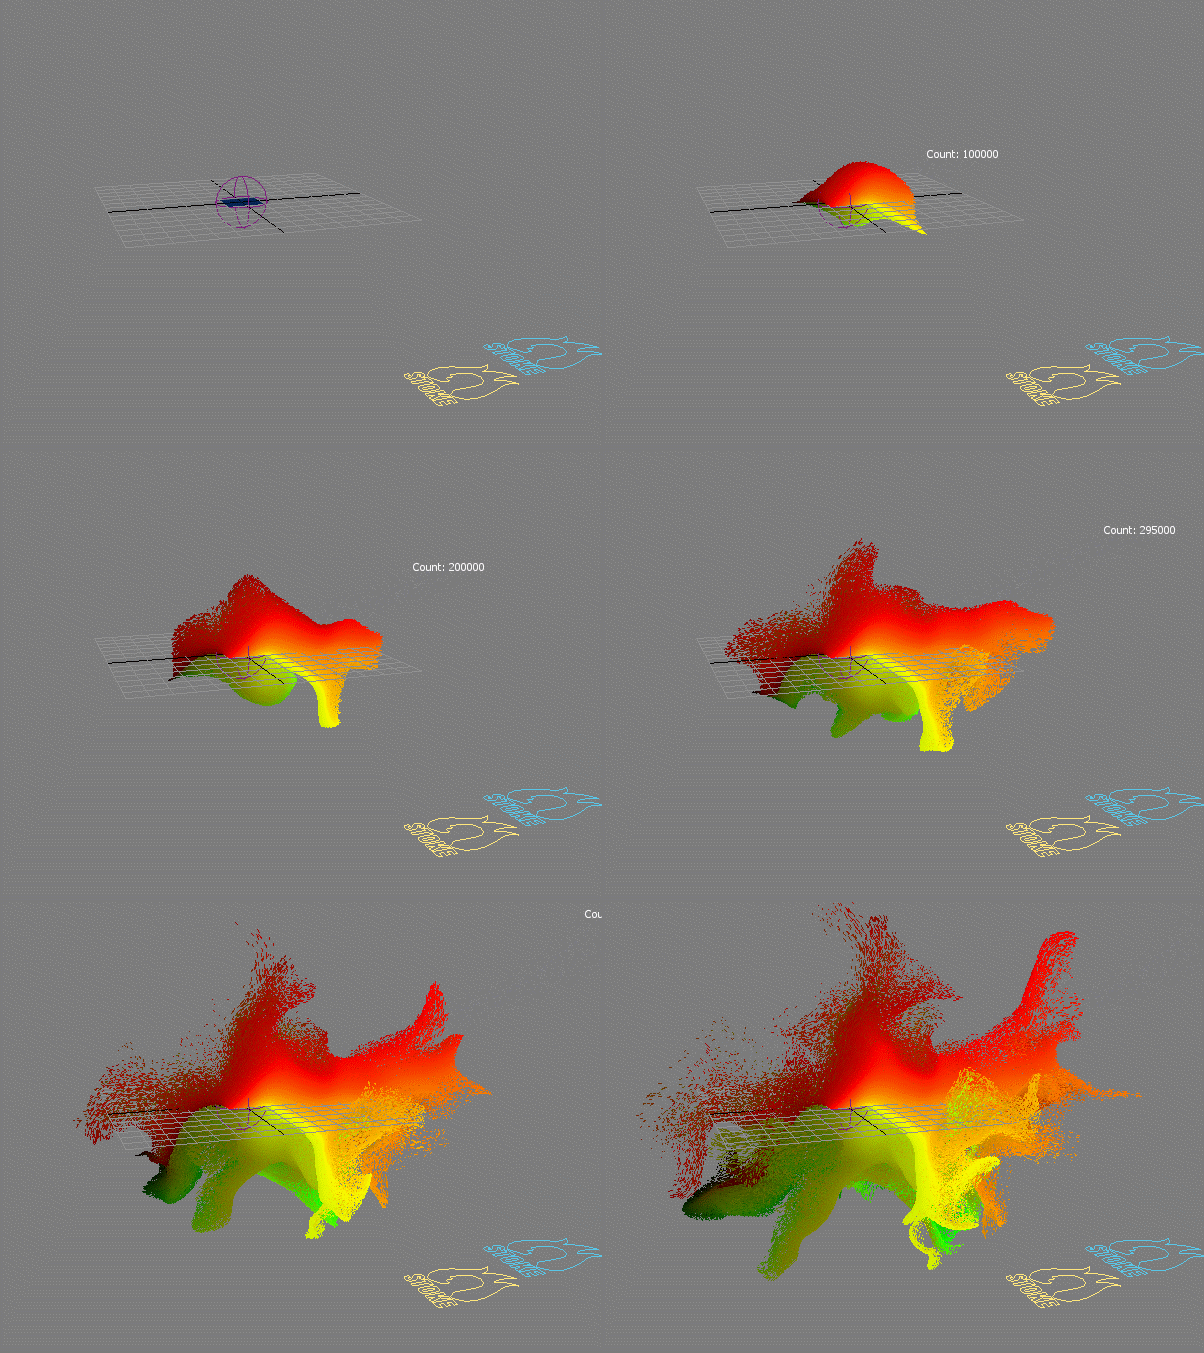
RESULT: We get a finer motion, but it does not follow far enough.
Scaling Up The Influence
To produce even better motion, it is a good idea to increase the Velocity Field Scale.
- Enable the Viewport Display of the first Stoke object, or unhide it if hidden.
- Select the second Stoke object
- In the Velocity Sources list, highlight the first Stoke object
- Change the Scale value from 1.0 to 1.5
- Press SIMULATE again.
- Disable the Viewport Display of the first Stoke object, or hide it to see the result of the resampling.
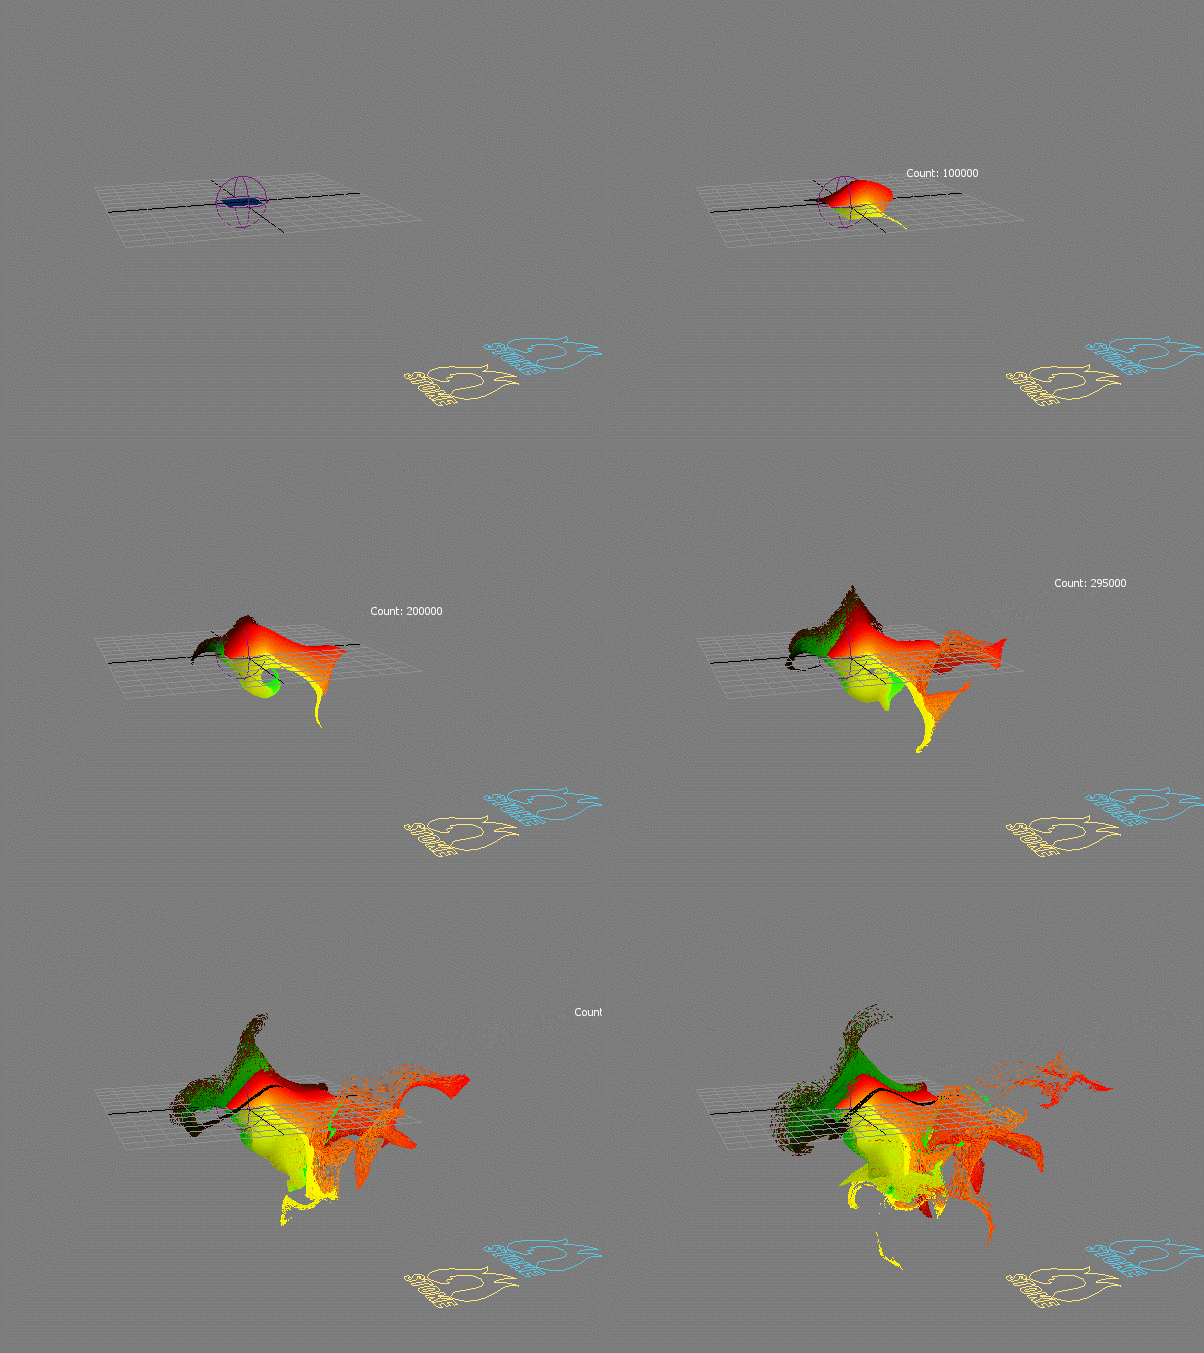
RESULT: The new particles move farther and produce even more interesting motion patterns:
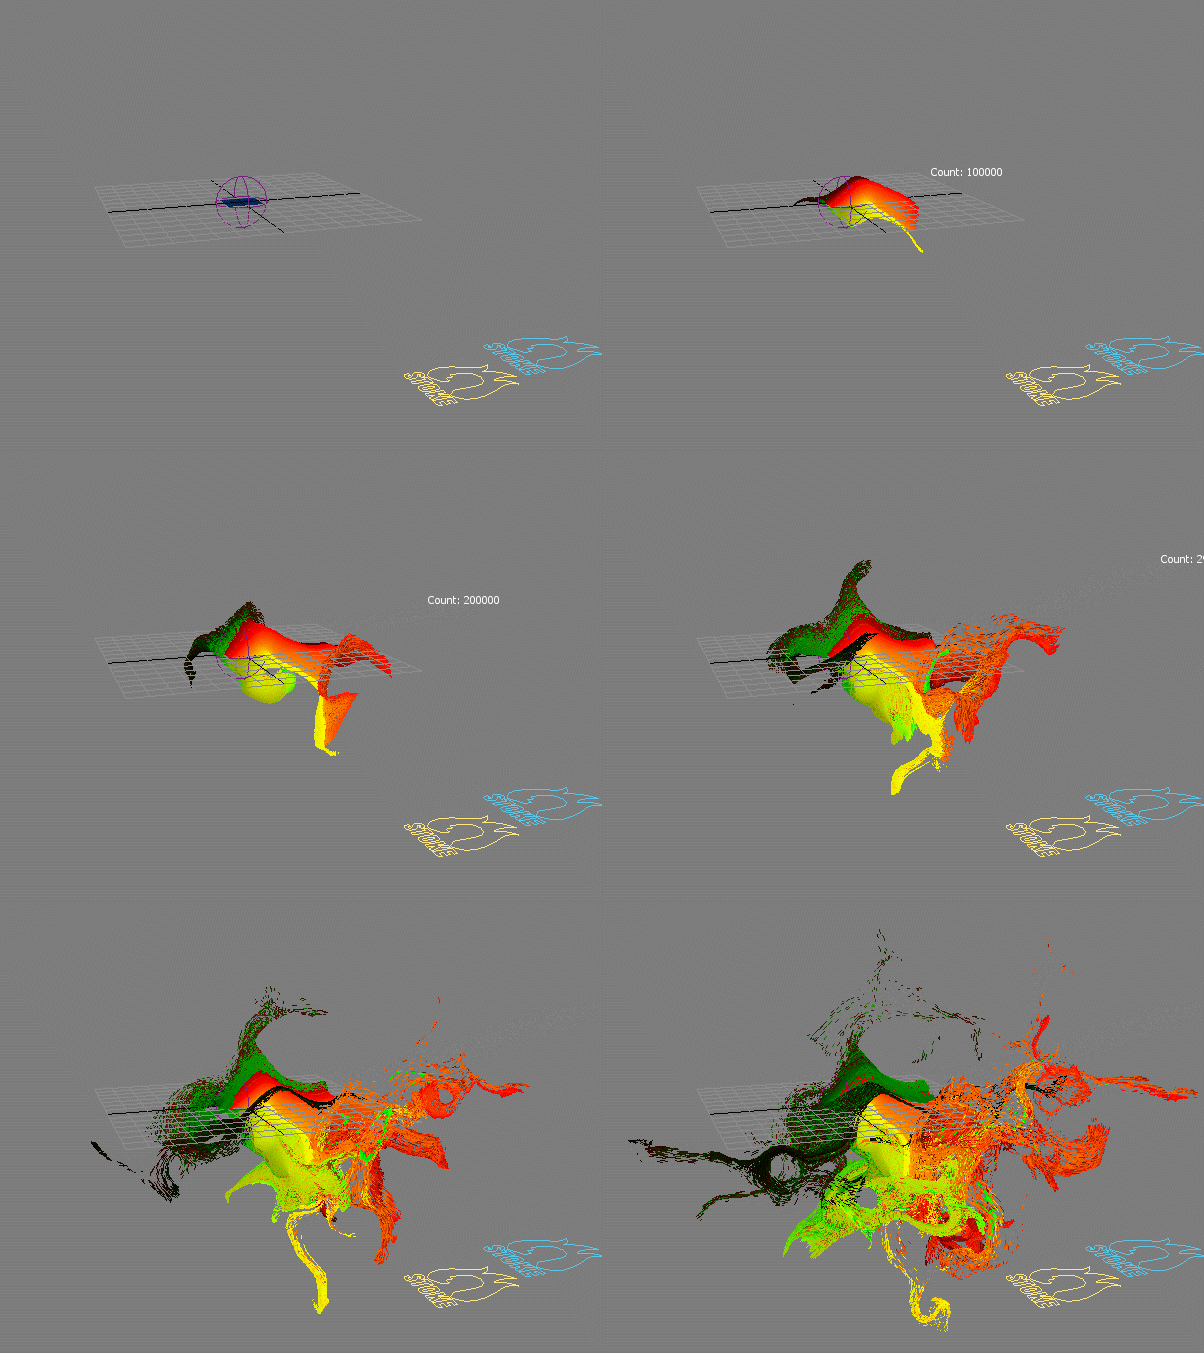
Using Low Resolution Source Particles
So far, we used the same particle amount in both the source Space Warp-based simulation and the resampled Fluid Motion simulation.
But this is not really necessary and using a low-resolution base simulation could produce different effects due to the sparse nature of its particles.
- Enable the Viewport Display of the first Stoke object, or unhide it if it was hidden.
- In the Saving And Caching rollout, click on the [>>] button next to the version number field and select “New Version” from the menu - this will create version “v002”.
- Change the Rate/Frame to 50 and press SIMULATE to create only 5,000 particles on frame 100.
- Select the second Stoke object and press SIMULATE to resample the new low-resolution particle system of the first Stoke.
- Once ready, disable the Viewport Display of the first Stoke, or hide it to see only the second Stoke
RESULT: The simulation is very similar to the previous one, but is more rought, contains some additional eddies, and of course took much less time and disk space to simulate the source Stoke object. Depending on the desired look, you can use either approach to generate fluid motion from an existing Stoke simulation…
