Meshing A Portion Of A Point Cloud
Overview
Before actually meshing a very large point cloud that can take several minutes to process, we typically want to make sure our Mesher settings are adequate by testing out a small representative section of the whole dataset.
SEQUOIA offers a dedicated Point Region Of Interest object (“ROI” for short) which can be connected to a Point Loader and filters out points that are outside or inside a specified box-shaped volume.
Then, a Mesher object gets connected to the ROI object and only works on the filtered region.
Creating a Point ROI Object
![[G]](../../_images/SQ_DOCS_GreenArrow_16.png) Make sure the Point Loader is still selected in the Viewport - if necessary, click with the mouse on it in the Viewport to select it, or click on the object’s name in the Document Explorer.
Make sure the Point Loader is still selected in the Viewport - if necessary, click with the mouse on it in the Viewport to select it, or click on the object’s name in the Document Explorer.
Click the New Point Region Of Interest icon: 
A new Point Region Of Interest object will be created in the Document and will be connected automatically to the selected Point Loader.
![[B]](../../_images/SQ_DOCS_BlueRectangle_162.png) What if I don’t have the Point Loader selected when I make the Point Region Of Interest object?
What if I don’t have the Point Loader selected when I make the Point Region Of Interest object?
You can create a Point Region Of Interest without connecting it automatically, but then you will have to perform a few manual steps:
In the Object Properties Panel on the right side of the SEQUOIA UI, click the [Add…] button found in the “Point Sources” rollout of the Point ROI object - a Point Sources dialog with a list of valid point sources will open.
Double-click the Point Loader on the Point Sources list, or single-click it and then press the [OK] button.
Now that the two objects are connected, press the [Fit Points] button found in the Region Box Settings rollout - this will set the size of the Point ROI’s Gizmo to the bounding box of the dataset.
Adjusting The Point ROI Region Box
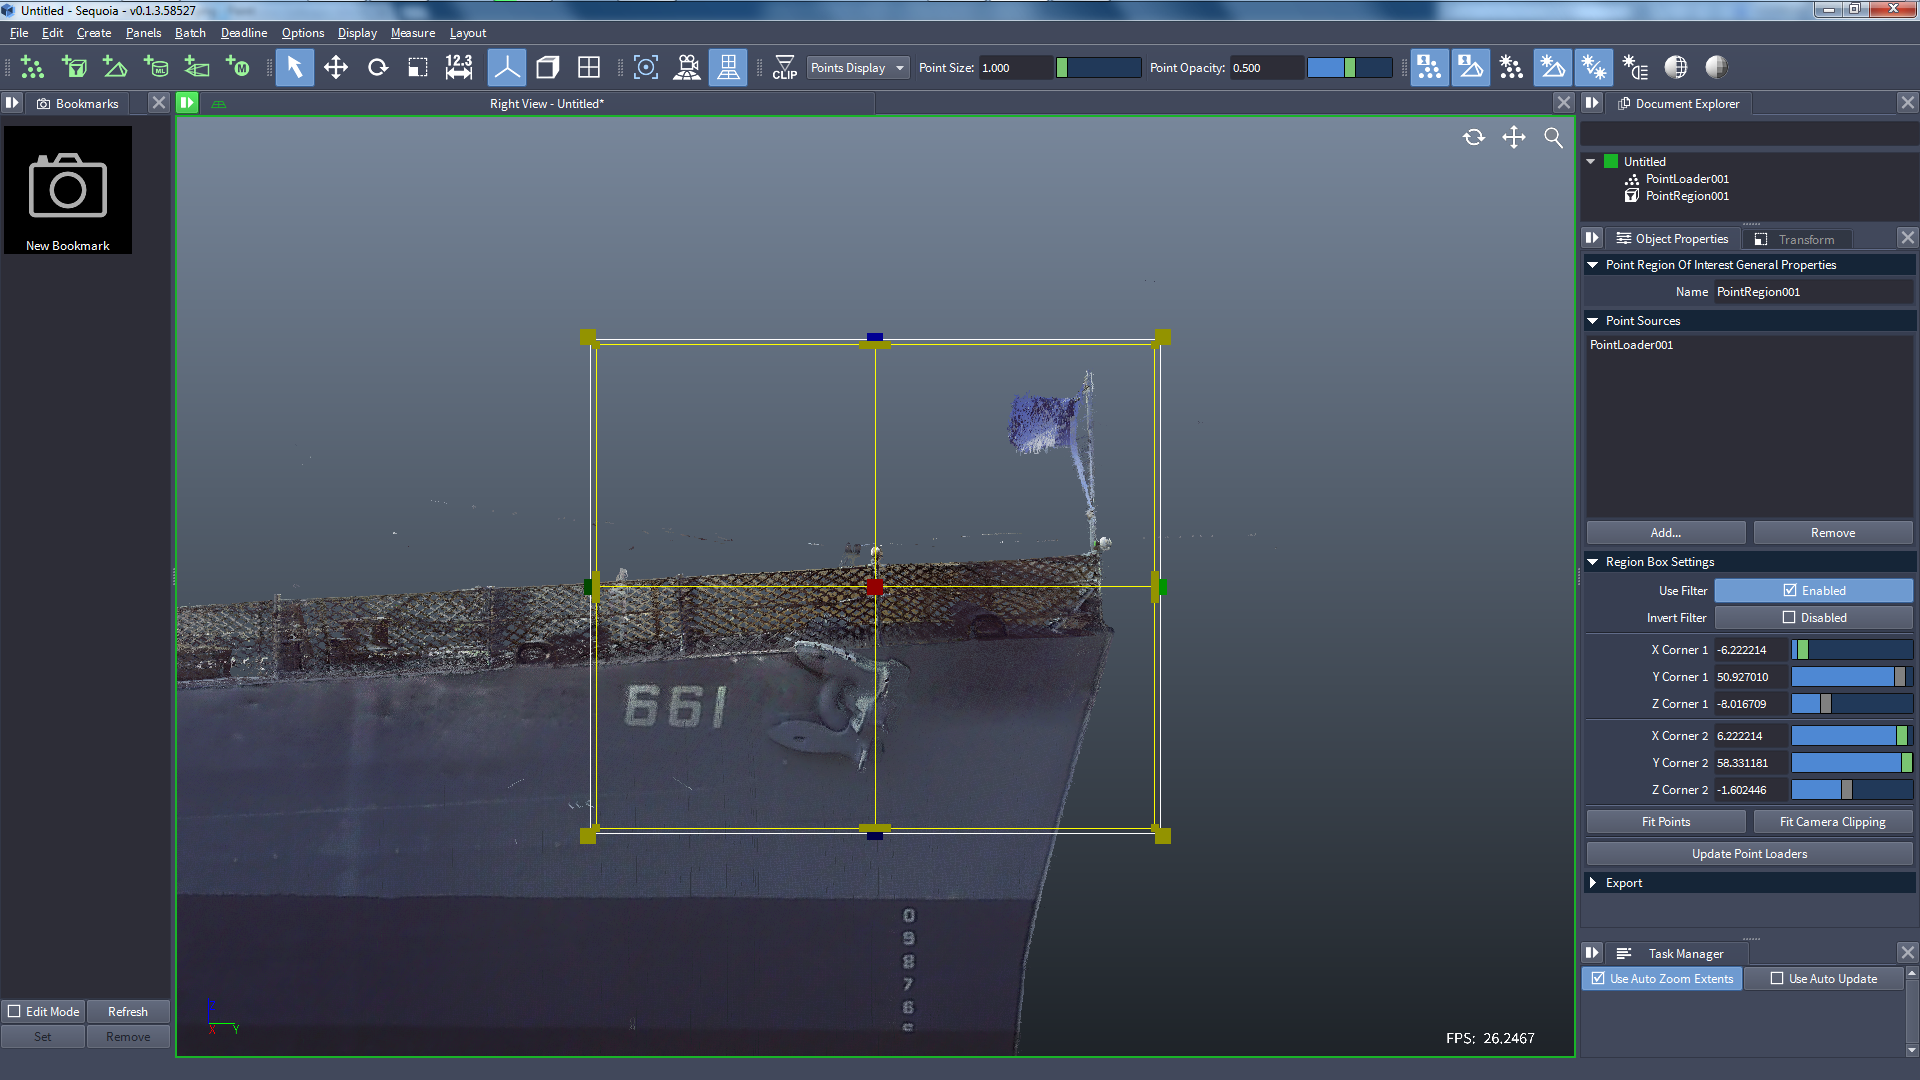
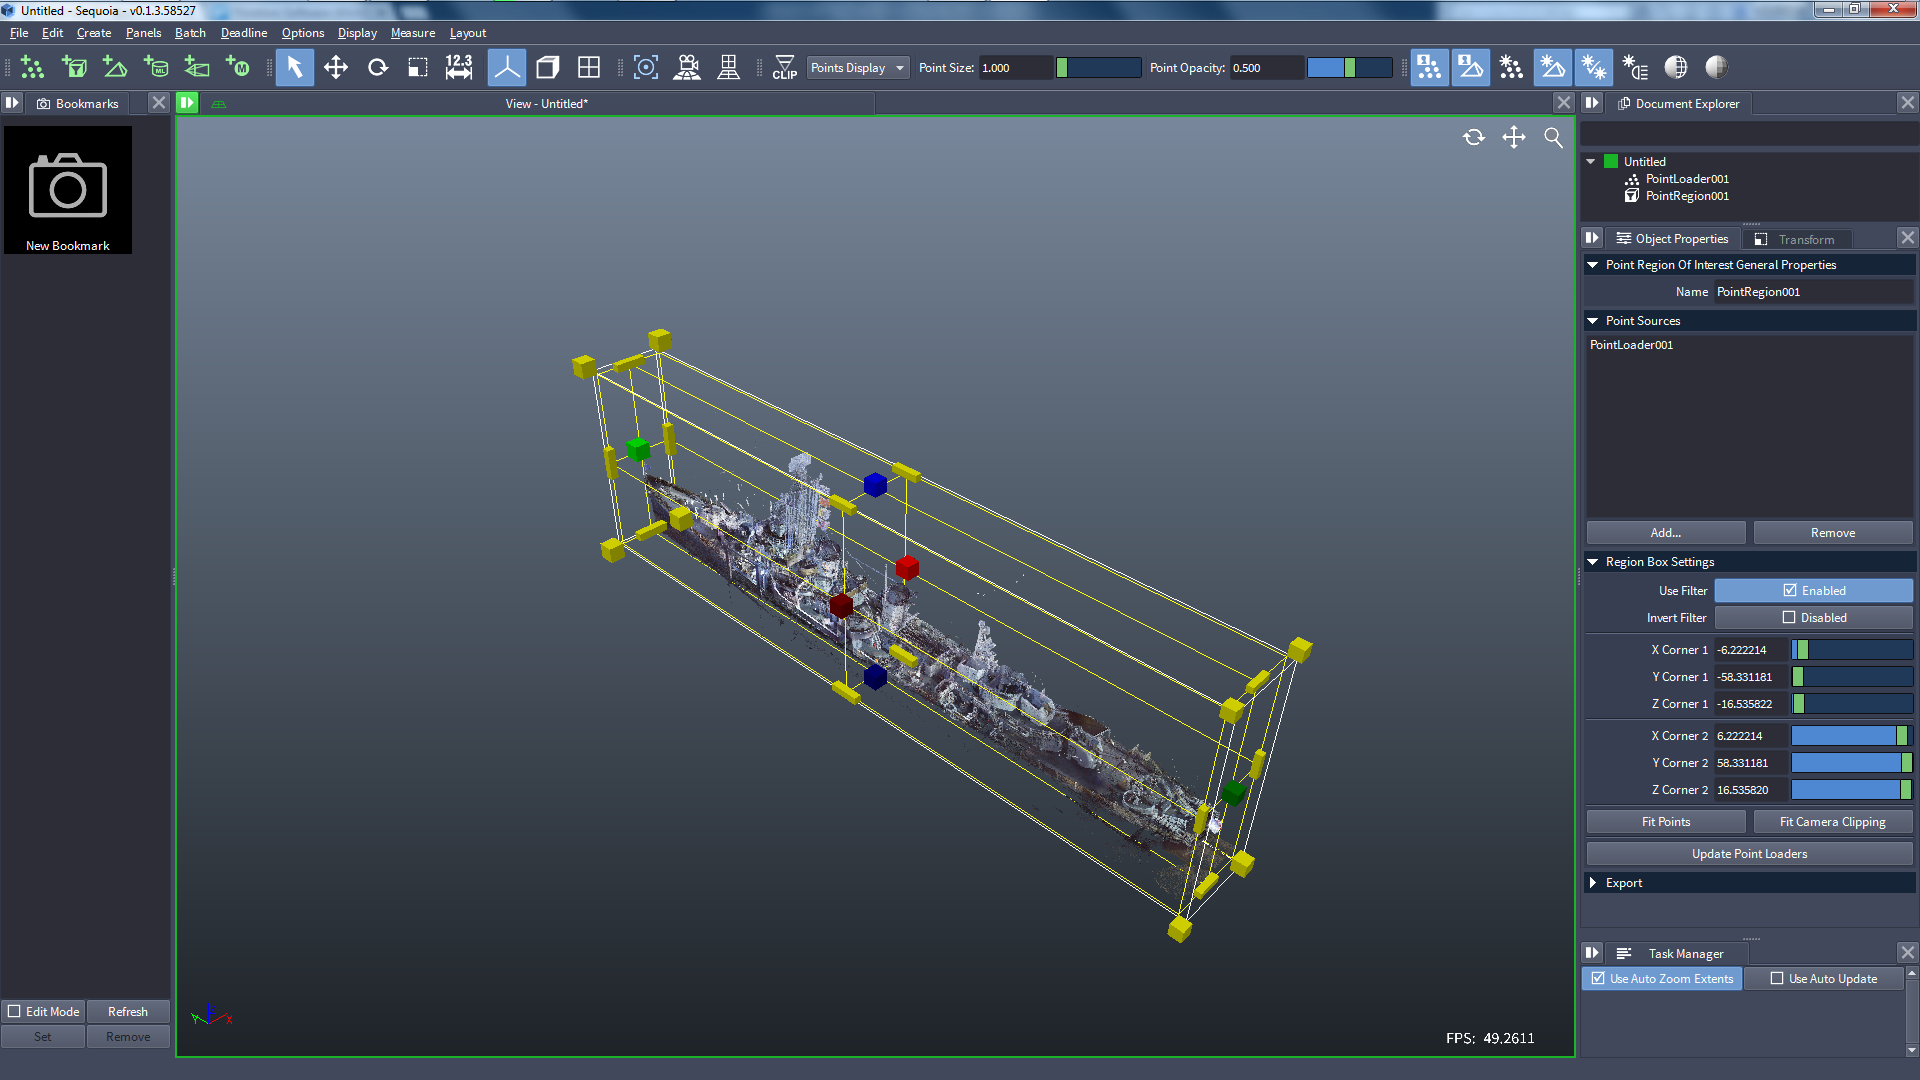
The Point ROI object displays a very prominent Region Box “gizmo” in the viewport - you can grab the box-shaped handles and drag them to resize the Region to enclose only a fraction of the whole Point Cloud.
Alternatively, you can enter the XYZ coordinates of the Minimum and Maximum corners of the Region Box directly in the Object Properties Pabel of the Point ROI.
Clicking and holding the Left Mouse Button pressed while dragging the mouse over the red boxes will resize the Region Box along its X axis - the bright red box represents the Positive X, the darker red is the Negative X axis.
The Green and Blue boxes represent the Y and Z axes, respectively.
Holding down the CTRL key while dragging one of these handles will scale both sides symmetrically, adjusting the positive and negative axes at the same time.
Dragging the elongated yellow handles at the edges of the Region Box will adjust two axes at once relative to the edge along the diagonal of the Region Box.
Holding down the CTRL key while dragging one of these edge handles will adjust both axes symmetrically relatve to the center of the Region Box.
Dragging the yellow corner box-shaped handles will adjust all 3 axes at once relatively to the corner that is on the opposite side of the Region Box.
Holding down the CTRL key while dragging one of these corner handles will adjust all three axes symmetrically relatve to the center of the Region Box.
If the data source is aligned well along the world axes, it can be very convenient to adjust one or two axes at a time in an orthogonal view (Front, Top, Left etc.)
Press the T key to switch to Top view, then drag the handles to adjust the size of the Region Box as seen from above.
Press the F key to look at the Point Cloud from the Front, then drag the handles to adjust another axis.
Press the R key to look at the Point Cloud from the Right, then drag the handles to adjust yet another axis, and so on until you are happy with the dimensions of the Region Box.