Workflow Wizard Dialog
Overview
- The Point Loading And Meshing workflow wizard dialog was implemented using the scripting sub-system of SEQUOIA.
- It can be used to
- Help new and existing users perform the typical steps of loading, converting, filering and meshing one or more point files.
- Teach new users the basics of SEQUOIA.
- Show to users interested in the scripting capabilities of SEQUOIA how custom dialogs can be implemented.
Dialog Layout
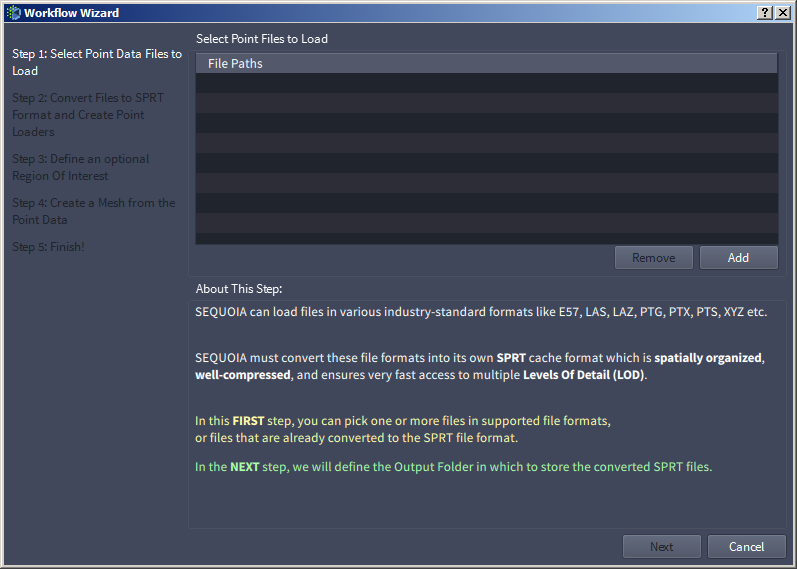
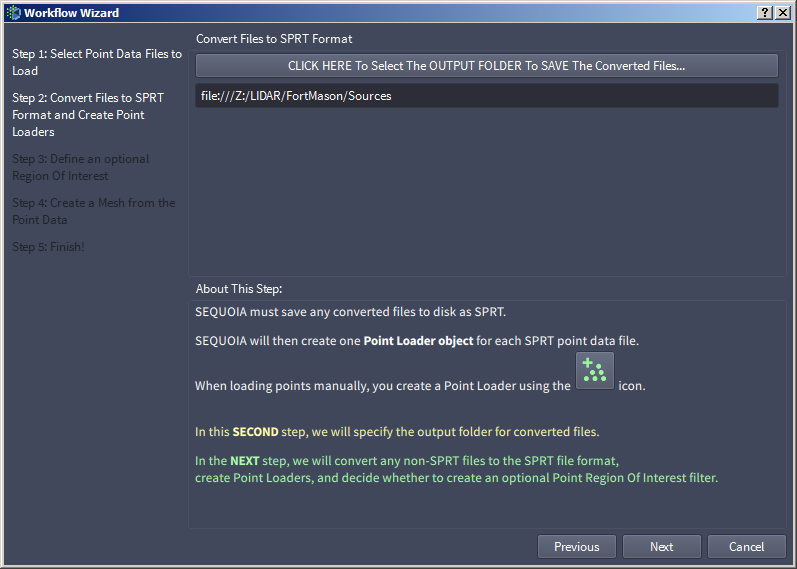
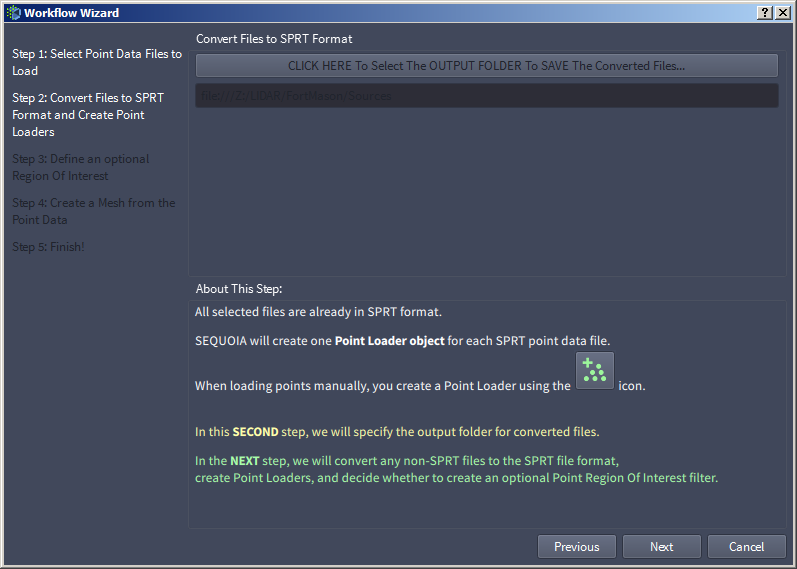
- The dialog’s layout consists of 4 major areas:
- The list of workflow steps is located at the left side of the dialog - they will be highlighted as the user steps through the process.
- The upper right side of the dialog will contain the UI controls to perform the current step. These controls will change from step to step.
- The central right area of the dialog will contain an About This Step description.
- The bottom right area of the dialog will contain the buttons to control and navigate the wizard: [Previous], [Next], [Cancel] and [Finish].
The Workflow Wizard Steps
Step 1 - Select Point Files To Load
- In the first step, the Controls area will display a list view to be populated with the Point Files to load.
- The [Add] button can be pressed at any time to add to the list one or more Point Files in any supported format.
- The [Remove] button will be enabled when at least one file is highlighted on the list. Pressing it will remove the file from the list.
- The [Next] button in the bottom area of the dialog will be disabled until at least one file is added to the list.
- Pressing the [Cancel] button will close the wizard dialog without performing any operations.
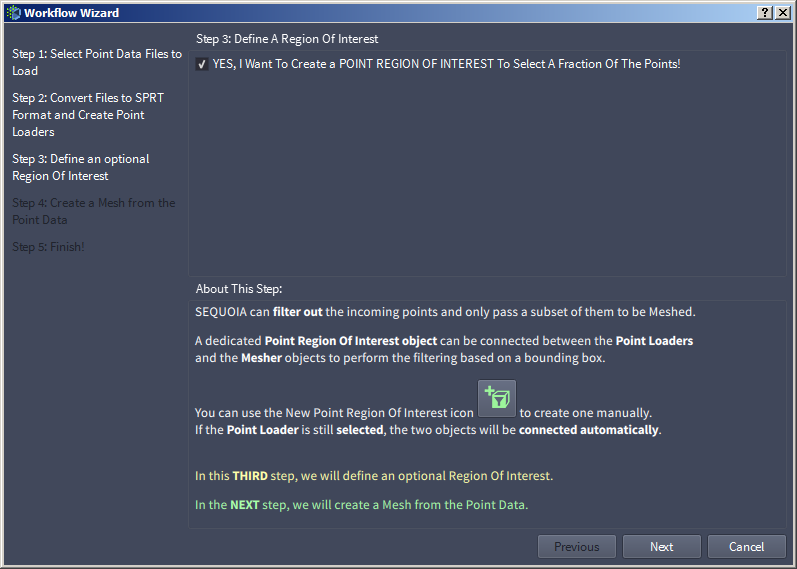
Step 3 - Define A Region Of Interest
- In this step, the Controls area will contain only one checkbox.
- When checked (default), an additional Point Region Of Interest object will be inserted between the Point Loader(s) and the Mesher.
- When unchecked, the Point Loader(s) will be connected directly to the Mesher object.
- The [Previous] button will be disabled because the previous two steps have already been processed and no changes are possible at this point.
- Pressing the [Next] button will create the Point Region Of Interest object if the checkbox was checked.
- Pressing the [Cancel] button will close the wizard dialog, but any non-SPRT Point Files will be converted and stored at the path specified in Step 2, and Point Loaders will be created in the Document.
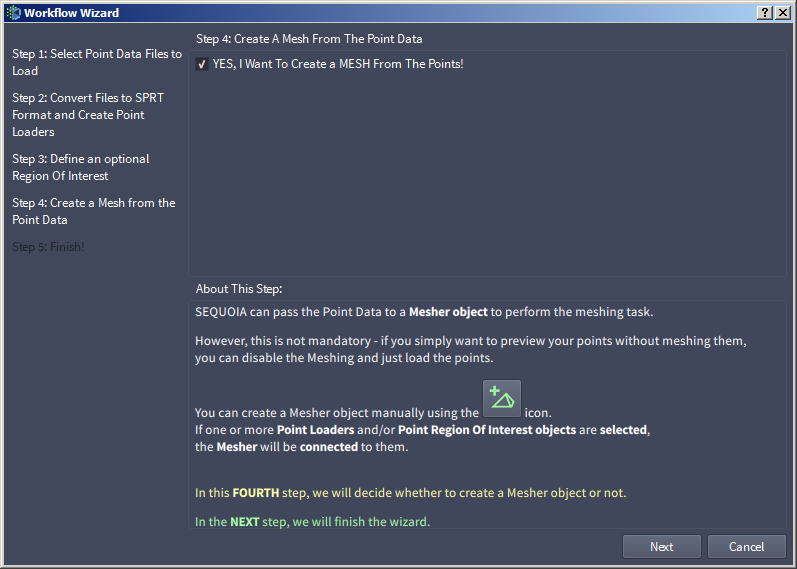
Step 4 - Create A Mesh From The Point Data
- In this step, the Controls area will contain only one checkbox.
- When checked (default), a Mesher object will be created from the Point Loaders.
- When unchecked, no Mesher will be created, leaving the user with just the Point Loaders and optionally a common Point Region Of Interest object connected to them.
- Pressing the [Next] button will create the Mesher object if the checkbox is checked.
- Pressing the [Cancel] button will close the wizard dialog. The result will be the same regardless of the checkbox’ status, as no Mesher will be created, equivalent to unchecking the checkbox and pressing [Next] to finish.
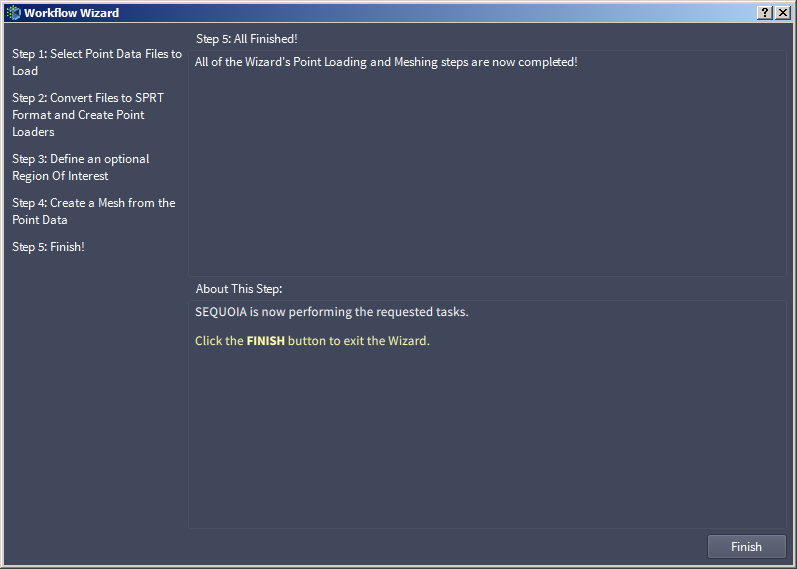
Step 5 - Finish
- In this step, the Controls area will contain only a text explaining that the wizard is completed.
- Pressing the [Finish] button will close the dialog.


